Making Homemade Biscuits in a Cast Iron Dutch Oven Using Only Charcoal Briquettes
You’ll need cold butter and buttermilk to create tender, flaky biscuits in your cast iron Dutch oven. Use about 10 briquettes on the lid and 6 under the base for steady 350°F heat, rotating the oven occasionally for even baking. Keep dough handling minimal to avoid toughness, and rely on a 3:1 top-to-bottom coal ratio for balanced rise and browning. With proper airflow and placement, golden results are within reach-especially once you fine-tune temperature control in real time.
Notable Insights
- Mix biscuit dough by hand until just combined to avoid toughness, ensuring it’s soft but not sticky.
- Use cold, cubed butter and buttermilk in a pre-seasoned 10-inch Dutch oven for flaky, tender biscuits.
- Achieve 350°F by placing 6 briquettes under the Dutch oven and 10 on the lid for balanced heat.
- Rotate the Dutch oven occasionally during the 20–25 minute bake to ensure even browning and rise.
- Prevent flat or burnt biscuits by avoiding overworked dough and maintaining proper charcoal placement and vent airflow.
Mix and Shape Biscuits by Hand
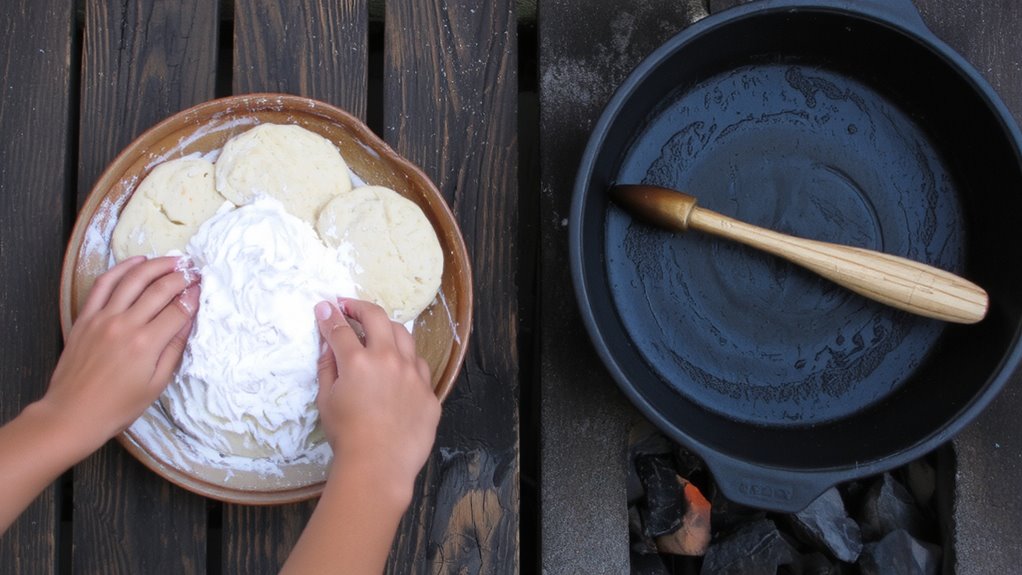
Texture starts with touch-when making biscuits by hand, you’re not just mixing ingredients, you’re feeling your way to flakiness. You’ll know when the dough consistency is right: it should be soft but not sticky, holding together without clinging to your fingers. Overworking it leads to toughness, so keep hand kneading brief-just 6 to 8 folds on a floured surface to bring it together. This gentle handling preserves the cold butter pockets essential for steam-driven rise. Unlike machine mixing, hand kneading gives you direct feedback, letting you adjust texture in real time. Out in the field, where precision tools are scarce, your hands become the most reliable gauge. Proper dough consistency guarantees biscuits won’t spread too thin or remain dense. It’s a balance, vital when baking over charcoal where heat control is limited. Success hinges on these tactile details-feel, fold, and form are foundational to outdoor baking done right.
Dutch Oven Tools and Ingredients
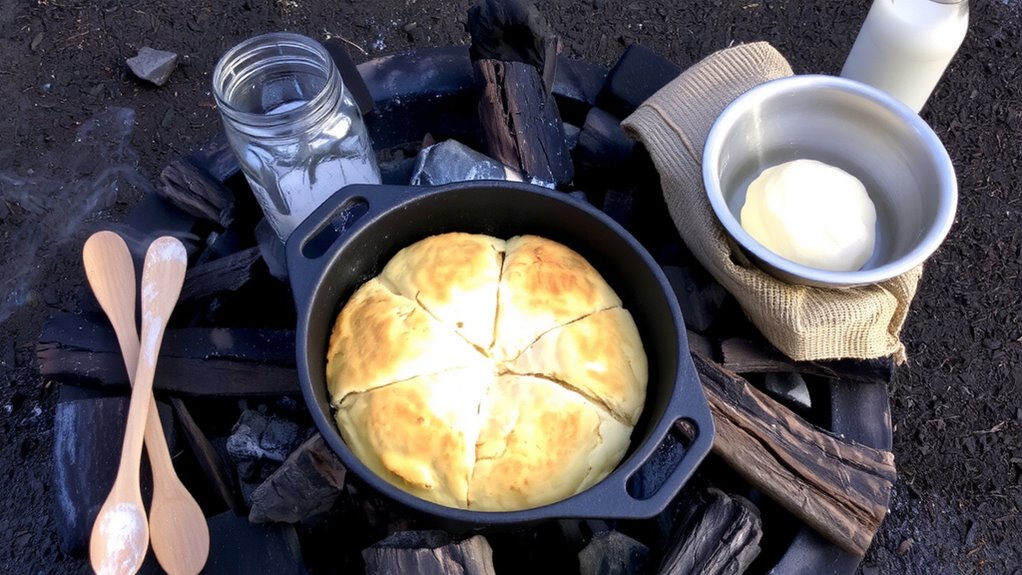
You’ll need a few key tools and ingredients to pull off great biscuits in a Dutch oven, and getting them right makes all the difference when cooking outdoors. Proper tools guarantee even heat and consistent biscuit consistency, while quality ingredients directly affect dough texture. Cold butter and buttermilk are essential-they create flakiness and lift. Use all-purpose flour for the best balance of structure and tenderness. A well-seasoned 10-inch Dutch oven works best for even browning. Below are the essentials:
| Tool/Ingredient | Purpose | Notes |
|---|---|---|
| 10-inch Dutch oven | Holds heat steadily | Pre-seasoned cast iron preferred |
| Lid lifter | Safe lid handling | Prevents burns |
| Buttermilk | Tenderizes dough | Keeps dough texture soft |
| Cold unsalted butter | Creates flaky layers | Cut small for even distribution |
| All-purpose flour | Builds structure | Guarantees proper biscuit consistency |
Heat Your Dutch Oven With Charcoal
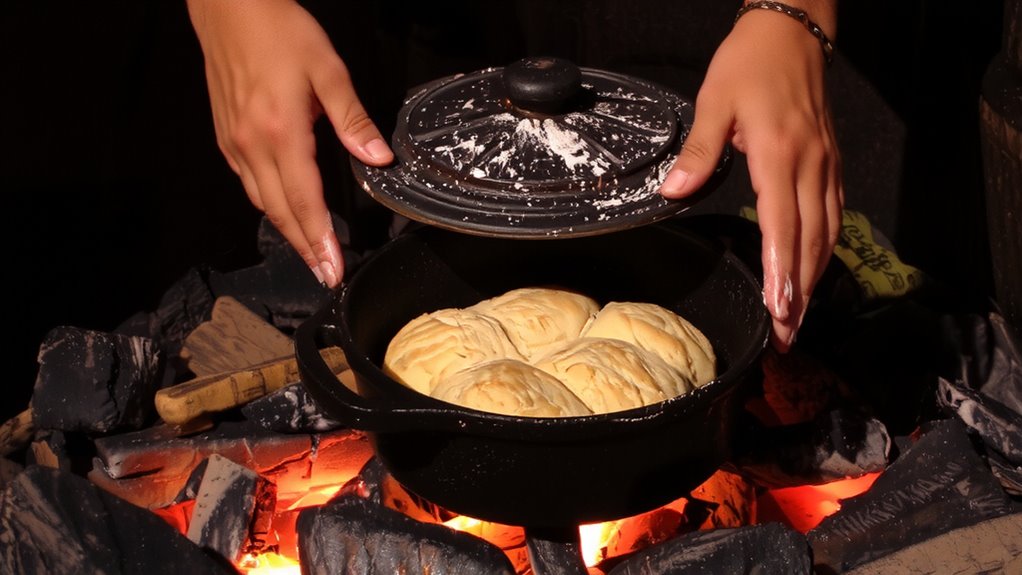
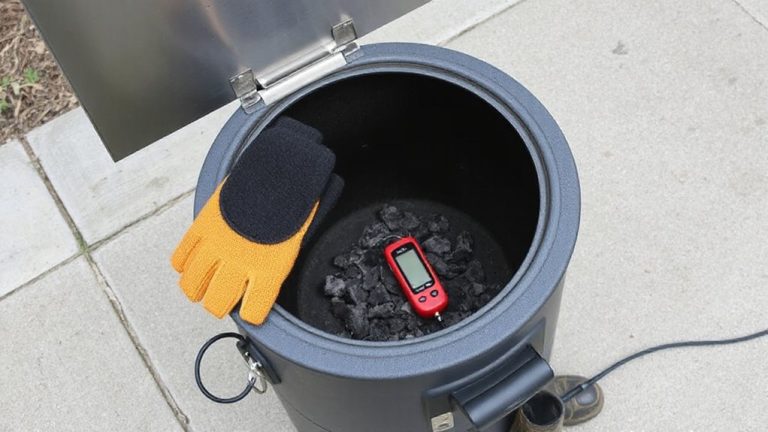
How do you achieve evenly baked biscuits when cooking outdoors? You control the heat precisely using charcoal and a well-managed Dutch oven setup. Charcoal temperature is vital-aim for roughly 350°F, which typically means placing briquettes on both the lid and under the base. A common method uses the “lid-to-base ratio,” like 10 on top and 6 below for even radiant heat. Airflow control plays a key role, too; adjust the vents on your Dutch oven to regulate oxygen flow and maintain steady cooking temps. Open vents increase combustion, while partially closing them slows burning. Uneven heat can ruin texture, so positioning and consistent airflow are essential. Charcoal provides reliable, long-lasting heat if monitored, making it ideal for off-grid baking. With practice, you’ll master heat balance and produce golden, fluffy biscuits every time. For consistent results, consider using pre-seasoned cast iron cookware designed for outdoor grilling and baking.
Bake Biscuits Over the Fire
A steady flame and proper heat management make all the difference when baking biscuits over an open fire. You’ve already heated your Dutch oven with charcoal, but now fire management becomes critical. Position the oven in a stable spot where airflow supports consistent combustion. You’ll need about three-fourths of the briquettes underneath for upward heat, and the rest on the lid to radiate downward-this mimics an oven’s top and bottom heat. Fuel control isn’t just about quantity; it’s about balance. Too many coals, and your biscuits burn. Too few, and they’ll stay doughy. Maintain a medium-high, even temperature-around 350°F. Rotate the oven occasionally for uniform baking. Good fire management guarantees golden, fluffy biscuits in about 20–25 minutes. With controlled fuel and steady heat, outdoor baking performs as reliably as any kitchen oven.
Fix Flat or Burnt Biscuits
Why do some biscuits come out flat or scorched despite careful prep? It usually comes down to dough consistency and oven temperature. If your dough’s too wet or overworked, it won’t rise properly, leaving you with dense, flat biscuits. On the flip side, if your cast iron Dutch oven gets too hot-especially from uneven charcoal placement-your biscuits scorch on the bottom before cooking through. Aim for a steady oven temperature around 375°F, using a 3:1 ratio of coals on top to bottom for balanced heat. You can test this by holding your hand just above the Dutch oven lid; if you can’t last 3 seconds, it’s too hot. Check dough consistency before baking: it should be soft but not sticky, handling it as little as possible. Adjust heat distribution and prep technique, and your next batch will rise tall and bake golden.
On a final note
You’ve mastered biscuit-making over coals, and it shows in the golden, flaky results. Cooking with a Dutch oven and charcoal demands patience but rewards with even heat and rustic flavor. Success hinges on proper charcoal distribution and temperature control. Though mistakes happen-flat or burnt biscuits-they’re fixable with practice. This method isn’t just nostalgic; it’s effective, offering reliable outdoor baking when done right.