Building a Radiant Heat Shield With Charcoal for Even Indirect Cooking
You can build a radiant heat shield using a metal drip pan or aluminum sheet placed 2–3 inches above the charcoal to diffuse intense heat. Position it over the coals, leaving small vents for airflow, so it absorbs and re-radiates heat evenly. This setup creates consistent indirect cooking, reduces flare-ups, and minimizes hot spots. Pair it with lump charcoal for better control-its fast response to vents helps maintain steady temps. You’ll find this method transforms your grill into a precision cooker. There’s more to optimizing the setup based on fuel type and airflow tuning.
Notable Insights
- Use lump charcoal or high-density briquettes for consistent radiant heat and better temperature control.
- Place a solid metal shield 2–3 inches above charcoal to diffuse heat and create even cooking zones.
- Cut small vents in the shield to maintain airflow and prevent smothering the fire.
- Position the shield under the cooking grate to block direct heat and reduce flare-ups.
- Avoid charcoal clumping by spreading it evenly to minimize hot spots and ensure uniform cooking.
Stop Uneven Grill Heat From Ruining Your Cook
Ever wonder why one side of your steak chars while the other stays raw? That’s uneven grill heat in action-common in most charcoal grills due to inconsistent airflow and charcoal distribution. Hot spots develop when coals cluster, creating zones that cook food too fast, while cooler areas lag. These hot spots aren’t just annoying; they sabotage searing precision and doneness control. Worse, fat dripping onto flames causes grill flare ups, charring exteriors before interiors are ready. Traditional setups often lack heat moderation, making indirect cooking a gamble. You end up babysitting food instead of enjoying the process. A balanced layout matters, but without intervention, even careful placement fails. Solving this isn’t about guesswork-it’s about managing radiant energy. By rethinking how heat moves across the cooking surface, you can reduce hot spots and minimize flare ups. Effective heat management starts with understanding your grill’s thermal behavior, not just stoking coals.
Build a Radiant Heat Shield in 4 Simple Steps
You can take control of your grill’s heat output with a simple yet effective modification: a radiant heat shield made from common materials. First, position a solid metal barrier-like a drip pan or sheet of aluminum-between the charcoal and cooking grate to deflect direct flames. This improves heat dispersion, ensuring temperatures stay even across the cooking surface. Second, elevate the shield about 2–3 inches above the coals so it absorbs and redistributes warmth without blocking fire airflow. Third, cut small vents in the shield to maintain proper airflow balance, preventing smothering while smoothing thermal spikes. Finally, secure it in place with heat-resistant fasteners or by fitting it snugly within the grill. You’ll see immediate improvements in temperature consistency and fuel efficiency. This setup mimics professional smokers, making it ideal for low-and-slow barbecue. With minimal effort, you upgrade both control and cooking performance.
Use the Best Charcoal for Consistent Indirect Heat
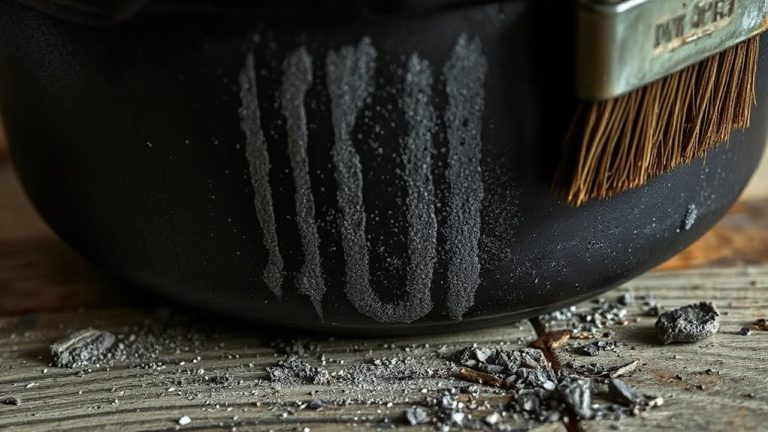
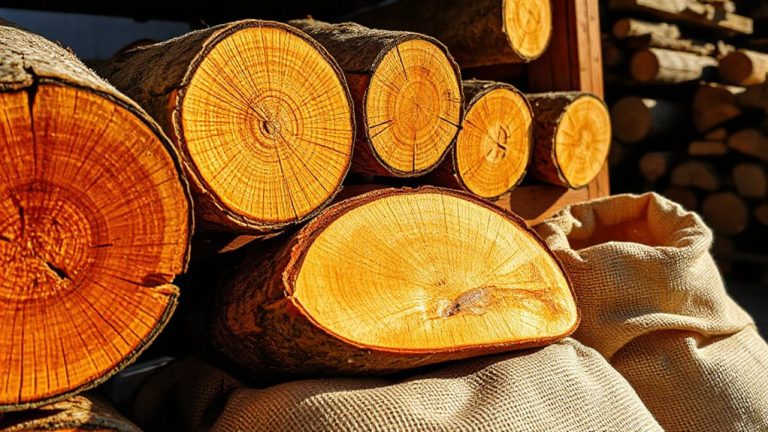
Charcoal choice matters when chasing steady, indirect heat-especially with a radiant shield in play. Your charcoal selection directly impacts heat calibration, so skip the bargain bags and go for lump charcoal or high-density briquettes. Lump burns hotter and responds faster to airflow, giving you tighter control, while quality briquettes offer longer, more predictable burns-ideal for slow sessions. Avoid flavored or self-lighting types; they introduce inconsistent burn rates and off-notes. You’re aiming for stability, not flare-ups. Uniform size and low ash content help maintain steady airflow and even combustion. Pair your fuel with the shield’s reflective surface, and you’ll see how precise heat calibration becomes. Whether you’re roasting or smoking, proper charcoal selection reduces guesswork and thermal spikes. It’s not just about fuel-it’s about forming a reliable heat foundation. Good charcoal means fewer adjustments, fewer surprises, and better results. For optimal performance, consider one of the top picks for best charcoal based on burn consistency and heat output.
How Charcoal Delivers Even Cooking Over the Grill
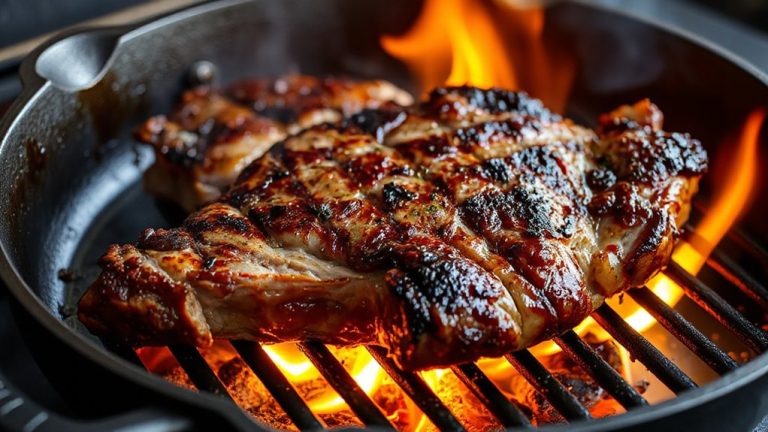
When properly managed, charcoal generates a steady, enveloping heat that radiates evenly across the cooking surface, especially when paired with a well-designed radiant heat shield. You benefit from superior heat retention, as charcoal burns hotter and longer than gas, maintaining consistent temperatures even in wind or cool weather. This stability allows indirect cooking zones to stay predictable, so your food cooks evenly without constant monitoring. Flame control is easier too-by adjusting airflow and coal placement, you minimize flare-ups and avoid hot spots. Unlike open flames that vary, charcoal’s radiant energy surrounds the food, mimicking an oven. You’ll notice juicier results and deeper flavor development, particularly when cooking larger cuts. The combination of controlled burn, retained warmth, and strategic shielding gives you precise, reliable performance. With practice, you’ll master temperature zones and cooking times, turning every session into a repeatable success. Charcoal’s responsiveness rewards attention, making it a top choice for serious grillers. For best results, consider models with advanced airflow systems found in the best charcoal grill smokers.
Perfect Meats for Indirect Charcoal Grilling
Patience rewards the griller who opts for indirect heat, especially when tackling large or dense cuts that demand slow, steady temperatures. You’ll find brisket thrives under this method, developing deep smoky tenderness as fat renders gradually over hours. Pork shoulder follows close behind, pulling apart with juicy precision when cooked low and slow. Whole chickens benefit too-their skin crisps while the interior stays moist, absorbing rich charcoal aroma. Even thick steaks, like ribeyes or porterhouses, gain advantage when seared first then moved to indirect zones, finishing without drying. Lamb shoulder and beef ribs respond exceptionally well, their collagen melting into succulent texture. These meats aren’t just forgiving-they demand indirect heat to reach their peak. With proper airflow and consistent fuel, your radiant heat shield transforms rugged cuts into balanced, flavorful results. You’re not just cooking; you’re refining, coaxing out complexity only time and smoke can build. The best results often come from selecting best BBQ beef cuts, which are ideal for enduring long cook times while developing rich flavor.
Avoid These 5 Radiant Heat Shield Mistakes
Though radiant heat shields promise even cooking and protection from flare-ups, setting one up wrong can undermine your entire grill session. First, don’t let charcoal clumping occur-uneven fuel distribution creates hot spots and ruins indirect heat balance. Spread your coals thinly and uniformly to maintain consistent warmth. Second, avoid placing the shield too close to the flames; excessive heat can cause grate warping, especially with thin steel models. Third, skipping a drip tray exacerbates mess and increases fire risks, though that’s a deeper discussion for later. Fourth, using warped or bent shields leads to uneven coverage, defeating the purpose. Finally, neglecting airflow management stifles temperature control. You need steady oxygen flow to keep heat stable without spiking. A well-designed shield enhances indirect cooking substantially, but only if installed with care-mind your charcoal clumping, monitor clearance to prevent grate warping, and guarantee structural integrity for lasting performance.
Add Smoke and Control With Drip Pans and Vents
You’ve already avoided the common pitfalls of radiant heat shield setup-now it’s time to fine-tune flavor and temperature with two often-overlooked tools: drip pans and vents. Positioning drip pans beneath the meat collects excess fat while promoting consistent smoke infusion by preventing flare-ups. Fill them with water or wood chunks to enhance moisture and flavor. Vent positioning controls airflow, directly influencing cooking temperature and smoke behavior. Open vents increase oxygen flow, raising heat; partially closed ones slow combustion, ideal for low-and-slow styles. Proper balance guarantees steady conditions and cleaner smoke.
| Drip Pan Use | Benefit |
|---|---|
| Water filled | Stabilizes temperature |
| Wood chunks | Enhances smoke infusion |
| Under meat | Prevents flare-ups |
| Empty | Less moisture retention |
| Vent open | Increases heat via airflow |
On a final note
You’ve built your radiant heat shield, chosen quality charcoal, and mastered indirect heat-now you’re set. This setup delivers steady temperatures, reduces flare-ups, and promotes even cooking, especially for large cuts like brisket or ribs. Proper airflow and drip pan use enhance control, while avoiding common mistakes guarantees longevity. With consistent results and minimal intervention, this method elevates your outdoor cooking from hit-or-miss to reliable, restaurant-grade performance. It’s smart, efficient, and built to last.