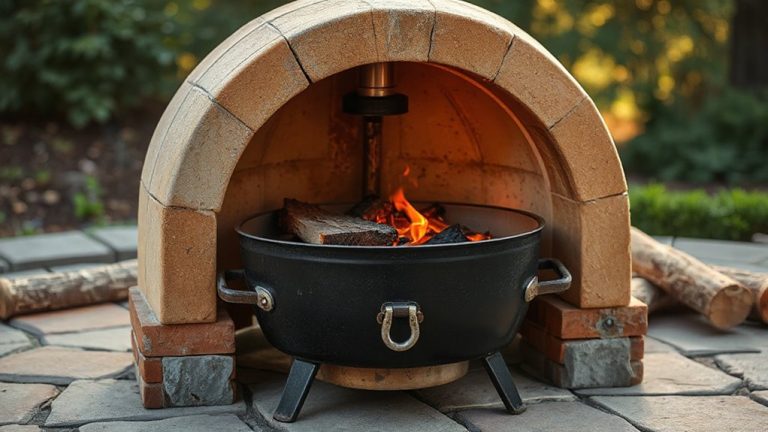
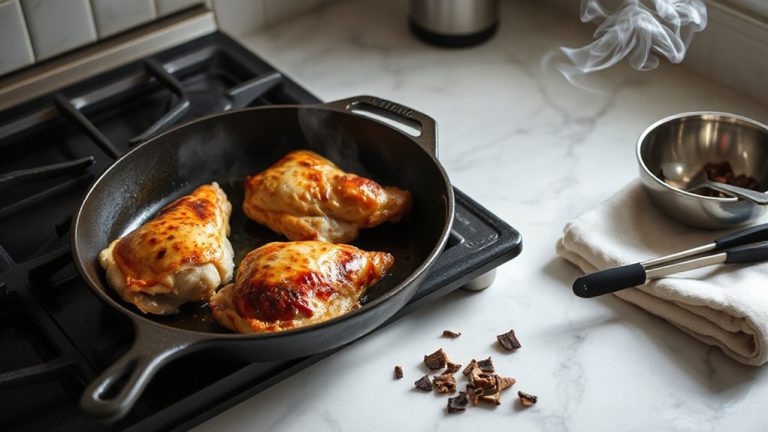
Creating a Two-Zone Fire With Chunky Hickory Charcoal for Perfect Chicken Skin
You’ll get crisp, golden chicken skin by setting up a two-zone fire with chunky hickory charcoal-pile it high on one side for intense radiant heat, leaving the other side open for indirect cooking. Sear the chicken skin-side down over the hot zone to render fat, then shift it to the cooler side to finish without burning. Hickory’s slow, steady burn delivers reliable heat and rich smoke flavor. Preheat the grill thoroughly, dry the skin well, and oil the grates to prevent sticking. Use bone-in thighs or skin-on breasts for best results. You’re about to discover how small tweaks amplify both texture and taste.
Notable Insights
- Set up a two-zone fire by stacking hickory charcoal on one side for a hot sear zone and leaving the other side cool for indirect cooking.
- Sear chicken skin-side down over the hot zone for 5–7 minutes to render fat and achieve golden, blistered skin.
- Use bone-in thighs or skin-on breasts, as their fat content and structure promote crispier skin when grilled over hickory.
- Dry the chicken skin thoroughly and air-dry overnight in the fridge to remove moisture for maximum crispiness.
- Prevent sticking and steaming by preheating the grates and flipping the chicken only once after the skin releases naturally.
Set up a Two-Zone Grill With Hickory for Crispy Skin
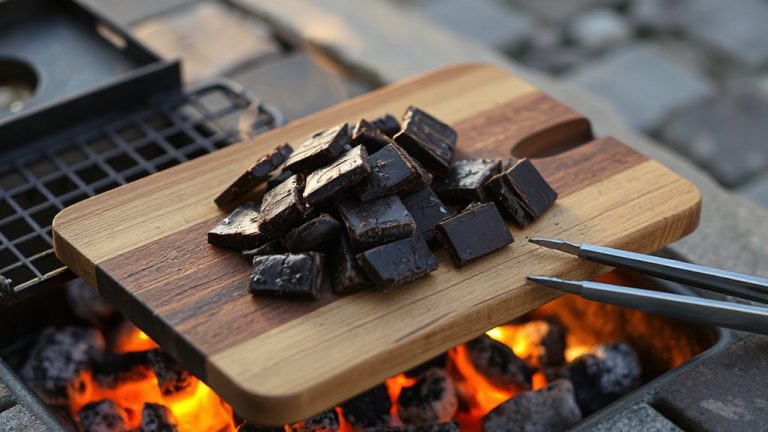
While you can achieve decent results with a single cooking zone, going for a two-zone setup gives you far more control, especially when aiming for that golden, shatteringly crisp chicken skin. You’ll stack chunky hickory charcoal on one side, creating a hot zone for searing and a cool side for indirect cooking-this fire layout is essential for balanced heat control. The radiant heat from the burning hickory builds a steady, smoky environment ideal for rendering fat gradually. You can monitor flare-ups more effectively and adjust airflow to maintain consistent temperatures. Unlike lighter woods or briquettes, hickory sustains high heat longer, which helps develop that tight, crackling skin without drying out the meat. With proper grate placement and airflow management, this method delivers predictable, repeatable results. It’s not just about heat-it’s about precision. That’s why serious cooks prefer this configuration for poultry. For best results, choose a grill with excellent airflow control to enhance combustion efficiency and temperature stability.
Sear Then Shift: The Key to Shatter-Crisp Chicken Skin
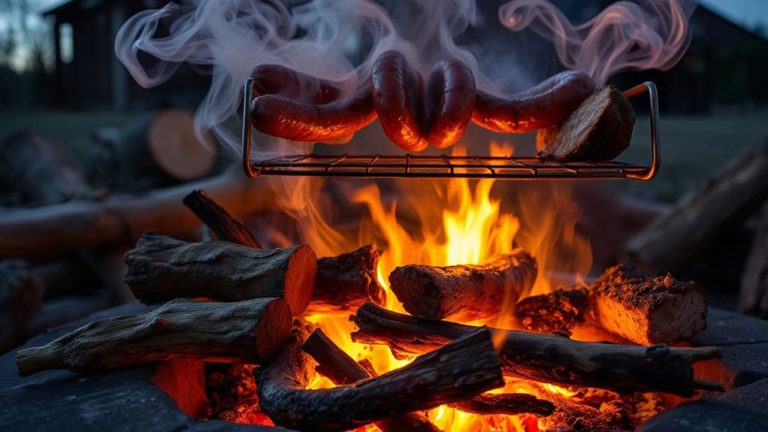
Once you’ve got your two-zone fire running steady, it’s time to get that skin crackling-start by placing the chicken skin-side down directly over the hot zone, where the intense radiant heat will begin rendering the fat and setting the stage for deep browning. That direct heat is essential; it rapidly crisps the surface instead of steaming it, giving you that shatter-crisp texture you want. After about 5–7 minutes, once the skin is golden and blistered, shift the chicken to the cooler side. This move prevents burning while allowing the interior to cook through gently. Keeping hickory chunks on the flames maintains continuous smoke infusion, layering the meat with rich, woody depth. The combination of searing upfront and indirect finishing delivers both texture and flavor most methods can’t match. It’s not just effective-it’s the smartest way to balance crispness, moisture, and taste on the grill. For consistent results, choose a model designed for excellent heat control, such as one of the top-rated charcoal grill smokers in our buying guide.
Pick the Best Chicken Cut for Maximum Crunch
The best chicken cut for maximum crunch isn’t just about preference-it’s about structure, fat distribution, and surface area exposed to heat. You’ll want bone in thighs for their higher fat content and ability to render slowly over indirect heat, giving you crisp skin without drying out. The bone helps conduct heat evenly, promoting uniform browning. Skin on breasts, while leaner, offer a broad, flat surface ideal for achieving wide, shatter-crisp results-when cooked right. They’re more prone to drying, but in a two-zone setup, they’ll crisp beautifully without overcooking. Between the two, bone in thighs are more forgiving and deliver richer flavor, while skin on breasts provide dramatic crunch if monitored closely. For maximum texture contrast and juiciness, many pitmasters lean toward thighs. But if you’re after broad, crackling skin as the highlight, don’t overlook the breast. Both work-just match the cut to your fire control.
Dry, Oil, and Grill: Skin Prep That Guarantees Crackle
Start with dry skin-really dry-and you’re already halfway to crackling perfection. Pat the chicken thoroughly with paper towels, then let it air-dry in the fridge for a few hours or overnight; moisture is the enemy of crisp. If you’ve used a brine technique, this step becomes even more critical-brining adds flavor and tenderness but leaves the surface damp, so extended drying is non-negotiable. Once dry, lightly brush the skin with a high-smoke-point oil like grapeseed or avocado to promote even browning. Apply your spice rub now, pressing it gently into the skin without damaging its integrity. The oil helps the spices adhere and facilitates heat transfer, encouraging blistering over steaming. Proper prep guarantees the skin renders fat efficiently over indirect heat, crisping without scorching. You’ll notice a marked difference in texture: shatteringly crisp, not leathery or raw. This method, grounded in simple science, consistently delivers superior results.
Fix Soggy, Burnt, or Stuck Chicken Skin on the Grill
You’ve dried the skin, oiled it just right, and set your grill for even rendering-but still, the chicken skin comes off the grates in patches, soaked in its own fat or blackened at the edges. The issue likely stems from poor moisture control and inconsistent heat retention. When the grill grates aren’t hot enough, skin sticks and steams instead of searing, trapping excess moisture. Preheat your charcoal zone thoroughly-glowing coals under a solid griddle provide ideal contact heat. Flip only once, after the skin naturally releases. If flare-ups occur, move the chicken temporarily to the cooler side to avoid charring. A well-maintained two-zone setup balances radiant heat and airflow, critical for crisp results. Excess fat pooling? Angle your grill slightly or use a drip pan. Proper spacing secures even cooking, while a clean grate minimizes adhesion. Master these, and stuck or soggy skin becomes rare.
On a final note
You’ve set up your two-zone fire with chunky hickory charcoal, seared the chicken over direct heat, then moved it to indirect heat-this balance delivers crisp skin without dry meat. Patience during setup and proper skin prep pay off in texture and flavor. Dark meat withstands longer cook times better, enhancing crispness. When executed well, this method reliably produces shatter-crisp results, elevating grilled poultry beyond backyard basics to something technically sound and deeply satisfying.