Brining Whole Chicken in Beer and Herb Mixture for Crispy Skin
Brining your whole chicken in a beer and herb mixture keeps it juicy while delivering crispier skin, thanks to beer’s carbonation and natural sugars that aid in moisture retention and caramelization. The mild acidity breaks down proteins slightly, promoting even browning. Use a light lager or amber ale paired with complementary herbs like thyme or rosemary, and always chill the brine fully before use. Pat the chicken dry and air-dry it in the fridge for best results. There’s more to master about timing and technique.
Notable Insights
- Use a light lager or amber ale with herbs like sage or rosemary to enhance flavor and promote crispy skin.
- Simmer beer with salt, sugar, and aromatics, then cool the brine completely before adding the chicken.
- Brine the chicken for 6–12 hours depending on size, always keeping it below 40°F for food safety.
- After brining, pat the chicken dry and air-dry uncovered in the fridge for at least four hours.
- Roast at 375°F–425°F on a rack to ensure air circulation and maximize skin crispiness.
Why Beer Brine Makes Chicken Juicy and Crispy
While you might think a brine’s only job is to add moisture, using beer in your chicken brine actually does more than just keep the meat juicy-it helps deliver a crispier skin and deeper flavor, thanks to a mix of chemistry and smart technique. The beer composition, rich in carbonation and moderate acidity, gently breaks down proteins on the chicken’s surface, improving moisture retention and encouraging even browning. This slight denaturation works in tandem with brine chemistry, where dissolved salts and sugars enhance osmosis and surface dehydration during cooking. Unlike water-based brines, beer adds complexity-its natural sugars caramelize under high heat, aiding crispness. Meanwhile, the carbonation helps the brine penetrate deeper into the meat. You’ll notice results
Best Beers and Herbs for Flavorful Brining
Your choice of beer and herbs sets the flavor foundation for a successful brine, so picking the right combination matters. The right beer selection enhances moisture and adds depth, while smart herb pairing balances bitterness and aroma. Light lagers or pilsners won’t overpower, making them ideal for delicate brines. Amber ales add mild caramel notes, while stouts bring richness-perfect for bold profiles. For herbs, thyme and rosemary stand up well, offering earthy tones that penetrate poultry evenly.
| Beer Type | Flavor Profile | Best Herb Pairing |
|---|---|---|
| Pilsner | Crisp, clean | Thyme, parsley |
| Amber Ale | Toasty, slightly sweet | Sage, marjoram |
| Stout | Roasty, chocolate | Rosemary, black pepper |
| Wheat Beer | Citrus, light | Dill, chives |
Match intensity: robust beer with hardy herbs, light brews with subtle greens.
How to Brine a Whole Chicken Step by Step
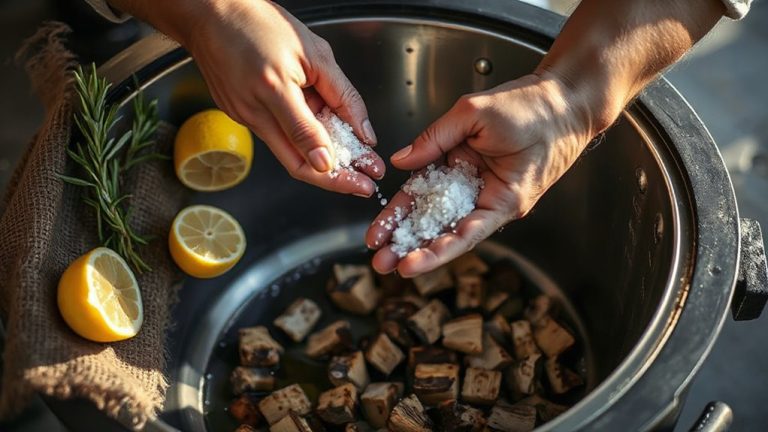
A well-executed brine transforms a whole chicken, locking in moisture and layering flavor deep into the meat. Start by combining your beer and herb mixture with salt, sugar, and aromatics in a large pot. Bring it to a simmer, then cool completely-temperature control is critical here, as adding warm brine to chicken risks bacterial growth. Once chilled, submerge the bird in the brine, ensuring it’s fully covered. Use a non-reactive container and refrigerate, keeping the temperature below 40°F (4°C) throughout. This cold soak guarantees food safety and ideal absorption. After brining, remove the chicken and pat it dry-this step helps achieve crispy skin later. Discard the used brine; never reuse it due to contamination risks. Practice proper brine disposal by pouring it down the drain with running water. Avoid dumping large volumes at once to prevent odor or plumbing issues. For best results, choose a brining container for turkey that’s spacious, non-reactive, and fridge-safe to accommodate large poultry.
How Long to Brine for Perfect Texture
Getting the timing right makes all the difference when brining chicken in beer and herbs, especially after you’ve prepped your brine and confirmed it’s cooled properly. You should brine for at least 4 hours, but 8 to 12 hours is ideal for most whole chickens. The chicken weight plays a key role-larger birds (over 5 lbs) benefit from the full 12 hours to allow even seasoning and moisture absorption. Smaller ones (under 4 lbs) can over-absorb salt if left too long, so aim for 6–8 hours. Always keep the brine temperature below 40°F to prevent bacterial growth-store it in the fridge or use a cooler with ice. This guarantees food safety while maximizing texture. Under-brining leaves meat dry; over-brining makes it spongy. A well-timed soak yields juicy, flavorful results with just the right firmness. Trust the balance of time, chicken weight, and brine temperature for best outcomes. For added convenience and consistent flavor, consider using a best brine kit for turkey, which can easily adapt to chicken brining.
Pat Dry for Crispier Skin
Once the brining time is up, pulling the chicken from the liquid and patting it dry becomes an essential step toward achieving golden, crackling skin. You’ve got to thoroughly pat every inch of the bird with paper towels-moisture is the enemy of crispness. This initial skin preparation sets the stage for effective air drying, which you should do uncovered in the fridge for at least four hours, preferably overnight. Air drying lets the surface moisture evaporate, tightening the skin and promoting even browning during roasting. Skipping this step risks steaming the skin instead of crisping it. Trust the process: dry skin equals better texture and deeper color. It’s not just about removing brine; it’s about creating the ideal surface for heat to work its magic. Proper preparation like this separates decent results from exceptional ones in outdoor cooking, where control over variables is limited but technique makes all the difference.
Roast for Golden, Crackling Skin
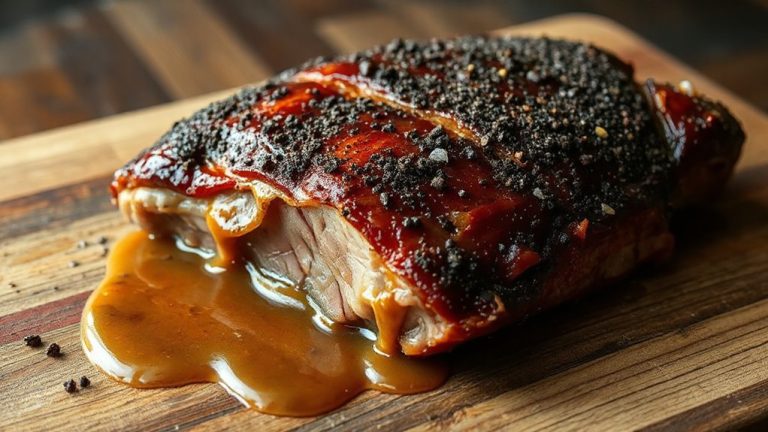
Though the prep work behind you matters, it’s what happens in the heat that ultimately defines the outcome-so fire up your grill or oven with confidence, knowing that golden, crackling skin starts with proper roasting technique. You’ll want steady temperature control; aim for 375°F to 425°F to render fat without burning. Spiking the bird early guarantees even cooking and crispness. Using a roasting rack isn’t optional-it lifts the chicken, promoting air circulation and preventing steaming on the underside. That lift makes a noticeable difference in texture, yielding uniformly golden skin instead of soggy spots. Position the rack in the center of the oven so heat distributes evenly. Avoid overcrowding, which disrupts airflow and undermines crispness. Roast, don’t rush-the time investment pays off in crunch. Your patience, paired with smart temperature control and roasting rack use, turns brined poultry into a crispy-skinned success.
Fix Common Brining and Roasting Mistakes
If you’ve ever pulled a chicken from the oven hoping for crackling skin only to find it rubbery or oversalted, you’re likely dealing with preventable brining or roasting missteps-errors that compromise texture, flavor, and overall success despite careful preparation. Over-brining is a common culprit; even in a beer and herb mix, exceeding 12 hours risks oversalting, drawing in too much moisture and weakening skin structure. Always pat the chicken dry after brining and let it air-chill before roasting. An overcrowded pan restricts airflow, trapping steam and sabotaging crispness-use a wide roasting tray and give the bird space. Uneven seasoning leads to inconsistent flavor, so rub spices under the skin and inside the cavity, not just on the surface. Finally, roast at high heat (425°F+) to render fat quickly and promote browning. These steps guarantee a well-balanced, texturally satisfying result every time.
On a final note
You’ve seen how beer brining boosts moisture and crispness through osmosis and enzymatic action. A dry pat and proper roasting deliver golden, crackling skin. This method outperforms basic saltwater brines in flavor depth and texture. Using the right beer-like a lager or amber-adds subtle complexity without overpowering. When executed, it’s reliable, efficient, and ideal for weekend BBQs where taste and presentation matter. Avoid common errors, and the results will consistently impress.