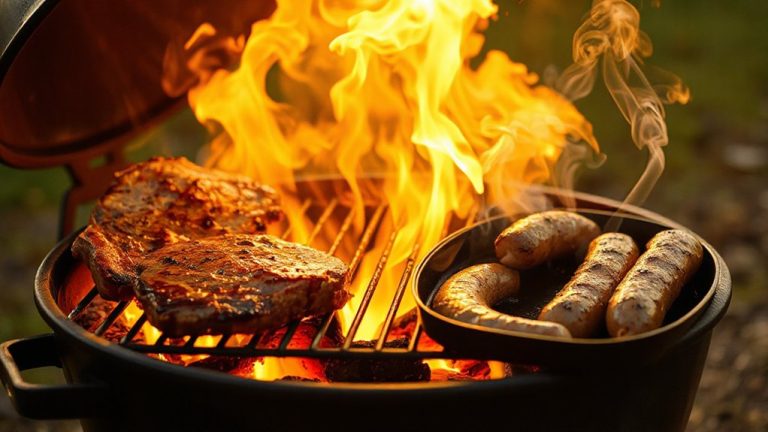
Building a DIY Hibachi Grill From Repurposed Metal Drums
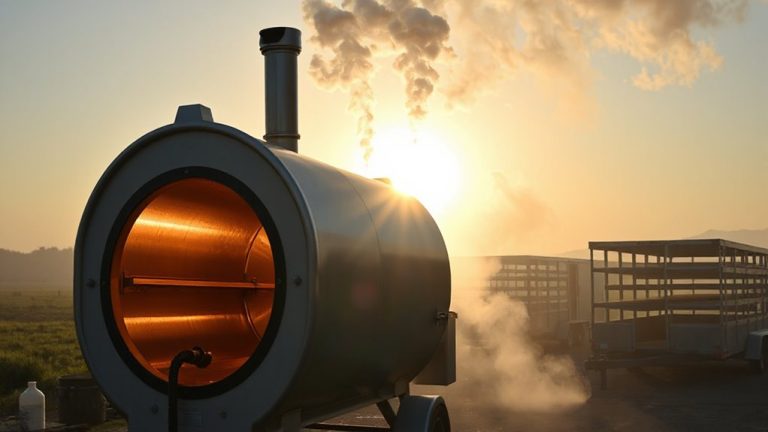
You should start with a clean 55-gallon plain steel or stainless drum-never galvanized, since it releases toxic fumes when heated. Pick one that held non-hazardous materials, and scrub it thoroughly with soapy water before cutting. A 16- to 18-gauge thickness holds and spreads heat well. Use an angle grinder with a metal-cutting disc to open the top and install a heavy-duty grate 6 to 8 inches above the coals. Cut adjustable bottom vents for oxygen control and add upper vents to manage smoke and temperature. Build a welded square tubing frame with swivel casters near the front for easy movement and rear stability, elevating the drum to improve airflow and prevent moisture damage. Season the grill with a 45-minute burn using charcoal, then cool and coat the interior with vegetable oil-repeat two or three times to prevent rust and boost heat retention. Test different fuels like hardwood chunks or briquettes to fine-tune flavor and temperature control. You’ll find this design balances performance, portability, and durability better than most store-bought alternatives. There’s more to optimizing your build for consistent results and long-term use.
Notable Insights
- Use a clean, unlined steel or stainless steel 55-gallon drum to ensure safety and proper heat distribution.
- Thoroughly clean the drum with soapy water and confirm it previously held non-hazardous, non-flammable materials.
- Cut ventilation openings in the bottom and top to control airflow, temperature, and smoke during cooking.
- Build a sturdy, mobile base with welded square tubing and swivel casters for stability and easy movement.
- Season the grill with a 45-minute charcoal burn and apply vegetable oil to protect against rust.
Choose the Right Metal Drum for Your DIY Hibachi
While you might be tempted to use any metal drum you can find, choosing the right one is critical for both safety and performance when building your DIY hibachi grill. The drum material matters-steel drums, especially those made from food-grade or galvanized steel, offer durability and even heat distribution, but galvanized coatings can release toxic fumes when heated, so they’re best avoided. Stick to plain, unlined steel or stainless steel if possible. Always check the drum’s prior contents; never use one that held flammable or hazardous chemicals. Following proper safety precautions guarantees your grill won’t compromise your health or outdoor cooking experience. A 55-gallon drum is ideal-deep enough for airflow control and coal management. Thickness affects heat retention, so opt for 16- to 18-gauge steel. Choosing wisely sets a strong foundation for performance, longevity, and safe, consistent grilling.
Clean and Cut the Drum Safely
You’ve picked a solid drum-now it’s time to clean and prep it for cutting. First, remove any residue by rinsing the drum with soapy water and letting it air dry completely; this guarantees safer handling and cleaner cuts. Always prioritize safety precautions: wear cut-resistant gloves, safety goggles, and a face shield before starting. Use a sturdy workbench and secure the drum with clamps to prevent movement. When applying cutting techniques, an angle grinder with a metal-cutting disc offers precision and control, though a reciprocating saw works too. Cut slowly to reduce warping and create smooth edges. A well-executed cut improves airflow and fuel efficiency, both critical in outdoor cooking. Poor technique leads to jagged seams that compromise structural integrity and heat distribution. Clean lines enhance both function and durability, making your DIY hibachi safer and more effective over time.
Build a Sturdy Base for Mobility and Stability
With stability and ease of movement in mind, a well-constructed base is essential for turning your repurposed drum into a functional hibachi grill. You’ll want to build a frame from sturdy square tubing, welded securely to support the drum’s weight when loaded with charcoal and food. Frame reinforcement at the joints prevents wobbling during transport and use, especially on uneven ground. Attach two heavy-duty swivel casters with brakes-wheel placement near the front allows easier maneuvering while keeping the rear stable. This balance enhances control and safety when moving the grill while hot. A raised base also improves airflow and reduces ground moisture damage. Proper wheel placement guarantees you can reposition the grill smoothly without lifting, which is critical for outdoor cooking setups where portability matters. For those seeking convenience without building from scratch, consider that some best portable grills offer similar mobility and durability in a ready-to-use design. With smart reinforcement and thoughtful design, your base won’t just support-it’ll enhance your grilling experience.
Install a Grill Grate and Adjustable Vents
Now that your drum sits securely on a mobile, stable base, it’s time to focus on the components that directly influence cooking performance: the grill grate and ventilation system. You’ll want to install a heavy-duty steel or cast iron grate that guarantees proper grill alignment, allowing consistent heat distribution and preventing food from falling through. Position it at a height that balances searing capability and control-typically 6 to 8 inches above the coals. For airflow control, cut adjustable vents near the bottom and another set near the top. These let you regulate oxygen intake and smoke output, essential for managing temperature and flavor. Well-placed vents mean you can easily shift from a roaring fire to a slow smoke. Proper airflow control not only improves cooking precision but also reduces fuel waste, making your DIY hibachi efficient and versatile. Choosing the right best grill grates can significantly enhance heat retention and cooking performance.
Season, Test, and Fire Up Your DIY Hibachi Grill
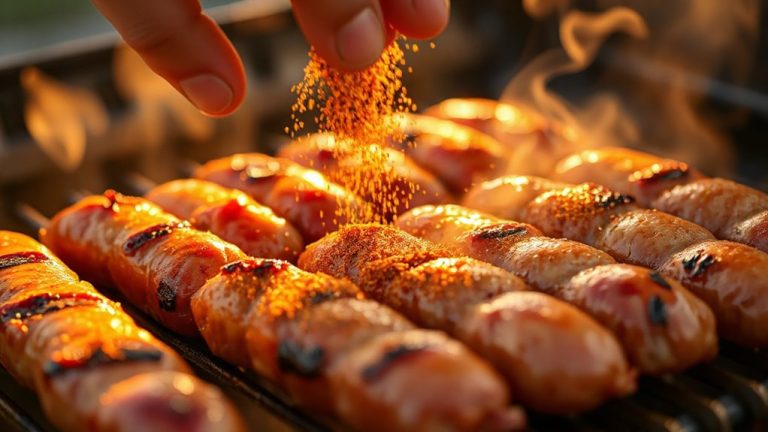
Once your hibachi is fully assembled, it’s essential to season the grill before cooking your first meal-this process burns off manufacturing residues and forms a protective layer on the metal that prevents rust and improves heat retention. Start by lighting a small fire using charcoal, a common fuel type that delivers consistent heat ideal for seasoning. Let the grill burn for 45 minutes, then let it cool and coat the interior with a thin layer of vegetable oil. Repeat 2–3 times. Proper seasoning enhances performance and refines your cooking techniques over time. For best results, consider using top hibachi grills as inspiration for design and functionality.
| Stage | Feeling | Outcome |
|---|---|---|
| First burn | Anticipation | Clean metal, no smoke |
| Oil application | Care | Smooth, seasoned surface |
| First cook | Pride | Juicy, evenly grilled food |
| Family meal | Joy | Shared memories, bold flavors |
Test different fuel types like wood chunks or briquettes to refine heat control and flavor.
On a final note
You’ve built a functional hibachi from a repurposed drum, and it delivers solid heat control and ample cooking space. With proper seasoning, it sears well and maintains steady temps for hours. The adjustable vents and mobile base enhance usability, though periodic rust treatment is necessary. Compared to commercial grills, yours offers customization and sustainability at a fraction of the cost-proof that practical, effective BBQ gear can be homemade without sacrificing performance.