Mastering Temperature Control When Cooking With a Dutch Oven Over Coals
You control temperature by matching coal count to your oven’s size-use four coals per inch on the lid, three underneath-and distribute them in a coil or 3/4 ring for even radiant heat. Adjust vents to manage airflow, which directly impacts combustion and stability. Quality lump charcoal burns cleaner and hotter, while proper lid sealing prevents heat loss. Cast iron’s thermal mass smooths out spikes, but precise coal placement and airflow fine-tune results. Mastering these elements elevates your cooking consistency with every use.
Notable Insights
- Use three coals per inch on the bottom and four per inch on the lid for balanced, consistent heat.
- Arrange coals in a 3/4 ring on top and full ring below to create even radiant heat distribution.
- Adjust temperature by controlling airflow: open vents to increase heat, close them to reduce it.
- Prevent heat loss by ensuring a tight lid seal and checking for warping or debris on the rim.
- Use high-density lump charcoal and proper coal placement to avoid hot spots and maintain stability.
Calculate the Right Number of Coals for Your Dutch Oven
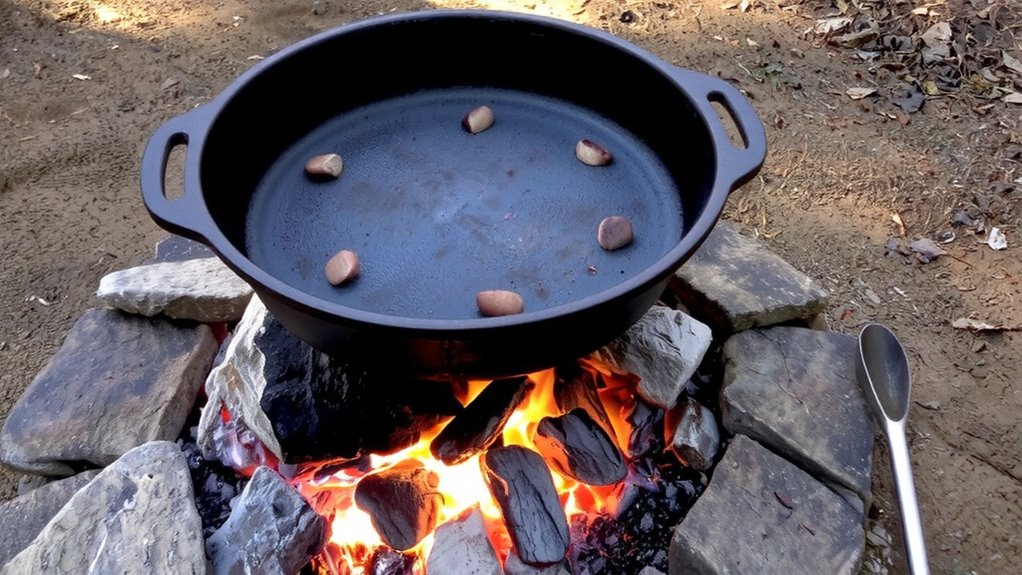
Getting the coal count right isn’t just helpful-it’s essential if you want consistent results from your dutch oven over coals. You’ll need roughly four coals per inch of oven diameter on the lid, and three per inch underneath, but that’s only the baseline. Too few coals mean poor heat retention, leading to uneven cooking or extended times. Too many, and you risk scorching. Proper coal distribution guarantees steady, wraparound heat. You’re not just heating the bottom-you’re creating a radiant environment. The thickness of your oven plays a role, too; heavier models hold heat longer, demanding fewer adjustments. Seasoned cooks tweak counts based on fuel type-lump charcoal burns hotter, briquettes longer. Watch for consistent steam release and internal thermometer stability. With practice, you’ll intuit the right balance, turning guesswork into precision, and meals from hit-or-miss to reliably excellent.
Arrange Top and Bottom Coals for Even Heat
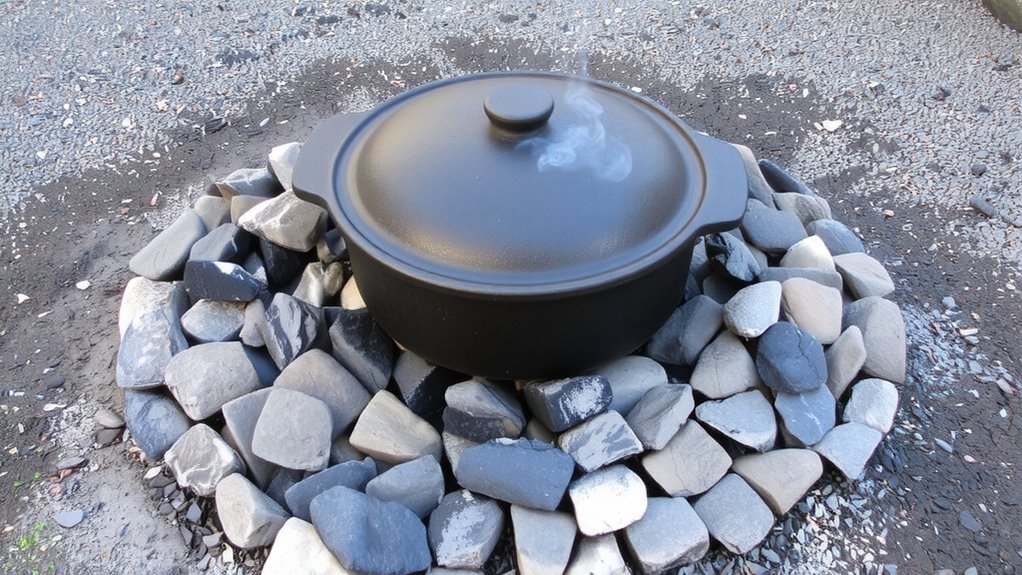
| Setup | Top Coals | Bottom Coals | Heat Consistency |
|---|---|---|---|
| Standard | 3/4 ring | Full base | Moderate |
| Coil Method | Coil ring | Even spacing | High |
| Reflector Shield | Coil ring | With heat reflectors | Excellent |
The coil method paired with heat reflectors gives you the most control and uniform results, ideal for delicate bakes.
Fine-Tune Temperature With Airflow and Position
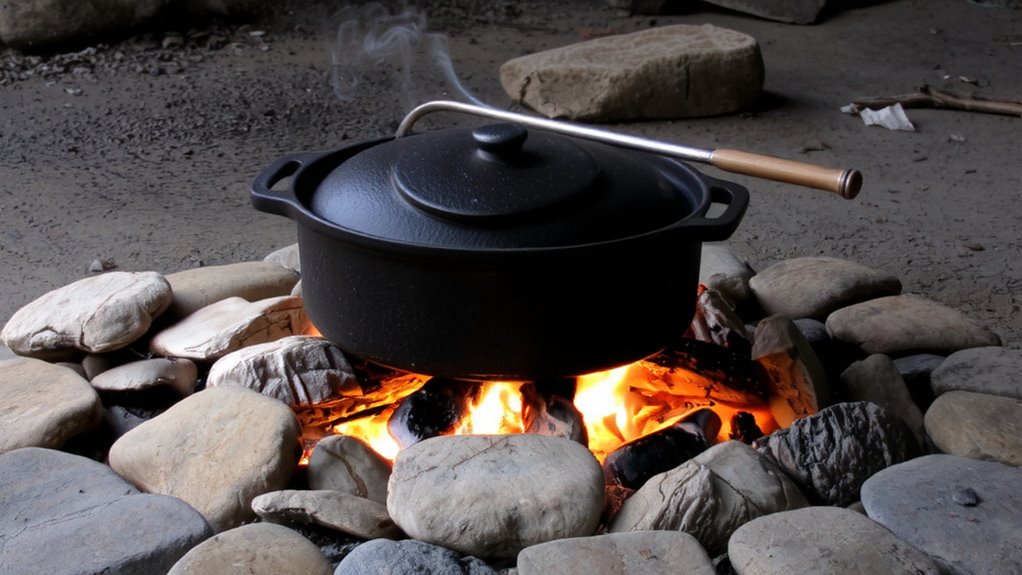
While heat distribution sets the foundation, you’ll find that fine-tuning temperature hinges just as much on airflow and pot positioning. Airflow management directly impacts combustion-opening vents increases oxygen flow, boosting heat, while restricting them cools things down. You can adjust the lid’s vent to control airflow from above, or shift the Dutch oven slightly off-center to reduce direct exposure. Coal positioning isn’t just about quantity; moving coals to one side creates zones for different cooking intensities. For slow simmers, cluster fewer coals beneath and limit airflow. For higher heat, spread coals evenly and maximize vent openness. These adjustments offer precise control, surpassing what coal count alone achieves. Mastering airflow and positioning means adapting in real time, responding to wind, fuel type, and ambient temperature-essential for consistent, reliable results in outdoor cooking.
Fix Common Dutch Oven Heat Problems
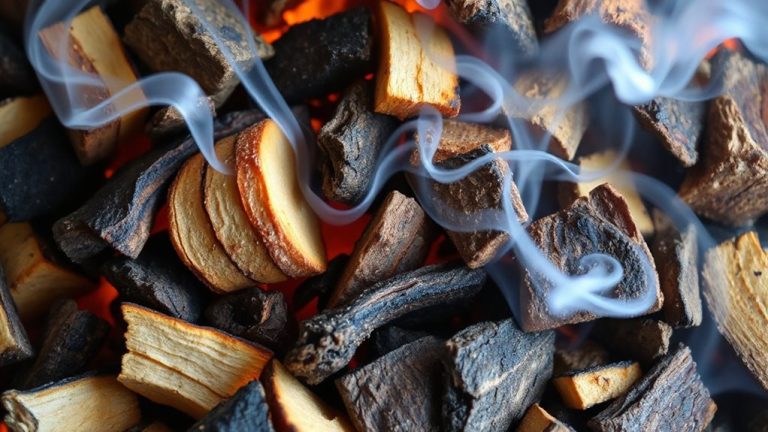
You’ve probably noticed how tricky it can be to maintain steady heat in a Dutch oven over coals, especially when the wind shifts or your coals burn down faster than expected. Lid sealing is critical-any gap lets heat escape and temperature fluctuate, so always check for warping or debris on the rim. A well-sealed lid traps moisture and heat efficiently, ensuring even cooking. Coal quality matters just as much; cheap or green charcoal burns unevenly and produces inconsistent heat. Invest in high-density, lump hardwood charcoal-it lights easier, burns longer, and responds better to airflow adjustments. Poor coal quality leads to hot spots and frustrating temp swings, no matter how well you’ve arranged the coals. When problems arise, don’t just add more coals-first inspect your lid seal and assess your fuel. These two factors together make or break your cooking performance more than almost any other variable.
Understand How Heat Works in Dutch Oven Cooking
Because heat transfer in Dutch oven cooking relies on a combination of conduction, convection, and radiant energy, understanding how these forces interact over coals is key to mastering temperature control. You’re working with radiant transfer from glowing coals above and below, while conduction moves heat through the cast iron walls. Convection circulates warm air inside, ensuring even cooking. Dutch ovens excel at heat retention, holding and distributing warmth long after coals shift or cool slightly. This stability lets you maintain steady temps, essential for baking or slow-cooked stews. Unlike thin cookware, cast iron buffers sudden spikes, giving you more control. Positioning coals-more on top for baking, balanced for roasting-adjusts how radiant transfer affects your meal. Recognizing these dynamics means fewer burns, better browning, and consistent results. With practice, you’ll anticipate heat changes, using the oven’s mass to your advantage, not against it.
On a final note
You’ve got the tools to master Dutch oven cooking over coals. By calculating coal counts, balancing top and bottom heat, and adjusting airflow, you achieve precise, even temperatures. Understanding radiant and convective heat helps troubleshoot common issues. With practice, this method outperforms many modern ovens in flavor and consistency. It’s reliable, scalable, and ideal for outdoor cooking when you need dependable performance. Proper care guarantees lasting use-making it a worthwhile skill for any serious BBQ enthusiast.