Smothered Chicken Thighs With Onions and Mushrooms All-In-One in Dutch Oven
You’ll love how the Dutch oven’s heavy construction guarantees even heat for perfectly seared chicken thighs with crispy, golden skin. Searing locks in flavor, while slow-caramelized onions and mushrooms add depth and umami. Deglazing with white wine lifts the fond, creating a rich, herby pan sauce infused with thyme, garlic, and rosemary. Simmered until juicy and tender, this one-pot meal delivers consistent results and deep flavor-ideal for reliable, hands-off cooking. There’s more to discover about refining each step for your taste.
Notable Insights
- Use a Dutch oven to sear chicken thighs skin-side down for a crispy, golden crust.
- Sauté onions until amber and mushrooms until browned to build a rich, savory base.
- Deglaze with white wine or broth to lift flavorful fond and create a robust sauce.
- Simmer chicken thighs skin-side up in the sauce for 35–40 minutes until tender and fully cooked.
- Store leftovers in an airtight container for up to four days or freeze for longer storage.
Brown Smothered Chicken Thighs in a Dutch Oven
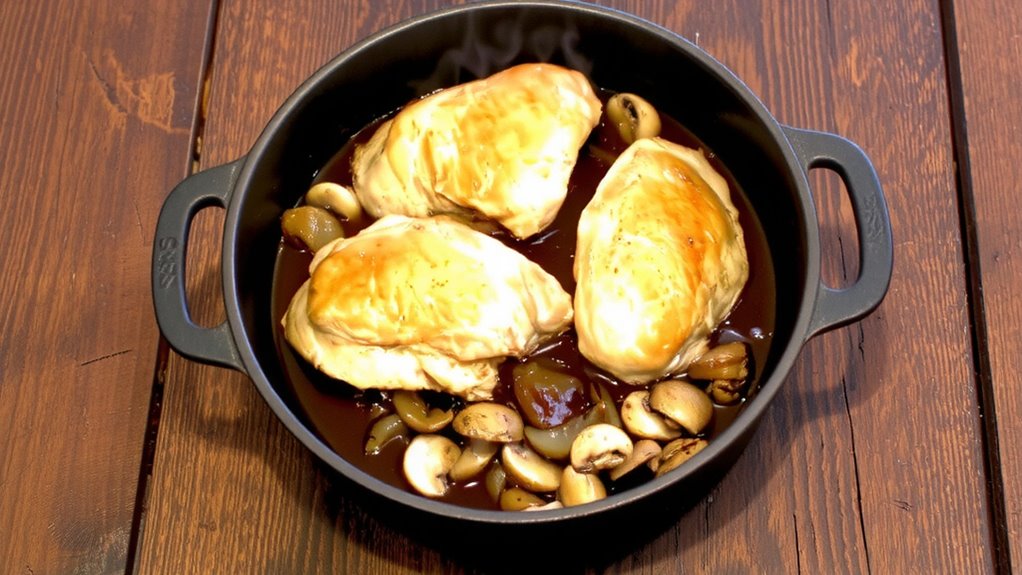
While a heavy skillet works in a pinch, using a Dutch oven for browning chicken thighs gives you more consistent heat retention and better control over the sear, especially when cooking in batches. You’ll want that steady temperature to achieve crispy skin and even browning-two hallmarks of a well-seared thigh. The heavy walls minimize hot spots, so each piece cooks more uniformly across the base. Unlike thinner pans, the Dutch oven holds heat when cold meat hits the surface, preventing steam buildup that could sabotage texture. You’re aiming for deep color, not burnt edges, and the tight-fitting lid (though not used here) means future steps will retain moisture efficiently. Plus, going straight from stovetop to oven simplifies cleanup. You get restaurant-quality results without flipping pans. It’s not just convenience-it’s performance: reliable searing, better crust development, and the kind of browning that builds serious flavor in one-pot meals like this.
Sear Chicken for Golden, Crispy Skin
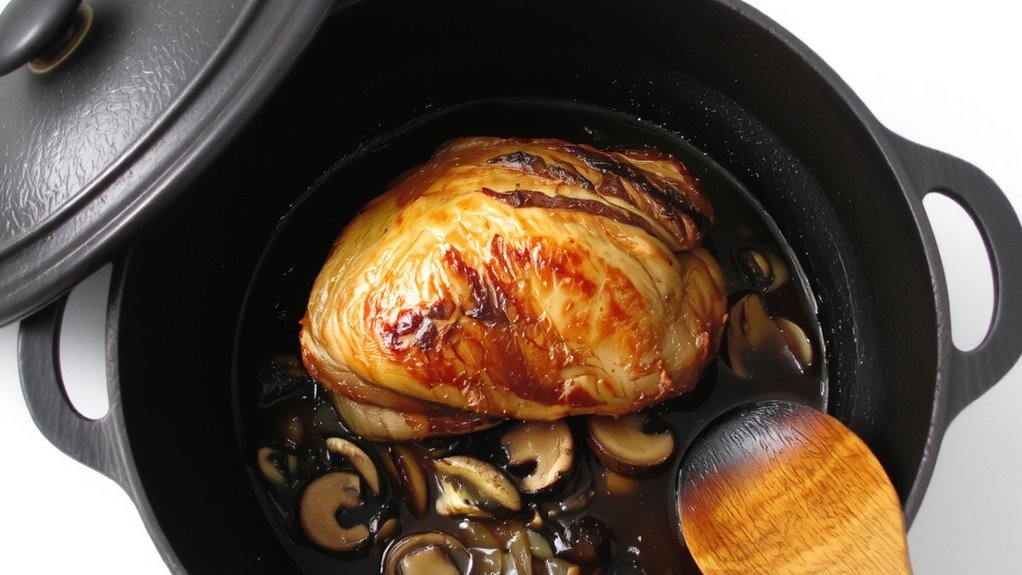
You’ve got your Dutch oven preheated and ready-its heavy walls primed to handle the incoming chicken without a nosedive in temperature. Place each seasoned thigh skin-side down, letting the chicken seasoning sizzle on contact. A well-executed sear hinges on patience: don’t move the pieces. Let them cook undisturbed for 5–7 minutes, allowing the Maillard reaction to build flavor and enhance skin texture. You’re aiming for deep golden crispness, not just color-this foundation prevents sogginess later. Use tongs to check progress; if the skin sticks, it’s not ready to flip. High heat and proper fat rendering are key-too low, and the skin turns leathery; too high, and seasoning burns. This step isn’t just visual-it locks in juices and builds complexity. Crispy skin isn’t a garnish; it’s structural, adding contrast against the tender meat and rich sauce to come.
Caramelize Onions and Sauté Mushrooms
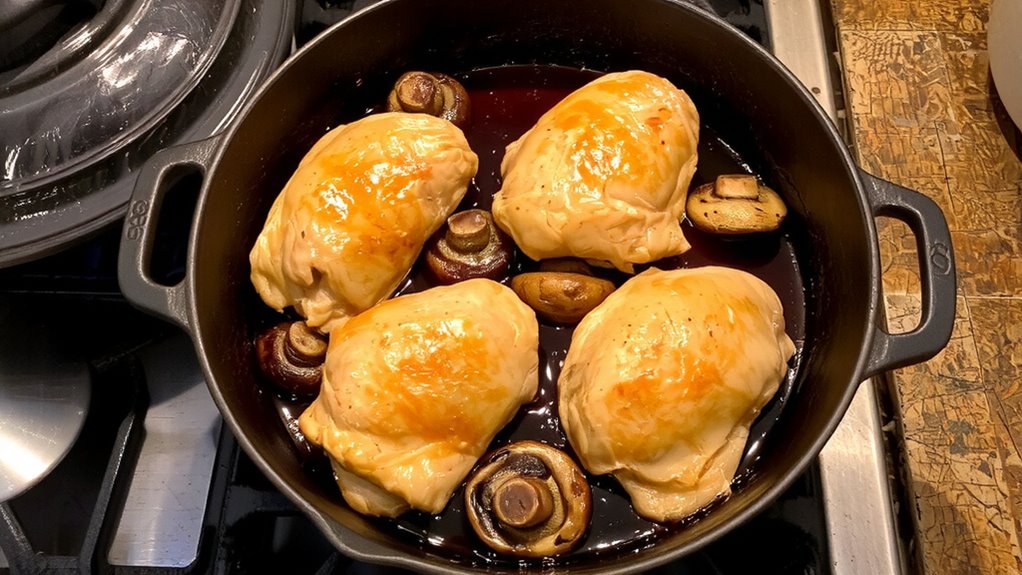
Since the chicken thighs are seared and set aside, now’s the perfect moment to build layers of flavor in that same Dutch oven-because why wash pans twice? Drop in sliced onions and let them cook low and slow; this isn’t a sprint. You’re coaxing out that deep onion sweetness, letting the natural sugars caramelize into a rich, golden base. Stir occasionally-patience pays off. Once they’re soft and amber, push them aside and add sliced mushrooms to the center. Don’t crowd them; you want them to sear, not steam. Let them develop a deep brown crust, releasing their liquid and concentrating that earthy mushroom umami. This isn’t just cooking-it’s foundational work. The onions add subtle sweetness, while the mushrooms bring savory depth, both essential for the dish’s backbone. These flavors meld seamlessly later, creating a sauce that’s balanced, complex, and deeply satisfying without overpowering the chicken.
Deglaze and Make the Herby Pan Sauce
Now that the onions have softened into golden strands and the mushrooms carry that deep, seared earthiness, it’s time to release the browned bits stuck to the bottom of the Dutch oven-they’re flavor gold. Pour in a splash of dry white wine or broth, scraping the surface with a wooden spoon to lift every bit of caramelized goodness. This deglazing step builds the foundation of your herbal infusion. Stir in fresh thyme, rosemary, and a hint of garlic for depth. The pan juices should form a cohesive, aromatic sauce that clings just right-neither too thin nor overly concentrated. You’re aiming for flavor balance: the acidity from the wine tempers the richness of the chicken fat, while the herbs elevate without dominating. A final grind of black pepper and touch of lemon zest refine the profile. This sauce isn’t just a complement-it’s a measured enhancement, integral to the dish’s savory harmony.
Simmer Until Chicken Is Tender and Juicy
With the fond fully incorporated and the herby sauce frag “;” and well-balanced, it’s time to return the chicken thighs to the Dutch oven, nestling them into the mixture skin-side up so the juices stay locked in. Cover and reduce the heat to low, allowing the chicken to simmer gently for 35 to 40 minutes. This cooking time is essential-it guarantees even chicken doneness without drying out the meat. Bone-in thighs benefit from slow, moist heat, which breaks down connective tissue while preserving moisture. You’ll know they’re ready when a meat thermometer reads 165°F at the thickest part, and the meat easily pulls from the bone. The Dutch oven’s heavy construction helps regulate temperature, preventing hot spots and promoting consistent results. Unlike quicker methods, this simmering phase develops deeper flavor integration between the chicken, onions, and mushrooms. It’s a reliable technique that prioritizes texture and internal doneness over speed, making it ideal for weeknight meals that still taste slow-cooked.
Customize With Easy Smothered Chicken Variations
While the classic version of smother EventHandlered chicken thighs with onions and mushrooms delivers rich, savory depth, you can easily adapt the dish to suit different palates and pantry contents without sacrificing its comforting essence. Want to keep it gluten free? Swap regular flour for cornstarch or a gluten free flour blend when thickening the sauce-both work efficiently and don’t alter the flavor. For dairy free substitutions, replace butter with olive oil or plant-based margarine and use unsweetened dairy free creamers or coconut milk in place of heavy cream. These swaps maintain the dish’s velvety texture while meeting dietary needs. You can also experiment with herbs-rosemary adds earthiness, paprika brings warmth. Even with changes, the Dutch oven guarantees even heat distribution and consistent results. These variations offer practical flexibility, letting you customize without compromising on richness or ease.
Store and Reheat Leftover Chicken Thighs
Your leftover smothered chicken thighs retain their flavor and texture remarkably well when stored properly, making them a convenient option for meal prep or weekday leftovers. For ideal freshness, place the cooled chicken and gravy in an airtight container, ensuring minimal air exposure. The recommended storage duration is up to four days in the refrigerator or three months in the freezer. When reheating, consider the best methods to preserve moisture and depth of flavor. Gentle stovetop reheating in a covered skillet over low heat works most effectively, evenly distributing warmth without drying out the meat. Alternatively, use a covered oven-safe dish at 325°F for 20–25 minutes. While microwaving is faster, it risks uneven heating and a rubbery texture. Evaluate reheating methods based on time, texture goals, and equipment access to achieve the best outcome.
On a final note
You’ve built deep flavor efficiently using your Dutch oven’s even heat retention and browning capability. The sear on the chicken thighs delivers texture, while slow simmering melds the caramelized onions, mushrooms, and herby sauce into a cohesive, savory dish. This method proves reliable for weeknight dinners or casual gatherings. Dutch oven cooking offers superior control compared to standard skillets, especially when deglazing and maintaining consistent moisture. It’s a practical, high-performance technique worth mastering.