Earth Oven Cooking: How to Build an Underground Oven
You’re building a traditional earth oven that uses heated stones and buried heat for slow, moist cooking. Choose a flat, well-drained spot, away from wind and flammables. Construct a dome from cob or adobe, insulate with ash or perlite, then fire it with hardwood until the walls glow. Wrap meats and veggies in leaves or foil, cook them for hours, and enjoy tender, smoky results. Proper build and care guarantee durability and flavor-discover how to get the most from each bake with smart techniques.
Notable Insights
- Choose a well-drained, flat site downwind from living areas to ensure safe and efficient earth oven operation.
- Construct the oven with heat-retaining materials like cob or stone, and insulate with ash or perlite for maximum efficiency.
- Heat volcanic rocks or stones inside the chamber using dry hardwood to build and store consistent radiant heat.
- Cook food wrapped in leaves or foil, buried in layers of soil and vegetation to trap moisture and heat for hours.
- Adapt global techniques-like the Pacific imu or Mexican horno-for flavor and proven slow-cooking success.
The Earth Oven: How It Works
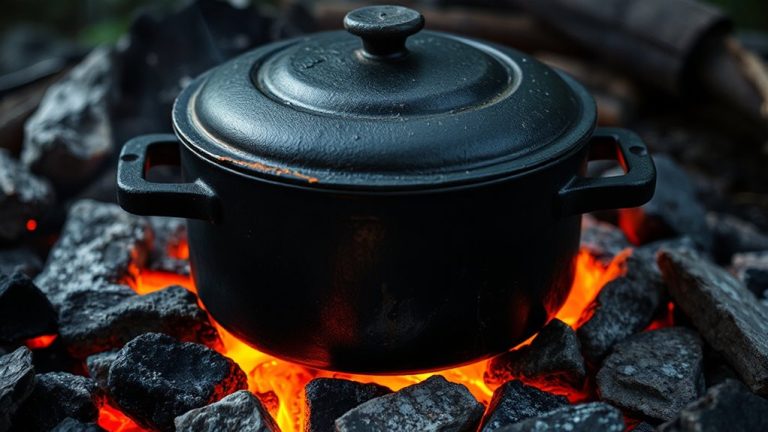
You’ve probably seen one at a traditional luau or a rustic backyard gathering-the earth oven, also known as an imu or pit oven, is more than just a hole in the ground; it’s a time-tested cooking method that leverages thermal mass and indirect heat to transform tough cuts of meat and fibrous vegetables into tender, smoky delicacies. You start by heating volcanic rocks or stones for several hours, which provide steady heat retention long after flames fade. Once hot, you bury food in layers of leaves and soil, sealing in moisture and warmth. Cooking duration varies-often 8 to 12 hours-depending on food quantity and heat intensity. This slow, even process breaks down collagen and starches thoroughly, yielding results you can’t achieve with grilling alone. While labor-intensive, the earth oven delivers unmatched depth, making it a reliable choice for large gatherings where flavor and authenticity matter. It’s effective, efficient, and rooted in centuries of culinary wisdom.
Choosing the Right Spot for Your Earth Oven
Though it might be tempting to dig your earth oven wherever the backyard looks convenient, picking the right spot requires careful consideration of both safety and functionality. You’ll want to choose a location with good soil drainage to prevent water from pooling in the pit after rain, which can weaken the structure and prolong drying time. Avoid low-lying areas where runoff collects. Also, pay attention to wind direction-position your oven so prevailing winds don’t blow smoke toward your house or seating area. Ideally, place it downwind from common outdoor spaces, but not so far that transporting food becomes cumbersome. A flat, stable surface near a prep area improves efficiency. Finally, keep it a safe distance from flammable structures or overhanging branches. Thoughtful placement enhances both performance and enjoyment.
How to Build a Simple Earth Oven Step by Step
Since building an earth oven doesn’t require advanced masonry skills, you can construct a functional, heat-efficient model with basic materials and careful planning. Focus on proper cooking chamber design to guarantee even heat distribution and efficient wood use. A dome-shaped interior promotes better airflow and radiant heat, essential for baking and roasting. Pair this with solid oven insulation techniques-like using perlite or wood ash between walls-to retain heat longer. Here’s a quick comparison:
| Feature | Traditional Cob | Metal Drum Insert | Adobe Bricks |
|---|---|---|---|
| Heat Retention | High | Moderate | Medium |
| Build Complexity | Low | Low-Medium | Medium |
| Insulation Needs | Low (with ash) | High | Medium (with clay) |
These choices affect performance and fuel efficiency. A well-designed cooking chamber with smart insulation means faster heat-up times and more consistent results.
Heating Your Earth Oven With Wood and Coals
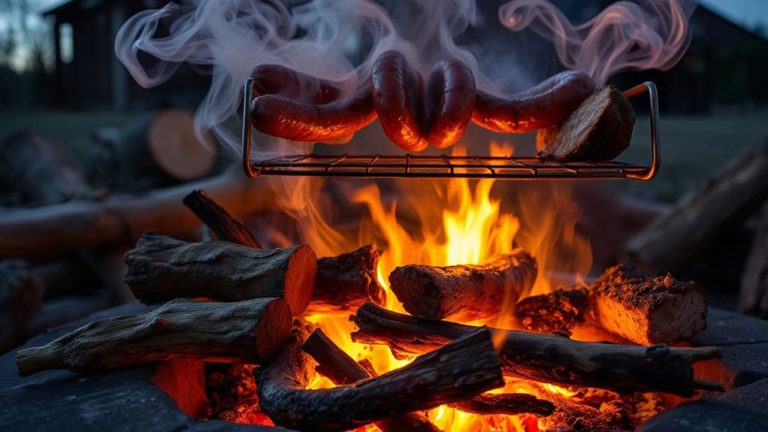
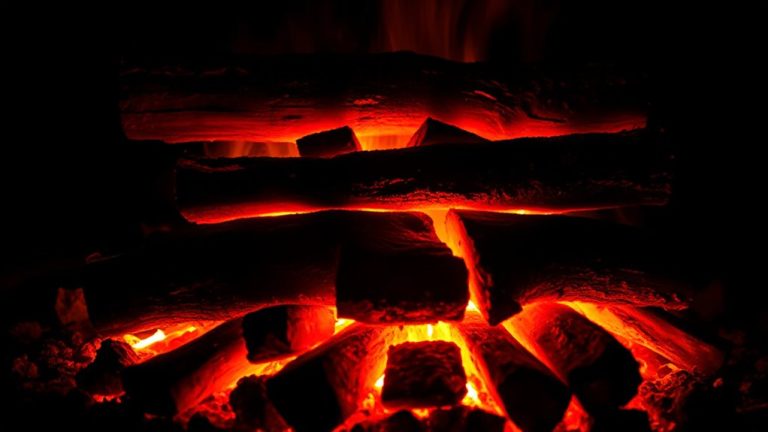
A properly built earth oven needs the right heating strategy to reach and sustain the temperatures required for baking bread, roasting meats, or slow-cooking stews. You’ll start by building a fire directly inside the oven chamber using dry hardwood, which burns hotter and longer than softwood. Good fire management means maintaining steady airflow and adding wood gradually-this keeps temperatures consistent and prevents overheating. After an hour or so, once the interior walls glow evenly, you’ll push the hot coals to the sides or back, allowing the oven to stabilize. The thermal mass of the clay and stone absorbs heat efficiently, delivering excellent heat retention. This stored energy will cook food slowly and evenly, even after the fire’s reduced. Proper insulation guarantees you won’t need constant refueling, making your earth oven efficient. With practice, you’ll learn how long to heat it, depending on what you’re preparing later.
How to Cook Meat and Veggies in an Earth Oven
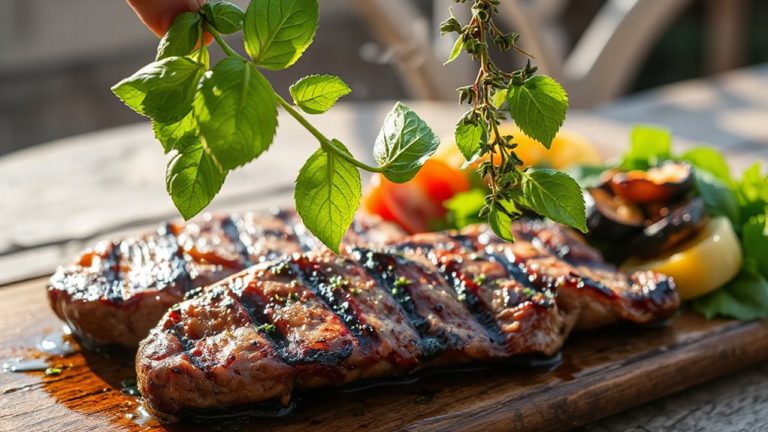
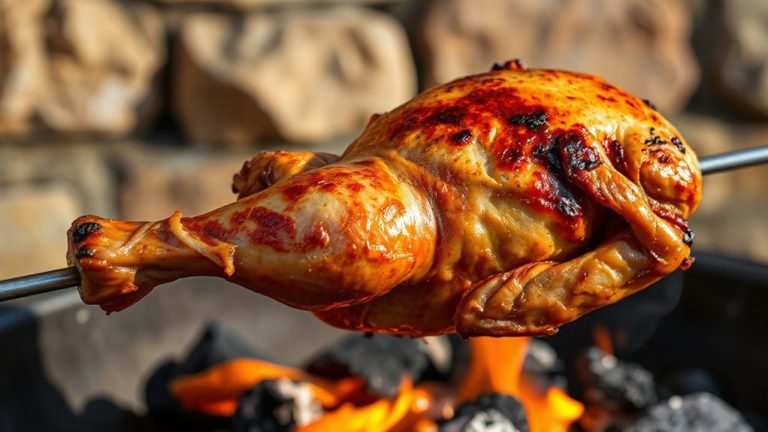
What makes earth oven cooking truly remarkable? It’s the deep, even heat and natural flavor infusion you just can’t replicate with modern grills. When roasting meat and veggies, start by seasoning them well-herbs, spices, and oils penetrate better in slow, moist environments. Use effective wrapping techniques: banana leaves, cabbage leaves, or foil seal in moisture while protecting food from direct ash. Wrap meats tightly to retain juices; veggies like potatoes or carrots steam beautifully when bundled. Place your wrapped food directly on the hot stones, then cover with wet burlap and soil to trap heat. Cook times vary-chickens take 3–4 hours, roots less-but the results are tender, smoky, and richly layered. This method excels in both texture and taste, offering a rustic depth that reflects true outdoor craftsmanship. Wrapping techniques aren’t just practical-they’re essential for maximizing flavor infusion.
Earth Oven Maintenance and Fixes
One poorly maintained earth oven can undermine even the most精心 planned cook, so keeping yours in top condition isn’t optional-it’s essential. You’ll want to regularly check for structural cracks, especially after repeated heating and cooling cycles, since they compromise heat retention and safety. Small cracks can often be repaired with a fresh coat of clay-rich daub, but larger ones may demand more extensive patching or rebuilding. Don’t overlook your oven insulation-materials like perlite or volcanic rock lose effectiveness if compressed or wet, so guarantee the outer layer remains dry and intact. Over time, ash and debris can build up at the base, reducing airflow and efficiency. Clear it out routinely to maintain proper draft. A quick inspection before each use helps catch issues early. Prioritizing upkeep means more consistent cooking results and a longer lifespan for your oven.
Earth Ovens Around the World: From Tradition to Backyard Use
Though you might think of earth ovens as little more than backyard curiosities, they’re actually part of a living tradition that stretches across continents and centuries. Their cultural origins span Polynesia, Latin America, and the Middle East, where cooking with earth and fire has long sustained communities. Today, modern adaptations make these ovens accessible for home use without sacrificing authenticity.
| Region | Use & Evolution |
|---|---|
| Pacific Islands | Imu pits for feasts, now backyard luau ovens |
| Mexico | Barbasco pits transformed into home hornos |
| Middle East | Tabun ovens inspire portable clay versions |
Modern materials and simplified designs allow you to enjoy slow-cooked meals with minimal effort. These upgrades preserve tradition while fitting contemporary lifestyles. Whether you’re roasting root vegetables or slow-cooking meats, earth ovens blend heritage with practicality in outdoor cooking.
On a final note
You’ve built, heated, and cooked in your earth oven-now you see its real value. It’s not just about slow-cooked meats or perfectly roasted veggies; it’s about efficiency, tradition, and flavor wood-fired heat delivers. With minimal upkeep, it lasts years. Though slower than modern grills, its performance, heat retention, and ability to handle large feasts make it ideal for serious outdoor cooks who appreciate method and results alike.