Grilling Skewers Like a Pro: Preventing Overcooking and Uneven Cooking
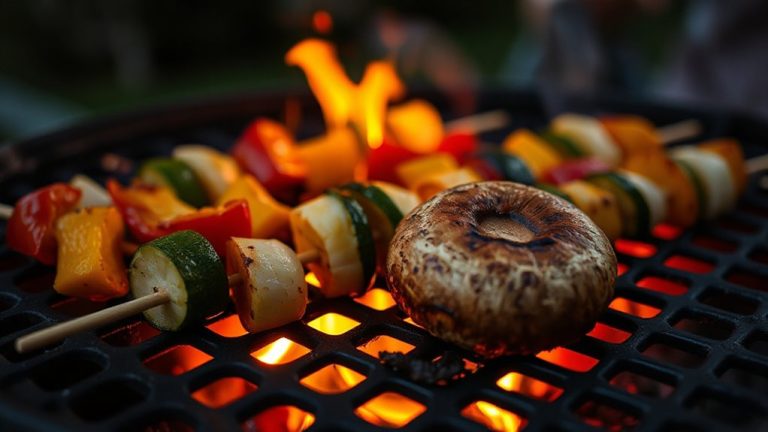
Choose hearty ingredients like chicken thighs and sirloin, pairing them with sturdy veggies like bell peppers and zucchini. Cut everything to 1–1.5 inches for even cooking. Use two metal skewers or soaked wooden ones to prevent spinning and charring. Set up hot and cool grill zones to control doneness, placing proteins over direct heat first. Add quicker-cooking items later. This method guarantees juicy, well-seared results every time-there’s more to fine-tuning your technique where timing and heat work in sync.
Notable Insights
- Choose dense meats like chicken thighs and sirloin, which absorb marinade better and resist overcooking.
- Cut all ingredients uniformly to 1–1.5 inches for even heat exposure and consistent doneness.
- Use two parallel metal skewers to prevent spinning and ensure stable, even grilling.
- Soak wooden skewers for at least 30 minutes to prevent charring and reduce flare-ups.
- Set up grill zones to sear proteins over direct heat and finish vegetables over indirect heat.
Pick Skewer-Friendly Ingredients
While choosing ingredients might seem straightforward, picking the right ones can make or break your skewer game. You need proteins and veggies that hold up under heat while absorbing flavor effectively. Denser meats like chicken thighs or sirloin offer better marinade depth than lean cuts, which dry out quickly. Similarly, bell peppers and zucchini work well, but avoid overly watery vegetables like tomatoes-they collapse. The spice balance in your mix matters too; bold spices can overwhelm delicate ingredients like shrimp or tofu, so tailor seasoning accordingly. Opt for items with similar cooking times and textures to maintain control over doneness. Mushroom caps and pineapple chunks bring both structure and flavor harmony. Your ingredient choices set the foundation-not just for taste, but for how evenly everything cooks. Smart selections mean juicy interiors, seared exteriors, and no sad, charred pieces falling off the stick. Upgrading your tools can also make a difference-consider investing in high-quality best skewers for grilling to ensure even cooking and durability.
Cut Everything to the Same Size
One key to flawless skewers is cutting every ingredient to the same size-ideally around 1 to 1.5 inches across. This guarantees uniform cuts, so everything cooks at the same rate. Think about it: a chunk of bell pepper the size of a walnut will char long before a golf ball–sized potato does. You’re aiming for ingredient symmetry, not just visual appeal but functional balance on the grill. Dense veggies like carrots or meats need matching dimensions to tender ones like zucchini or mushrooms, or you’ll end up with some items rubbery and others burnt. Uniformity isn’t just neat-it’s practical science. When heat surrounds each piece equally, you get consistent texture and doneness across the entire skewer. It takes a bit more prep time, sure, but the payoff is even cooking and professional results. Skip this step, and even the best grillwork can’t save your dish from unevenness.
Use Two Skewers or Soaked Wood
Using two parallel metal skewers is a game-changer when it comes to grilling kebabs-you’ll find it far easier to flip them without spinning or sticking. The dual skewers keep food securely in place, maintaining consistent skewer spacing so ingredients cook evenly across the grate. This method also reduces the risk of small pieces falling into the fire. If you’re using wooden skewers, soaking them for at least 30 minutes prevents premature charring, especially important when your marinade consistency is on the thinner side-oil-based marinades can drip and ignite, but soaked wood helps mitigate flare-ups. Metal skewers conduct heat better, promoting even cooking, but require careful spacing to avoid overcrowding. Soaked wood works well for delicate items but demands attention to prep time. Both methods improve control, though dual metal skewers offer superior durability, ease of use, and repeatability. Choose based on your ingredients and grilling style.
Create Hot and Cool Grill Zones
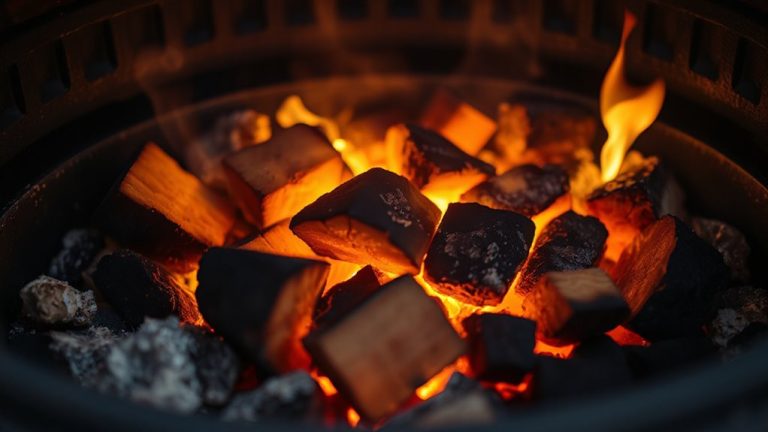
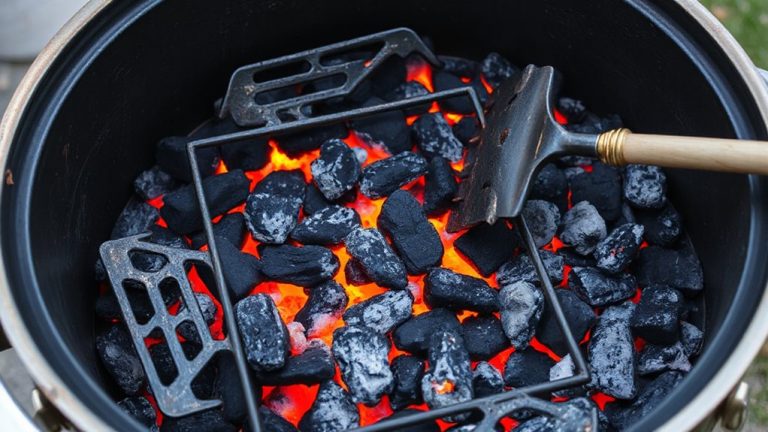
If you want to grill skewers with real control, setting up hot and cool zones on your grill isn’t just smart-it’s essential. By adjusting your burners or arranging charcoal on one side, you create distinct areas for searing and gentle cooking. This setup improves heat distribution, letting you move skewers when the grill temperature spikes or items risk burning. Direct heat sears quickly, locking in juices, while indirect zones allow slower, even cooking-perfect for denser ingredients. You’ll avoid charring vegetables while waiting for meats to finish. Reliable heat management means better texture and consistent doneness across every skewer. Whether using gas or charcoal, mastering zones gives you flexibility most beginners overlook. It’s not just about flame intensity; it’s about strategy. And once you understand how grill temperature affects different foods, you’ll never go back to cooking over one relentless heat zone.
Add Food Based on Cooking Time
Now that you’ve set up your grill with distinct hot and cool zones, you’re ready to think strategically about when and where to place each skewer. Start with proteins needing longer cooking-like beef or chicken-on the hot side, especially if they’ve had a shorter marinade duration, since they’ll need more direct heat to cook through. Vegetables and pre-cooked items go on the cool side or get added later. Delicate seafood, marinated for at least 30 minutes, cooks fast and benefits from quick searing to preserve moisture and spice balance. Group skewers by cooking time to avoid underdone onions beside dried-out shrimp. You’ll maintain texture, don’t lose grill marks to flare-ups, and keep flavor profiles intact. Skewers with bold spice balance need careful watching-spices can burn on high heat. Timing each addition guarantees every component finishes together, perfectly. It’s not just grilling; it’s coordination.
Let Skewers Rest Before Serving
Once your skewers come off the grill, resist the urge to dig in right away-letting them rest for five to ten minutes makes a noticeable difference in both juiciness and flavor distribution. During this time, the residual heat redistributes evenly through the meat and vegetables, enhancing flavor retention by allowing juices to settle rather than spilling out with the first bite. That short pause also supports texture preservation, especially in proteins; it prevents them from turning tough or dry when sliced or pulled apart. Think of it like letting a roasted bird rest-the same principle applies. You’re not just waiting; you’re actively improving the final result. Cover the skewers loosely with foil to keep them warm without steaming the surface. In outdoor cooking, where heat control can be unpredictable, this small step guarantees more consistent, restaurant-quality results. Patience here pays off in both taste and mouthfeel.
On a final note
You’ve got the tools to grill skewers like a pro. Uniform cuts, dual skewers, and soaked wood prevent sticking and rotation issues. Managing grill zones lets you sear and finish items evenly. Staggered placement based on cook time avoids overdone chicken or raw veggies. Resting locks in juices. These methods aren’t just effective-they reflect smart, tested BBQ practice. Master them, and you’re not just grilling; you’re performing controlled, outdoor precision cooking.