How to Build a Keyhole Fire Pit for Efficient Wood Grilling in Backyard Setups
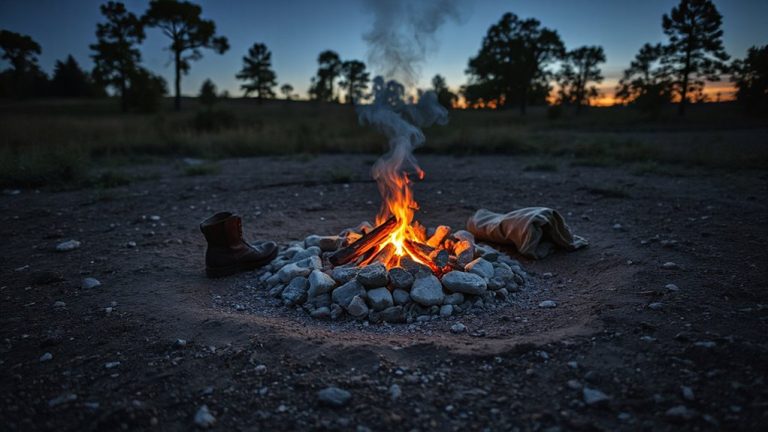
You’ll build a keyhole fire pit by shaping firebricks into a round cooking chamber with a narrow, rectangular throat extending outward-this design boosts airflow and heat retention for consistent grilling. Place it at least 10 feet from structures, use hardwoods like oak, and include intake vents at the base to improve combustion. The steel ring inside the chamber holds heat, while the level brick surface supports your grill. Position matters: southern exposure and non-flammable ground cover make it more efficient. You’ll get better control than with basic ring pits, thanks to its proven thermal geometry and radiant heat reflection. There’s more to optimizing fuel and cooking zones than most realize.
Notable Insights
- Design the keyhole shape with a round fire chamber and narrow rectangular throat for optimal airflow and heat control.
- Position the fire pit at least 10 feet from structures and use non-flammable surfaces like stone or gravel.
- Use 20–30 firebricks rated above 2,000°F to withstand thermal stress and ensure long-term durability.
- Install intake vents at the cooking end base to enhance combustion and reduce smoke during grilling.
- Place a steel ring in the chamber and use hardwoods like oak for consistent, efficient burning and heat retention.
What Is a Keyhole Fire Pit (And Why It’s Better)
Geometry defines the keyhole fire pit-an efficient design merging a round cooking area with a rectangular burn chamber that tapers like a hearth’s throat. You’ll notice how this layout boosts airflow and heat retention, making it better for consistent grilling. The round section holds your grill grate, while the narrow chamber channels flames and embers toward the cooking zone, improving fuel efficiency. Compared to simple ring pits, this setup offers superior control over temperature. Its aesthetic design blends rustic charm with functional form, often enhanced with stone or firebrick finishes. Rooted in ancestral outdoor cooking methods, the keyhole shape draws from indigenous cultural history, particularly in Mesoamerican hearths where thermal efficiency was valued. You’re not just building a fire pit-you’re adopting a time-tested system. It demands less wood and delivers even heat, ideal for slow roasting or searing. Once established, it’s easier to maintain and clean, thanks to concentrated combustion. For backyard cooks wanting performance and meaning, this design stands out.
Pick a Safe, Practical Spot in Your Yard
You’ve seen how the keyhole fire pit’s shape improves airflow and heat control, making it a smart upgrade from basic ring designs, but none of that matters if you place it in the wrong spot. For fire safety and functionality, choose a location at least 10 feet from structures, trees, and flammable materials. Consider prevailing wind patterns-cooking smoke should not drift toward seating areas. Flat, level ground guarantees stability and even heat distribution. Those interested in a fuel-flexible alternative might consider a portable propane fire pit for convenient, controlled outdoor heating.
| Factor | Recommendation |
|---|---|
| Clearance | 10+ ft from combustibles |
| Surface | Non-flammable (stone, gravel) |
| Weather Conditions | Sheltered from strong gusts |
Permanent setups benefit from southern exposure for warmth. Temporary spots need less commitment but demand vigilance in changing weather conditions. Practical placement balances safety, comfort, and performance-critical for consistent outdoor cooking results.
Gather Firebrick, Metal, and Basic Tools
A solid foundation starts with the right materials, and for a keyhole fire pit, that means firebrick, steel, and a few essential tools. You’ll need between 20 and 30 firebricks, depending on pit size-opt for dense, kiln-fired bricks that withstand thermal shock, not regular masonry units. Firebrick sourcing matters: look at masonry supply yards or online retailers for Type S or hard firebricks rated above 2,000°F. For the pit walls, a steel ring or plate-ideally 1/4-inch thick-contains heat efficiently and protects the ground. Tool selection should prioritize precision and safety: a masonry trowel, level, tape measure, rubber mallet, and angle grinder with a masonry blade make layout and fit far more accurate. Avoid makeshift tools; investing in quality now secures better alignment, heat retention, and longevity. These materials don’t just shape the pit-they define how evenly your wood coals roast meats and how reliably the structure endures seasons of backyard grilling. For optimal cooking performance, consider models with adjustable grilling surfaces found in top-rated fire pits with grills.
Build the Keyhole Shape in 6 Steps
Now that you’ve assembled your firebricks, steel ring, and core tools, it’s time to shape them into a functional keyhole design. Start by laying out the circular fire ring for the main burn chamber. Next, align firebricks in a horseshoe shape, leaving a narrow trench extending outward-this is your keyhole extension, ideal for controlling fire spread. Use level bricks to create a stable cooking surface along the front. The extended tail allows versatile cooking techniques, from slow-searing to direct grilling. Position the steel ring securely within the circle to maintain heat retention. Proper firewood selection matters here; hardwoods like oak or hickory burn longer and radiate consistent heat, enhancing cooking performance. The keyhole shape not only supports efficient fuel use but also creates distinct zones for different heat intensities. With this layout, managing temperature becomes intuitive, making backyard wood grilling both practical and effective. Choosing the best fire pit wood, such as hardwood types like oak, ensures cleaner burns and better flavor for your grilled dishes.
Maximize Heat and Efficiency With Airflow
While the shape of your fire pit plays a major role in heat management, it’s the airflow design that truly determines how efficiently your fire burns and how evenly it cooks. You need to position intake vents at the base of the keyhole’s cooking end to encourage a steady draft. This airflow feeds oxygen directly to the coals, boosting combustion optimization and reducing smoke. Elevating the fire slightly above ground level also improves thermodynamic efficiency by allowing heat to circulate rather than absorb into the earth. Ring the fire with heat-resistant stone or brick to retain and reflect warmth. Avoid sealing gaps completely-controlled airflow maintains consistent temperatures. You’ll notice quicker ignition, longer burn times, and better heat distribution across the cooking zone. With smart ventilation, your fire isn’t just hotter-it’s smarter, delivering restaurant-grade performance in your backyard setup.
Cook Steaks, Veggies, and More on the Flame
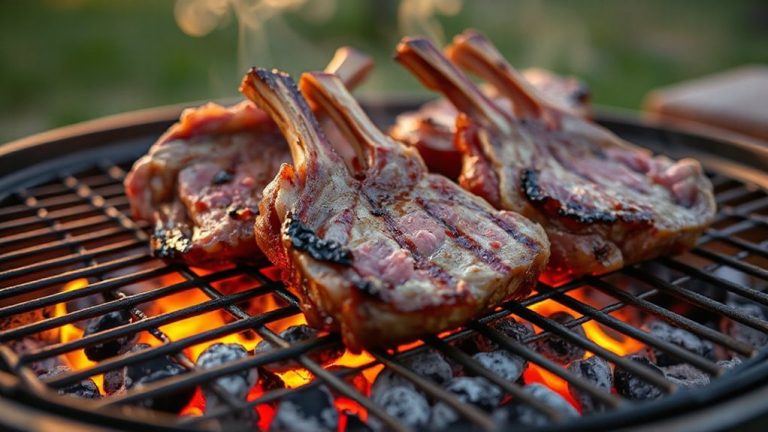
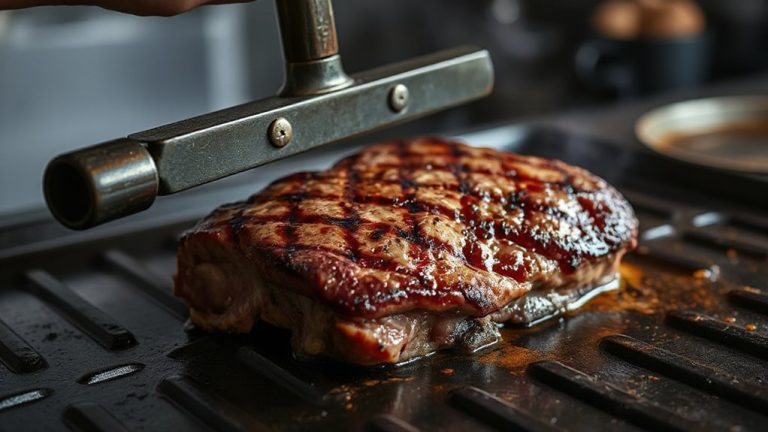
You’ve optimized airflow and built a fire that burns hotter and cleaner-so why not put that precision heat to work? The intense, even flame of your keyhole fire pit makes it ideal for mastering open-flame grilling techniques. Position steaks directly over the coals for a searing crust, then move them to the pit’s cooler edge to finish-this control prevents charring while enhancing flavor infusion through natural wood smoke. Skewer veggies or lay them on a grill grate to caramelize slowly, drawing out sweetness without drying. Hardwoods like hickory or oak add depth, subtly seasoning proteins and vegetables alike. Unlike gas grills, this method delivers unmatched complexity in taste and texture. You’re not just cooking; you’re leveraging radiant heat, airflow management, and fuel choice to elevate backyard meals. With practice, you’ll balance timing and placement like a pro, turning simple ingredients into restaurant-quality dishes through smart, fire-driven technique.
On a final note
You’ve built it, now you’ll use it-this keyhole fire pit offers superior heat control and fuel efficiency over standard ring pits. Its design directs airflow precisely, maintaining hotter, cleaner burns. You’ll grill steaks with searing clarity, roast vegetables evenly, and enjoy steady radiant heat. Firebrick retains temperature, reducing wood use. Unlike open pits, it demands less maintenance and delivers consistent performance, ideal for regular backyard cooking. It’s a smart, durable upgrade for serious outdoor grilling.