How to Create a Bed of Embers Before Placing Food on a Wood Grill
Start with dry hardwoods like oak or hickory stacked in a two-stage fire, letting flames rise and fade into glowing embers. Wait 20–40 minutes for bright flames to die down and a uniform layer of gray ash to form, signaling efficient combustion. Use the 3-second hand test-hold your hand 5 inches above the grate-for very hot heat. Spread embers evenly into a two-inch layer for consistent airflow and steady, orange-glowing coals. Properly cured embers deliver precise control and rich flavor, and there’s more to mastering wood-fired heat than meets the eye.
Notable Insights
- Choose hardwoods like oak, hickory, or cherry for steady burning and flavorful, long-lasting embers.
- Build a two-stage fire by stacking wood on one side to create distinct cooking zones.
- Wait 20–40 minutes for flames to die down and glowing embers to form for consistent heat.
- Check for a light, even layer of gray ash on coals, indicating full combustion and readiness.
- Spread embers evenly into a uniform two-inch layer and verify heat using the hand test before cooking.
Choose Wood That Enhances Ember Flavor
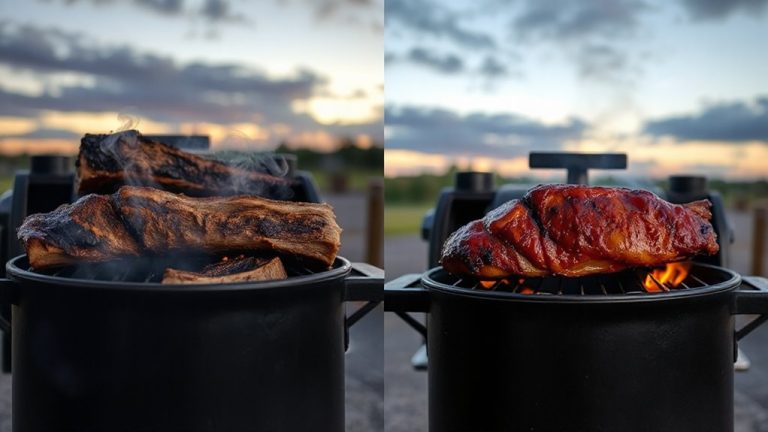
While some woods burn too quickly or impart harsh flavors, choosing the right type can make all the difference in building a bed of embers that enhances your grilled dishes. You’ll want a wood type that burns steadily and produces long-lasting, fragrant coals. Hardwoods like oak, hickory, and cherry are ideal-each delivers a distinct flavor profile without overwhelming the meat. Hickory offers a strong, smoky note, perfect for brisket, while cherry adds subtle sweetness ideal for poultry or pork. Avoid softwoods like pine; they burn fast and leave behind unpleasant residues. Mesquite burns hot and fast, so combine it with a milder wood to balance the intensity. Your choice of wood type directly shapes the final taste, so match it to your protein and desired outcome. A well-chosen wood doesn’t just fuel the fire-it elevates your food. For guidance on selecting the best options, check out expert best smoking wood recommendations.
Build a Two-Stage Wood Fire for Control
If you’re after precise heat management for wood grilling, setting up a two-stage fire is the way to go. You’ll stack logs or splits on one side of the grill, leaving the opposite side clear-this fire placement gives you both direct and indirect cooking zones. The intense radiant heat on the fire side sears meats quickly, while the cooler side allows slower, even cooking without burning. Proper airflow management is vital: open the grill vents fully at first to feed oxygen to the flames, then tweak them to regulate burn rate. You want a steady, controlled draft-not a roaring inferno. This balance sustains ember production and stabilizes temperatures. Two-stage setups excel with thicker cuts or items needing gentle finishes, like brisket or whole chickens. Once established, the fire stays predictable, making it easier to monitor and adjust. It’s not just effective-it’s essential for serious wood grilling. For those transitioning from wood to charcoal, choosing the right equipment matters-consider a charcoal grill smoker that supports versatile fuel use and excellent heat retention.
Let Flames Burn Down to Glowing Embers
Once the initial blaze starts to fade, you’ll want to let those bright flames burn down until you’re left with a steady bed of glowing embers-this is when the real magic of wood grilling begins. Allowing the fire to settle reduces flame intensity, which prevents scorching and gives you better control over cooking temperatures. You’re not just waiting-you’re building consistency. As the wood chars, it forms embers with strong thermal output and improved ember stability, essential for even heat distribution across the grill surface. This phase typically takes 20 to 40 minutes, depending on wood type and stack density. Avoid rushing it; premature cooking leads to flare-ups and uneven results. A stable ember bed holds heat longer and responds predictably when food hits the grates. Trust the process: lower flame intensity paired with solid ember stability transforms unpredictable fire into a precise cooking tool, ideal for searing or slow roasting with confidence. For best results, consider using a charcoal grill with adjustable vents to fine-tune airflow and maintain consistent ember temperature.
Watch for Gray Ash on the Coals
How do you know when your embers are truly ready? Look for a light coating of gray ash across the coals-it’s the most reliable visual cue. You want even ash distribution, not spotty or thick patches, as it signals consistent heat development. When the flames have died down and the edges of each coal start to turn white, then gray, the fuel is shifting to stable radiant heat. The coal texture at this stage should appear firm and chalky, not black or sooty, meaning combustion is efficient. Uneven ash can lead to hot spots, so lightly shaking or stirring the bed helps standardize performance. This phase typically takes 20–30 minutes after ignition. Mastering this step guarantees cleaner searing and better control, especially with delicate foods. Proper ash formation isn’t just cosmetic-it reflects the thermal stability essential for professional-grade grilling results.
Test Heat With Hand: 3-Second Rule
With the coals now covered in an even layer of gray ash and radiating steady heat, it’s time to check the temperature more directly. Hold your hand about five inches above the grate and time how long you can keep it there. This simple test gives you a reliable sense of heat intensity. Use the 3-second rule as your guide:
| Hand Position (inches above grate) | Heat Intensity |
|---|---|
| 5 | Very Hot (3 sec) |
| 5 | Hot (4 sec) |
| pitched lower | Medium (5–6 sec) |
| 5 | Warm (7+ sec) |
| withdrawn quickly | Too Hot |
Your hand position and response time help match the fire’s heat intensity to your cooking needs, ensuring ideal searing or slow charring.
Spread Wood Embers for Even Cooking
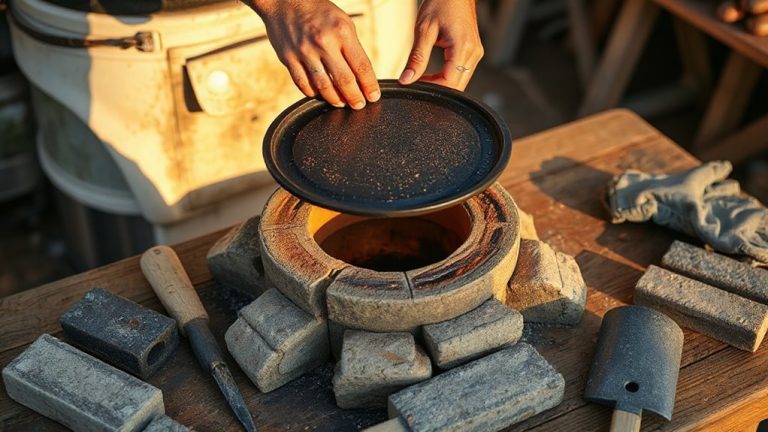
A solid foundation of embers is your best ally when it comes to consistent wood grilling. You’ll want to spread the embers evenly across the grill’s bottom to guarantee proper ember distribution-this isn’t just tidying up; it’s essential for heat balancing. Uneven piles create hot spots that can sear one part of your steak while leaving another undercooked. Use a grill rake or tongs to level the bed, aiming for a uniform layer about two inches thick. This setup promotes steady airflow and stable temperatures, which are critical for precision cooking. Proper ember distribution also reduces flare-ups and helps maintain efficiency, especially with hardwoods that burn hotter. You’re not just cooking-you’re managing a small, controllable fire system. Mastering heat balancing now sets the stage for flawless results later, so take the extra minute to shape your heat source with care.
Wait for Steady, Orange-Glowing Embers Before Cooking
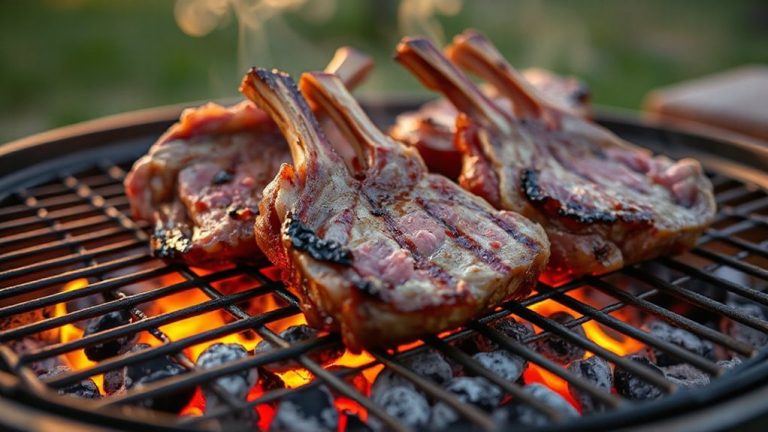
You’ve spread the embers into an even layer, setting the stage for balanced heat, but don’t rush to place food on the grill just yet. Wait until the embers glow a steady orange-this signals maximum ember intensity for searing and even cooking. Flames should be gone; lingering fire creates hot spots and flare-ups. Dense hardwoods like oak or hickory burn longer and develop more consistent embers due to their wood density, making them ideal for stable heat. Lighter woods burn faster, requiring close monitoring. Patience guarantees better control and flavor.
| Wood Type | Ember Intensity | Wood Density |
|---|---|---|
| Oak | High | High |
| Hickory | High | High |
| Cherry | Medium | Medium |
| Maple | Medium | Medium |
| Pine (avoid) | Low | Low |
On a final note
You’ve built your fire right when the wood reduces to steady, orange-glowing coals dusted with gray ash. This bed of embers delivers consistent, radiant heat ideal for searing or slow cooking. Unlike open flames, embers minimize flare-ups and give better control. Using hardwoods like oak or hickory enhances flavor. Spreading them evenly guarantees uniform results-key for great BBQ. This method, tested and trusted, balances performance and precision outdoors.