How to Season a Cast Iron Dutch Oven Before Your First Campfire Cooking Experience
You need to season your cast iron Dutch oven before your first campfire cook because it creates a durable, non-stick surface that handles high heat and prevents rust. Start by coating it with a thin layer of high-smoke-point oil like grapeseed or canola, then bake it upside down at 375°F for an hour-repeat 2–3 times. This polymerized layer guarantees even heat distribution and protects against sticking and metallic flavors. You’ll get better results and longer-lasting performance with this prep, and there’s more to uncover about maintaining it in rugged outdoor conditions.
Notable Insights
- Clean and thoroughly dry your Dutch oven before applying a thin layer of high-smoke-point oil.
- Use oils like grapeseed or canola for even polymerization without flaking during outdoor use.
- Place the oiled Dutch oven upside down in a 375°F oven with a drip tray to prevent pooling.
- Bake for one hour, cool inside the oven, and repeat 2–3 times for a durable seasoning layer.
- Avoid soap when cleaning after use; dry completely and apply light oil to prevent rust.
Why Seasoning Your Dutch Oven Matters
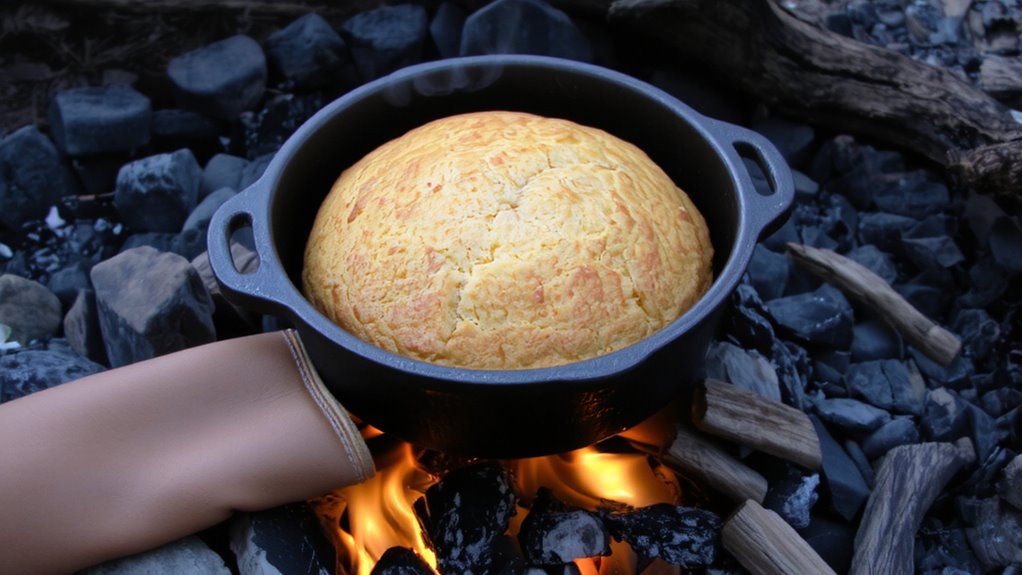
You’ve probably heard that seasoning is essential, and for good reason-seasoning your cast iron Dutch oven isn’t just tradition, it’s what transforms raw metal into a resilient, non-stick cooking surface. When you cook outdoors, consistent heat retention becomes critical, and a well-seasoned oven delivers precisely that, holding and distributing heat evenly over open flames or coals. That stability prevents scorching and guarantees meals like stews or cornbread cook uniformly. Beyond performance, seasoning also enables flavor enhancement; the polymerized oil layer interacts subtly with food, building complexity over time with each use. Unlike untreated metal, which can impart metallic notes or stick aggressively, a seasoned surface supports savory depth and easier release. It’s not merely about maintenance-it’s about optimizing every camping meal. Seasoning bridges craftsmanship and cookery, making your Dutch oven more than a vessel, but a reliable partner in outdoor cooking.
Pick the Best Oil for Seasoning
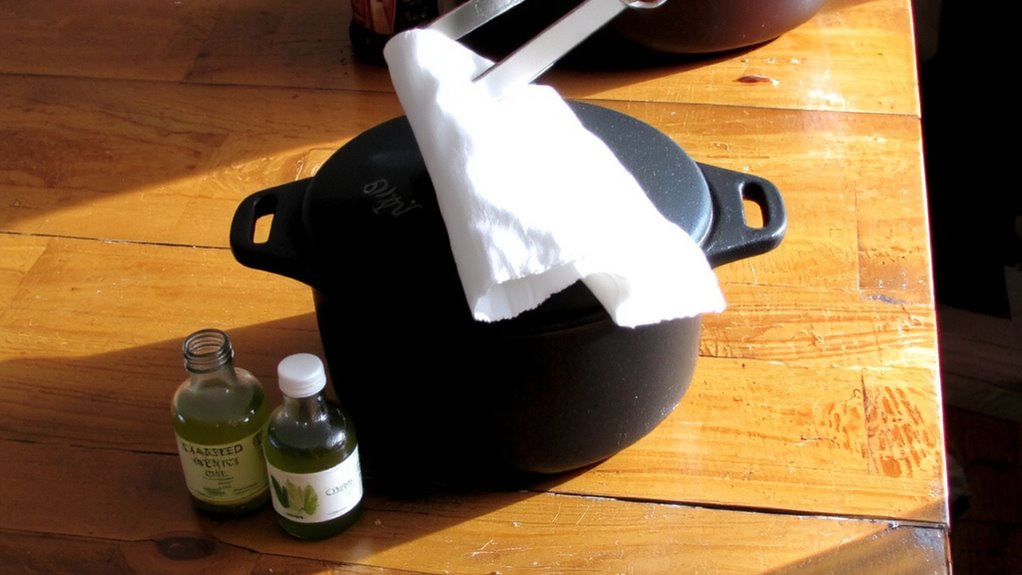
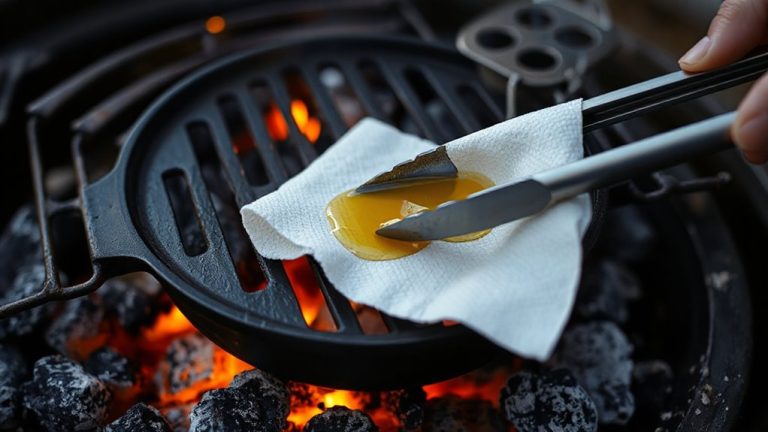
A handful of oils stand out when it comes to building a strong, durable seasoning layer on your cast iron Dutch oven, and not all fats perform the same under high heat. You’ll want an oil with a high smoke point-typically above 400°F-so it polymerizes rather than burns, forming that slick, protective coating. Flaxseed oil offers a hard finish but flakes over time, especially with outdoor temperature swings. Grapeseed and canola oils are reliable, with balanced smoke points and oil thickness that spreads evenly without pooling. Vegetable shortening works well too, particularly for beginners, thanks to its stability and ease of application. Skip butter or olive oil-they smoke too early and leave a gummy residue. For campfire cooking, where heat fluctuates, a resilient seasoning from refined oils holds up best, ensuring your Dutch oven stays nonstick and rust-free through seasons of outdoor use. For best results, choose from the top picks for grill seasoning oils.
How to Season Your Dutch Oven in the Oven
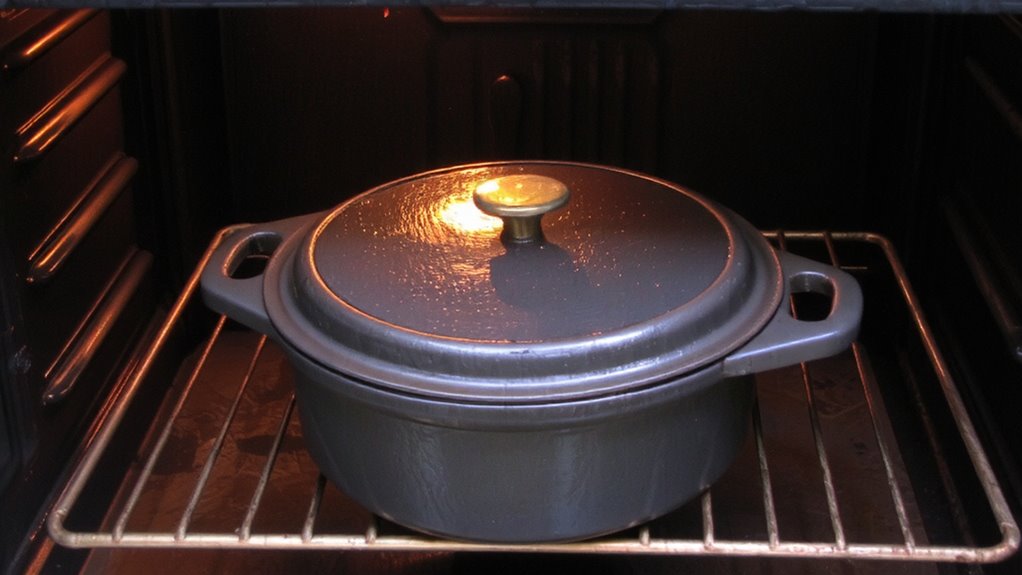
Getting that flawless seasoning on your cast iron Dutch oven starts right in your kitchen oven, and it’s more effective than open-flame methods for most home cooks. The oven method gives you consistent, even heat, essential for polymerizing oil into a durable, slick layer. Preheat your oven to 375°F, then scrub your Dutch oven clean and dry it thoroughly. Rub a thin coat of oil-like flaxseed or grapeseed-over every surface. Place it upside down in the oven, with a rack underneath to catch drips. This baking technique guarantees heat circulates evenly, preventing sticky spots. Bake for one hour, then let it cool in the oven. Repeat 2–3 times for a solid foundation. Compared to campfire seasoning, this approach offers better temperature control and a more reliable non-stick surface. For those seeking time-tested durability, consider starting with a vintage cast iron piece known for superior build quality.
Keep Your Dutch Oven Non-Stick and Rust-Free
Now that your Dutch oven has built up a solid layer of seasoned polymer through consistent oven baking, the real test begins: keeping that surface slick and intact through regular use and proper care. After cooking, clean it gently with hot water and a brush-never soap-and dry it immediately. A brief heat on the stove guarantees all moisture evaporates, which is key in avoiding moisture buildup that leads to rust. Apply a light coat of oil while warm to maintain the non-stick surface. Proper storage matters: keep it in a dry place, preferably with the lid slightly ajar or lined with paper to allow airflow. Storing it in a cool, humid garage? That’s a recipe for rust. Consistent maintenance beats reseasoning every few months. For outdoor cooking, where temperature swings and campfire soot stress the metal, vigilance pays off-your Dutch oven performs better and lasts longer when cared for like the essential tool it is.
Fix Common Seasoning Problems
Though your cast iron Dutch oven’s seasoning may look durable, it can still develop issues like stickiness, flaking, or dull patches-especially with heavy outdoor use where temperature extremes and exposure to open flames accelerate wear. If you notice a sticky residue, it’s likely from excess oil not fully polymerized-scour it gently with kosher salt and re-season with a thin, even layer. An uneven coating often results from inconsistent oil application or overheating; you’ll see patchy, dull spots that compromise non-stick performance. Strip these areas with steel wool, wipe clean, then apply a new, uniform coat of high-smoke-point oil like flaxseed or grapeseed. Re-bake at 450°F, rotating halfway to guarantee even curing. Multiple rounds may be necessary for full restoration. Properly addressing these flaws keeps your oven performing reliably over coals, where consistent heat retention and release matter most.
On a final note
You’ve seasoned your Dutch oven properly, and now it’s ready for the rigors of campfire cooking. A well-seasoned surface improves non-stick performance and resists rust, vital when cooking outdoors. With consistent use and care, your oven develops a durable patina that enhances flavor and heat retention. Proper maintenance guarantees longevity, making it a reliable piece of camp kitchen gear. This investment in preparation pays off every time you cook.