How to Smoke Meats for 12+ Hours Using an Open Pit Fire and Wood Chips
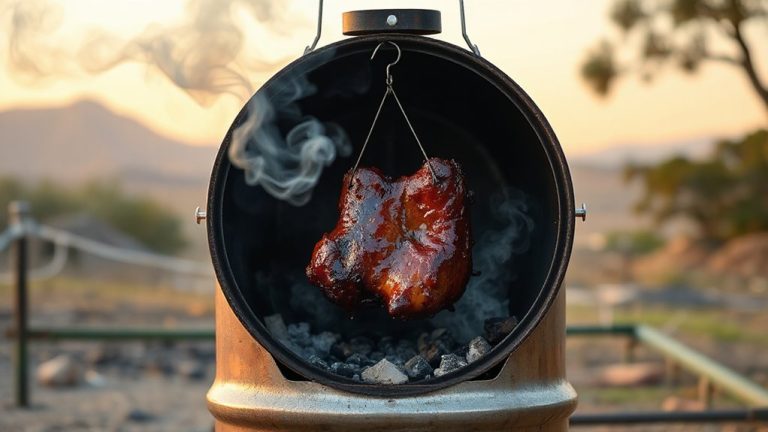
Use hardwoods like oak, hickory, or mesquite-seasoned for at least six months-for clean, dense smoke that penetrates meat over 12+ hours. Avoid softwoods; their resins create bitter flavors. Build a crisscross fire on a raised base, maintaining 225°F–250°F by adjusting log placement and airflow. Brine poultry or pork, apply a spice rub, and air-dry the surface for better smoke adhesion. Add wood in small amounts every 45–60 minutes, favoring blue smoke over white. A water pan and occasional spritzing with apple juice help retain moisture. Wrap during the stall to push through efficiently, and trim fat to prevent flare-ups. Rest the meat loosely wrapped in foil for at least three hours-proper slicing against the grain locks in juiciness. There’s more to mastering the rhythm of fire and meat that elevates your results beyond the basics.
Notable Insights
- Use seasoned hardwoods like oak, hickory, or mesquite for consistent smoke and long burn times.
- Maintain a steady fire at 225°F–250°F using a crisscross log pattern and raised coal base.
- Add wood chips or small logs every 45–60 minutes to sustain clean, blue-tinged smoke.
- Brine and air-dry meat beforehand to enhance moisture retention and smoke adherence.
- Monitor airflow and ember glow, adjusting log placement to control temperature and combustion.
Choose the Right Wood for Deep, Long-Lasting Smoke
Choose the Right Wood for Deep, Long-Lasting Smoke
You’ll want to pick your wood carefully because not all types deliver the rich, steady smoke needed for proper pit smoking. Hardwoods like hickory, oak, and mesquite burn longer and produce better smoke density than softwoods, which can flare up and leave bitter flavors. You’re aiming for consistent heat and clean smoke, so avoid pine or cedar that introduce harsh resins. The wood aroma should be earthy and sweet-think apple or cherry for poultry, hickory for pork, oak for beef. These pair well with the meat without overpowering it. Smoke density matters too; too thin and the flavor won’t penetrate, too thick and the meat turns acrid. Seasoned wood, dried for at least six months, guarantees cleaner combustion and more stable smoke output. You’ll notice the difference in both color and taste. Balance is key-right wood, right aroma, right smoke density-so choose with purpose. For optimal results, consider using best smoking wood picks that are specifically selected for flavor and burn quality.
Get Your Meat Ready to Soak Up Smoky Flavor
Getting your meat ready isn’t just about slapping it on the pit-it’s about setting the stage for deep flavor absorption. Proper prep guarantees moisture retention and a crust that holds smoky essence. Start with a solid brining technique: a salt-sugar solution infused with aromatics plumps lean cuts and boosts juiciness. After brining, let the meat air-dry to form a tacky surface-ideal for smoke adhesion. Then apply your spice rub generously. A balanced rub with sugar, paprika, garlic, and pepper creates complexity and a rich bark. Don’t skip this step-it’s your flavor foundation. For larger birds like turkey, consider using a dedicated brining container to ensure even saturation and food-safe storage during the soak.
| Method | Best For |
|---|---|
| Brining | Turkey, pork |
| Spice rub | Brisket, ribs |
Build and Keep a Steady Pit Fire for 12+ Hours
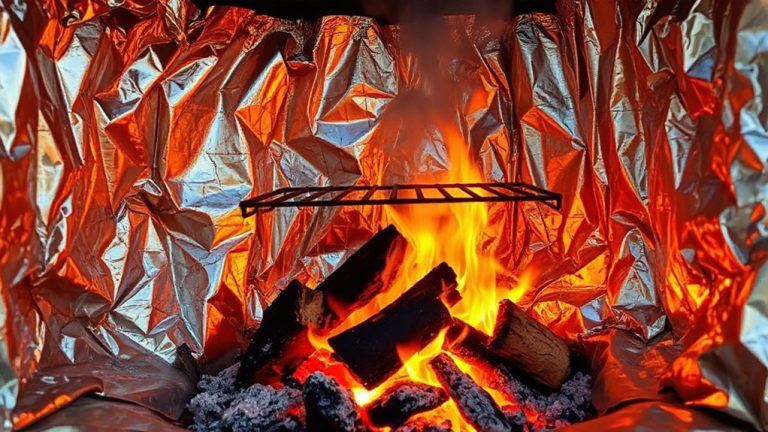
One of the most critical aspects of successful long-haul smoking is maintaining a consistent pit fire for 12 hours or more-this isn’t just about keeping flames alive, but about managing heat, airflow, and fuel to stay within the ideal 225°F to 250°F range. Proper fire construction starts with a raised base of hardwood logs arranged in a crisscross pattern, allowing steady draft and even burn. Use seasoned oak, hickory, or fruitwoods-they ignite reliably and sustain clean smoke. Once lit, maintain it through careful fuel management: add wood in small, strategic increments every 45–60 minutes. This prevents temperature spikes and guarantees gradual, predictable combustion. Never overload the pit; too much wood smothers the fire and disrupts smoke flow. Monitor ember color-bright orange means it’s active, while gray ash signals it’s fading. With disciplined fire construction and attentive fuel management, you’ll keep the pit stable, efficient, and ready for slow, flavorful smoking. For easier management and portability, consider using a purpose-built open fire grill designed to maintain steady airflow and consistent temperatures.
Control Heat and Airflow Without a Smoker
Maintaining a steady fire sets the foundation, but fine-tuning heat and airflow is where open-pit mastery really takes shape. You control temperature regulation by adjusting fuel placement and airflow, not dials. Position logs loosely to allow oxygen flow, or pack them tighter to reduce burn rate. Elevate your grill grate higher from the coals when you need lower temps-about 225°F for smoking. Use green wood chips sparingly; they smolder, not flame, aiding smoke without spiking heat. Fire management means watching ember glow and smoke color: thin blue trails mean clean, efficient burning; thick white smoke suggests poor airflow. Bank coals to one side so you can reposition meat away from heat spikes. You’re balancing combustion chemistry with patience. Without a smoker’s vents, your eyes, hands, and intuition become the tools. It’s primitive, yes, but effective-if you understand the rhythm.
Watch for Stalls, Flare-Ups, and Dry Meat
While you’re chasing that ideal smoke ring and tender pull, keep an eye out for the trio of challenges that can derail even a well-managed fire: stalls, flare-ups, and dry meat. A stall-when meat temp plateaus-slows progress, often around 150–170°F, due to evaporative cooling; wrapping helps, but monitor closely. Flare-ups, caused by dripping fat igniting flames, threaten char and consistency. For flare up prevention, trim excess fat and position meat away from direct flame bursts. Adjust airflow if flames surge-smothering isn’t the answer, since consistent oxygen flow maintains clean combustion. Moisture retention is critical over 12+ hours; use a water pan and spritz periodically with apple juice or spray bottle to keep surface humidity high. Don’t rely solely on wood-its heat fluctuates. Watch the meat, not just the fire. Good technique balances temperature control with vigilant observation, preventing setbacks without sacrificing smoky depth.
Rest 3+ Hours and Slice Right for Maximum Juiciness
You’ve battled the stall, kept flare-ups in check, and guarded against dryness through careful spritzing and heat management-now don’t let all that work go to waste in the final stretch. Letting your meat rest for at least three hours is essential for both meat texture and flavor retention. During this time, the internal temperature stabilizes and fibers gently reabsorb juices forced outward during cooking. Wrap the meat loosely in foil and place it in a warm, draft-free spot-too tight, and it’ll steam; too cold, and the carryover heat won’t do its job. When you finally slice, use a sharp knife and cut against the grain to preserve tenderness. Rushing this step causes moisture loss, resulting in drier, less flavorful bites. Proper resting transforms your smoked meat from good to exceptional, balancing smokiness, succulence, and structural integrity. It’s not passive waiting-it’s active finishing.
On a final note
You’ve mastered the balance of fire, time, and airflow-key to smoking meat over 12 hours on an open pit. With the right hardwood, consistent coals, and careful monitoring, you achieve deep flavor and tender texture no electric smoker can fully replicate. It’s labor-intensive but rewarding, demanding patience and skill. Resting the meat properly seals in juices, delivering exceptional results when sliced against the grain. This method isn’t just cooking-it’s craft.