Establishing a Clear 10-Foot Perimeter Free of Brush Around Any Cooking Fire
You need to clear a full 10-foot radius around your cooking fire of all brush, debris, and combustibles to prevent radiant heat from igniting nearby materials. Dry grass, leaves, and low-hanging branches are fire hazards-even damp-looking ground cover can hide dry fuel. Use a rake or loppers to remove vegetation, and keep this zone free throughout use. Recheck every 20–30 minutes, especially in wind. A clean perimeter stops sparks from spreading and gives you control. There’s more to getting it right than just clearing space.
Notable Insights
- Clear all dry grass, leaves, and twigs within a full 10-foot radius of the cooking fire to prevent ignition.
- Remove low-hanging branches and overhanging vegetation that could catch fire from rising heat or sparks.
- Use a rake or loppers to clear stubborn brush and inspect for hidden dry material under damp-looking ground cover.
- Maintain the perimeter by rechecking every 20–30 minutes for wind-blown debris or accidental placement of flammable items.
- Postpone fire use during high-risk conditions like strong winds or fire bans, and keep water nearby for emergencies.
What Makes a Fire-Safe Zone Work?
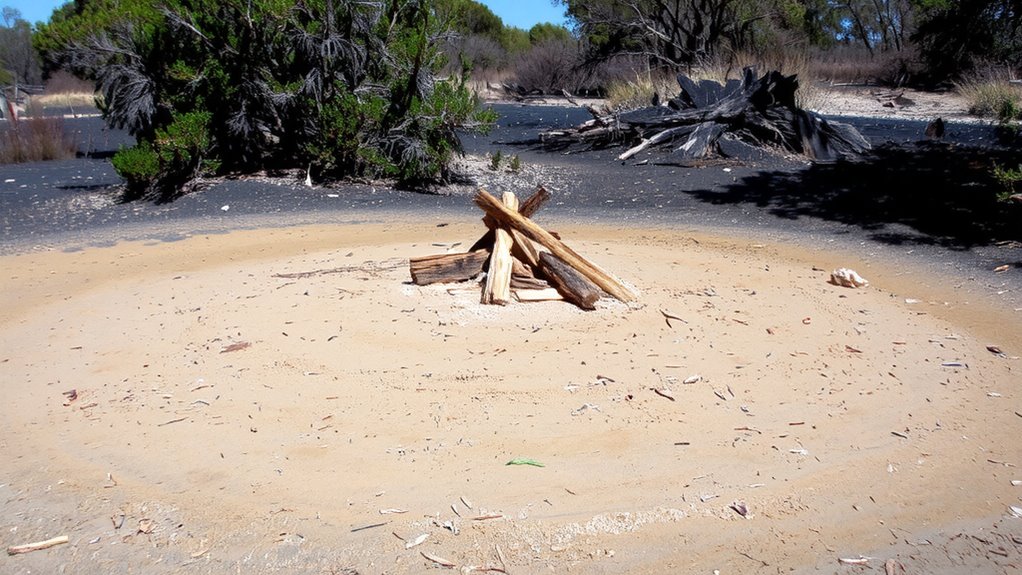
While you might think a quick clear of leaves is enough, a truly effective fire-safe zone relies on specific, deliberate steps that actively reduce risk. You need a full 10-foot radius cleared of all combustibles-no debris, dry grass, or low-hanging branches. This space allows for proper heat dispersion, preventing radiant heat from igniting nearby materials. Critical too is ember containment: even small sparks can travel, so enclosing your fire in a ring or pit helps trap embers before they spread. You’re not just clearing space-you’re engineering a buffer. Without this, wind-blown embers or intense heat buildup could spark a fire, especially in dry conditions. Regularly checking for accumulated debris guarantees continued safety. This isn’t overkill-it’s practical prevention. A well-designed zone doesn’t eliminate all risk, but it greatly lowers the chance of accidental ignition during outdoor cooking. Choosing the right bushcraft campfire style can further enhance safety by controlling flame spread and heat output.
Clear Flammable Brush in 5 Steps
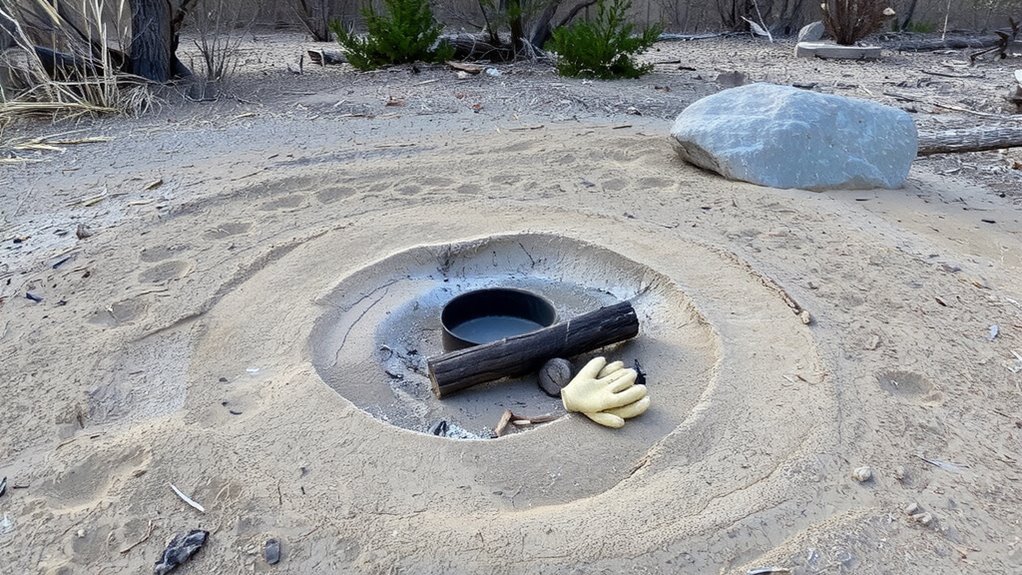
You’ve set up your fire-safe zone with a solid ring or pit and cleared all obvious debris, but flammable brush remains one of the most overlooked hazards within that 10-foot perimeter. Start by evaluating your fire layout-ensure the wind direction won’t carry sparks into nearby vegetation. Step one: mark the full 10-foot radius clearly. Step two: choose the right tools-tool selection matters, so use a rake for light brush and loppers for thicker stems. Step three: cut and remove brush, piling it well outside the zone. Step four: check for root systems or dry undergrowth you might have missed. Step five: do a final sweep, then keep tools nearby for quick maintenance. A clean perimeter isn’t just prep-it’s ongoing safety, especially with open flames and unpredictable drafts.
What Counts as Flammable Brush?
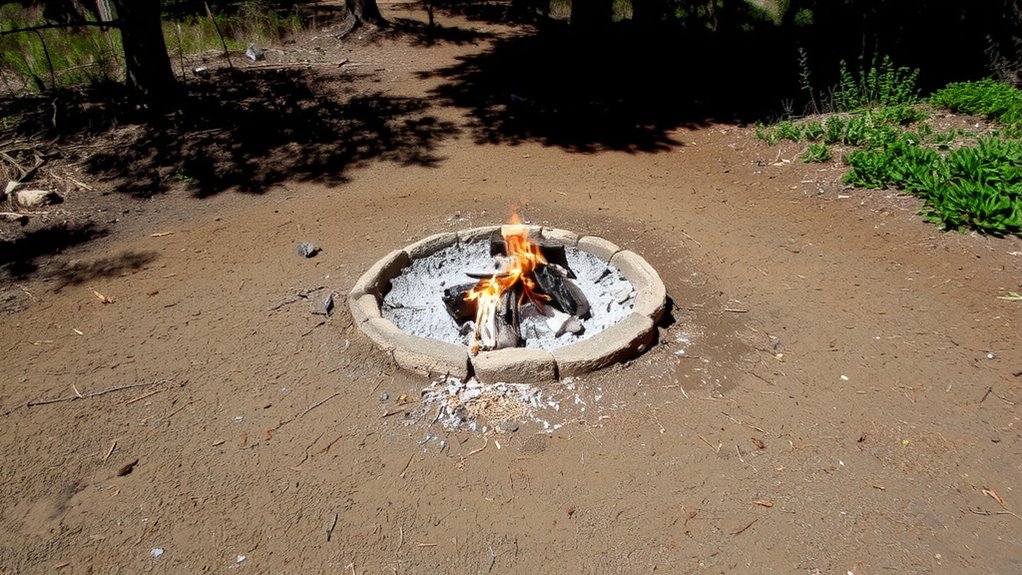
Most of what you’d overlook-dry grass, pine needles, fallen leaves, twigs, and low-hanging shrubs-counts as flammable brush and can ignite quickly near open flames. Dead vegetation, even if it looks harmless, is a major fire hazard since it catches spark with minimal heat exposure. You might not think twice about a few scattered sticks, but they can carry flames toward larger plants or your gear in seconds. Overhanging branches are especially risky; embers can rise and ignite dry limbs overhead, spreading fire unpredictably. Even damp-looking ground cover can hold enough dry material beneath the surface to smolder and flare. Treat anything organic and unattended near your cooking fire as potential fuel. Clearing brush isn’t just about what’s on the ground-it’s about evaluating all possible fuel sources within that 10-foot zone. Ignoring small stuff compromises safety, no matter how controlled your fire seems.
When to Recheck Your Fire Zone
Since conditions can shift unexpectedly, you’ll want to recheck your fire zone at key moments to maintain safety. Every 20–30 minutes, especially during longer cooking sessions, scan the 10-foot perimeter for new risks. Changes in wind direction can redirect heat and sparks, putting previously safe spots in danger. If the breeze strengthens or shifts, embers may travel beyond the original buffer, increasing the risk of ember spread. This is especially true when using wood or charcoal, which produce more floating sparks than gas. You should also recheck after adding fuel or adjusting the fire, as these actions temporarily increase flare-ups. Even if the fire seems contained, a quick reassessment guarantees that brush, debris, or equipment haven’t crept too close. Consistent monitoring isn’t just cautious-it’s essential for preventing outdoor cooking fires from becoming hazards.
Fire-Safe Tips for Dry or Windy Weather
Dry or windy conditions demand extra caution when cooking outdoors, even if you’ve already established a solid 10-foot clearance. You should always check local fire bans before lighting your grill-igniting a fire during a ban isn’t just risky, it’s illegal and can spark fast-moving disasters. If wind warnings are in effect, consider postponing your cookout; gusts can carry embers beyond your cleared zone, igniting nearby vegetation within seconds. Use a windscreen to protect your flame, but don’t rely on it alone. Keep a bucket of water or garden hose nearby for emergencies. Even small sparks can escalate under dry conditions, where fuel sources like grass or mulch ignite easily. Monitoring weather changes in real time helps you respond before conditions turn dangerous. Ultimately, your judgment matters more than convenience-when nature signals high risk, the safest meal is the one cooked indoors. When selecting your fire pit, choose a model designed specifically for cooking, such as those with grilling grates or best fire pits for cooking features.
5 Mistakes That Break Fire Safety
One common error you might overlook-placing your grill too close to combustible materials-can compromise even the most carefully planned 10-foot perimeter. Poor equipment placement, like setting a propane grill near overhanging branches or a charcoal fire pit adjacent to wooden decks, increases ignition risks markedly. You might not realize how quickly heat radiates, especially in dry conditions. Another major lapse is improper extinguishing; dousing hot coals with water without full stirring leaves smoldering embers that can reignite hours later. Even if the surface looks dark, retained heat poses a hazard. Relying solely on lid closure to kill a fire often fails, particularly with dense coal beds. For true safety, extinguish thoroughly and verify with a temperature check. Consistent vigilance in equipment placement and proper extinguishing practices guarantees your cooking fire stays controlled, reducing preventable risks around your home and yard. Using heat-resistant materials like fire-rated rocks can further enhance safety by containing high temperatures within the fire pit structure.
On a final note
You’ve cut the brush, checked the perimeter, and kept the zone clear-now your fire’s far less likely to jump. A 10-foot buffer isn’t just space; it’s your main defense against sparks taking hold. Especially in dry or windy conditions, this simple step drastically reduces risk. It works because fuel breaks matter-without nearby brush, flames struggle to spread. Do it right: trim low, recheck often, and never assume one clear pass is enough.