How to Set Up a Portable Campfire Grill in Minutes
Pick a flat, clear spot at least 10 feet from tents or dry grass, and set your grill on bare soil or gravel for safety. Lay out all parts-check for rust, cracks, or loose bolts before assembling. Snap the lightweight frame together; most models lock securely in under 5 minutes. Extend the legs fully, lock them, and seat the grate evenly. Use natural fire starters, build your coals, and split into heat zones. Adjust airflow and grate height to control temperature-this balance guarantees reliable performance every time, especially when conditions change. There’s more to mastering outdoor cooking with the right techniques.
Notable Insights
- Choose a flat, stable spot at least 10 feet from tents and flammable materials to ensure safety and stability.
- Inspect all components for damage, focusing on grates, legs, and fasteners before assembly.
- Snap together lightweight frame pieces without tools, aligning legs and supports until they securely lock.
- Extend and adjust legs firmly into the ground, using footpads to stabilize on uneven terrain.
- Place cooking grate securely into slots and ignite fire with safe starters, managing heat zones for efficient cooking.
Choose a Safe Spot for Your Portable Grill
When setting up your portable campfire grill, picking the right location is just as important as the grill itself. You need a flat, stable surface-uneven ground can compromise both fire safety and cooking efficiency. Keep the grill at least 10 feet away from tents, dry grass, trees, or any flammable material to reduce fire hazards. Choose bare soil or gravel if possible, as these surfaces don’t ignite easily. Position the grill so wind doesn’t blow flames sideways, which can create dangerous flare-ups and uneven heating. A sheltered spot improves temperature control and fuel use, directly affecting your cooking efficiency. You also want easy access to your prep area without tripping over cords or gear. Proper placement doesn’t just follow fire safety guidelines-it enhances performance. Think of it as strategic setup: safety and function go hand in hand when cooking outdoors. For optimal results, select a model designed for quick assembly, such as those featured in the best campfire grills roundup.
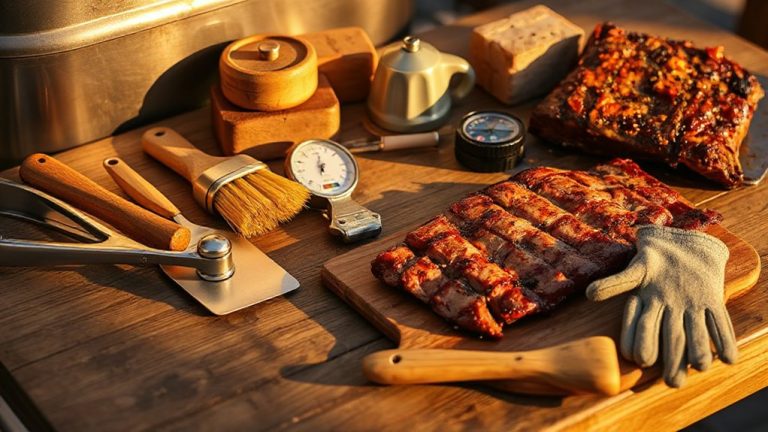
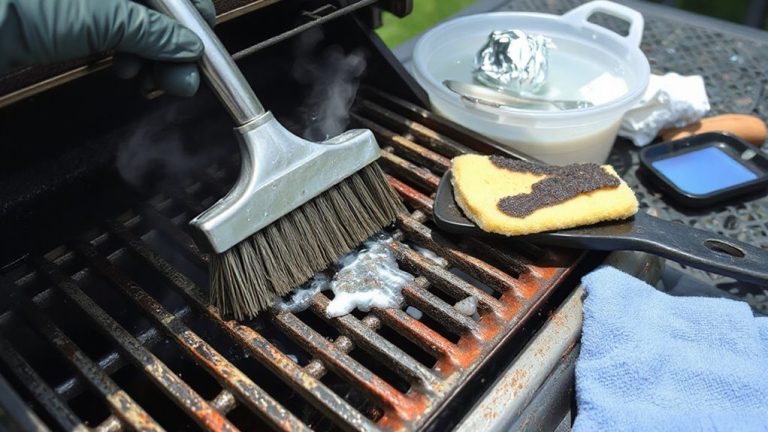
Lay Out All Grill Parts and Check for Damage
A solid foundation starts with inspection-so before you even think about lighting a flame, lay out every piece of your portable campfire grill and give it a thorough check. Proper grill maintenance begins here, preventing frustrations later. Use this moment to conduct a quick part inventory and spot any signs of warping, rust, or loose joints. Catching issues early guarantees reliable performance and longevity. A well-maintained portable grill ensures even heat distribution and safer cooking, especially when choosing models designed for durability and best portable grills. Below is a quick-reference table to guide your inspection:
| Part | Check For | Priority Level |
|---|---|---|
| Grill Grates | Warping, rust | High |
| Legs & Supports | Stability, cracks | High |
| Cooking Surface | Grime buildup, damage | Medium |
| Fasteners & Bolts | Missing or stripped | Medium |
| Carry Bag | Tears, zipper function | Low |
Completing your part inventory now saves time and enhances safety in the long run.
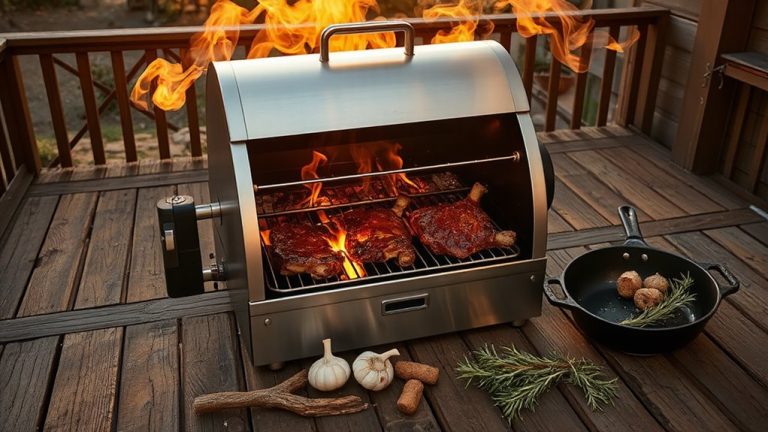
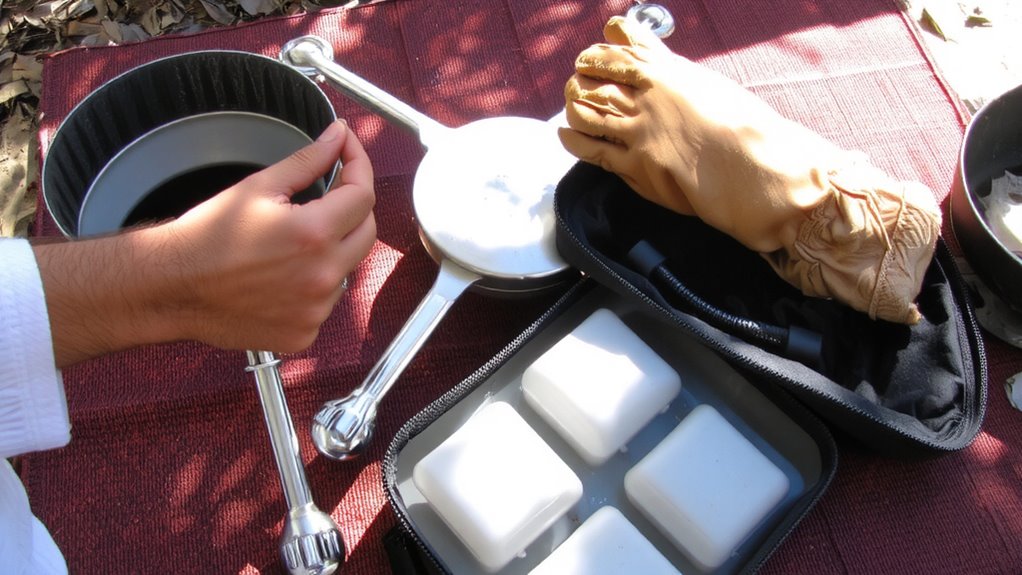
Assemble the Frame in Under 5 Minutes
Now that you’ve inspected each component and confirmed everything’s in working order, it’s time to put the grill together-starting with the frame. Most portable grills use lightweight steel or aluminum rods that snap or lock into place with minimal effort. Thanks to thoughtful engineering, the design emphasizes tool efficiency-no wrenches or screws needed. Simply align the legs with the central support and secure the joints until they click. This focus on simplicity drastically improves assembly speed, letting you have the frame upright in under five minutes, even on uneven ground. The connection points are reinforced to balance stability and portability, a smart compromise for outdoor use. While some models use quick-pin systems and others rely on twist-lock mechanisms, all prioritize ease without sacrificing structural integrity. A well-designed frame supports consistent heat distribution later, making this step essential. With the frame up, you’re halfway to cooking over open flame-fast, functional, and ready for the next step. For optimal performance, choose campfire grill grates made from durable, high-heat materials like cast iron or stainless steel.
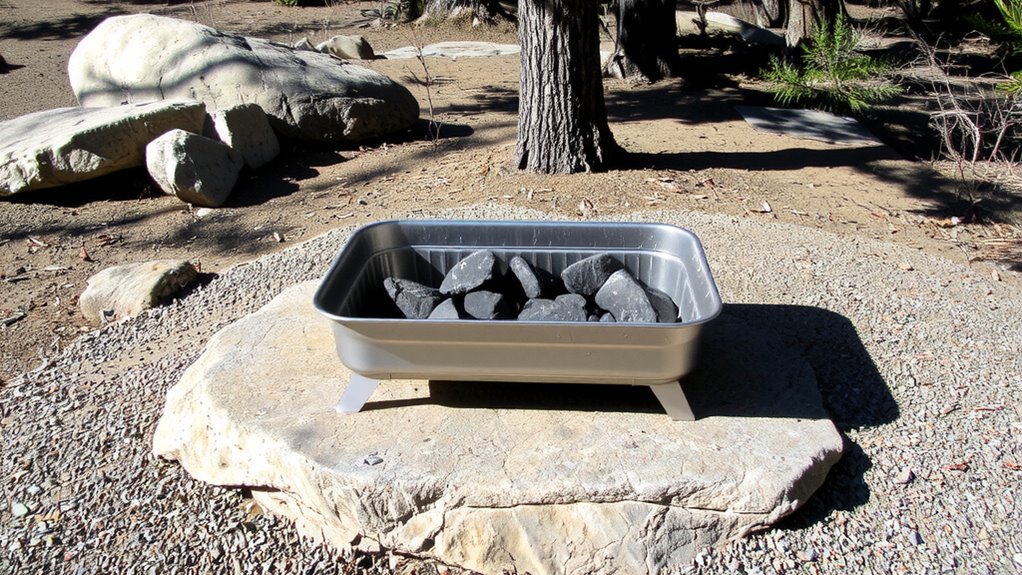
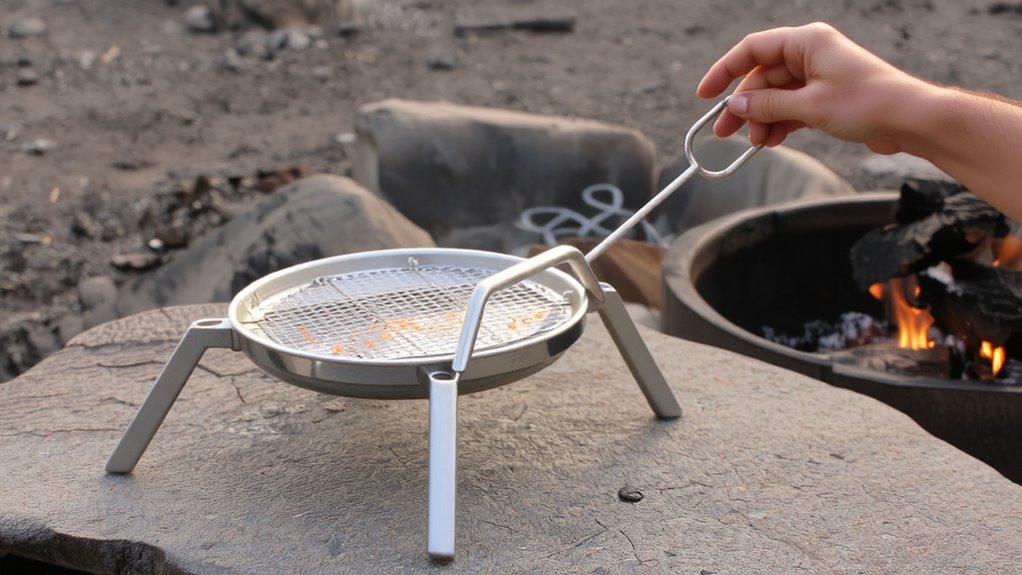
Stabilize the Grill and Lock in the Grate
Though the frame gives your portable grill its shape, it’s only once you stabilize the legs and lock in the grate that the setup becomes truly functional for safe, effective cooking. Proper grill stability starts with extending the legs fully and angling them into firm ground-uneven surfaces demand slight adjustments to prevent wobbling. Most models include adjustable footpads or pivoting leg ends to help maintain balance. Once positioned, lock the legs into place using the built-in catches or levers; never assume friction alone will hold them. Grate security is equally critical: slide the cooking grate into its designated slots until it clicks or rests flush, guaranteeing no gaps or movement. A loose grate can shift during cooking, risking spills or uneven heat exposure. Always check that both sides are uniformly seated. These steps guarantee consistent performance and safety, especially when handling heavier cookware or searing over open flames.
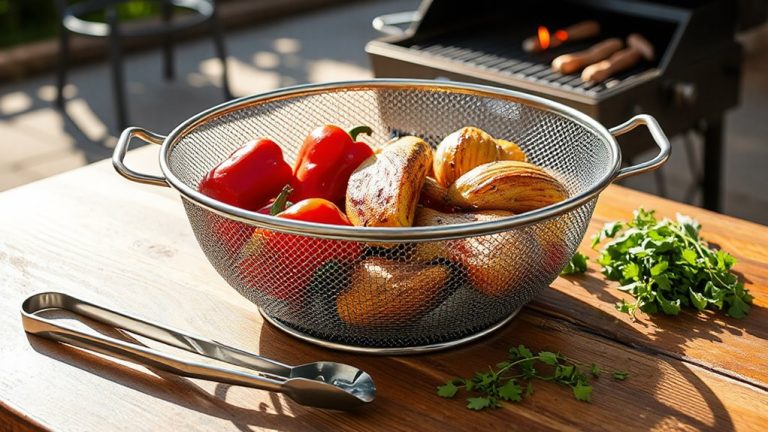
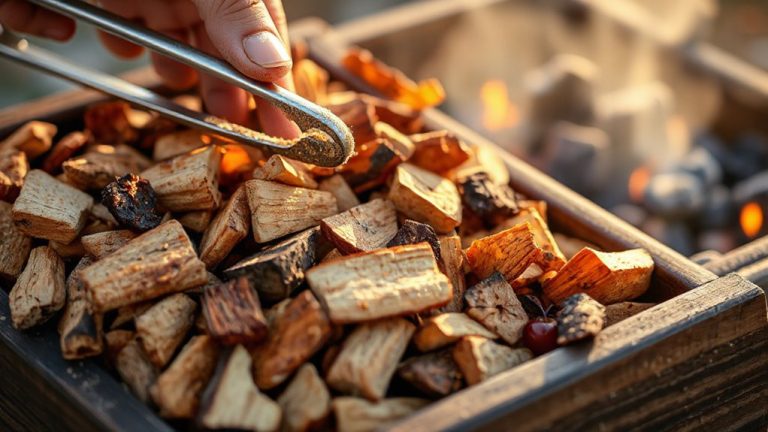
Light the Fire and Set Cooking Zones
With your grill steady and the grate locked in place, it’s time to get the fire going and organize your cooking space. Use reliable fire starters to ignite dry tinder and kindling-avoid accelerants that can taint food with chemical flavors. Once the flames catch, gradually add larger wood or charcoal pieces to build a stable heat source. Position your grill setup with wind protection in mind; a natural barrier or portable shield improves ignition success and fuel efficiency. As the fire establishes, arrange hot coals to create distinct zones: one for searing over direct heat, another for indirect cooking. This layout gives you control and flexibility. Effective cooking zones depend on even heat distribution, which begins with proper airflow and consistent fuel placement. Setting these areas early guarantees you’re ready to cook safely and efficiently, making the most of your outdoor setup without relying on guesswork or last-minute adjustments.
Control Heat for Even, Safe Grilling
If you’ve built your fire with the right balance of fuel and airflow, you’re already ahead in maintaining consistent heat for even cooking. Proper heat regulation starts with understanding how your grill interacts with the flame-elevate the grate to lower intensity or lower it for searing. Uneven temperatures can ruin delicate foods, so monitor the coals closely. Airflow management is key: adjust vents or reposition logs to increase or reduce oxygen flow, directly influencing fire strength. Too much air risks scorching; too little causes sluggish cooking. Use a two-zone setup-one hot, one cooler-to shift food as needed. This method gives control, especially with thicker cuts. Reliable heat means fewer flare-ups and better texture. Skilled campfire grilling isn’t just about ignition-it’s sustained performance through smart airflow and heat regulation. Your results will show the difference.
On a final note
You’ve set up your portable campfire grill efficiently and safely. This design balances stability, heat control, and ease of assembly, making it ideal for outdoor cooking in varied conditions. Proper placement and grate alignment guarantee even heat distribution, enhancing grilling performance. With minimal maintenance, these grills offer reliable functionality across seasons. For backyard use or remote camping, they deliver consistent results, combining practicality with solid construction-worth the investment for anyone serious about outdoor BBQ.