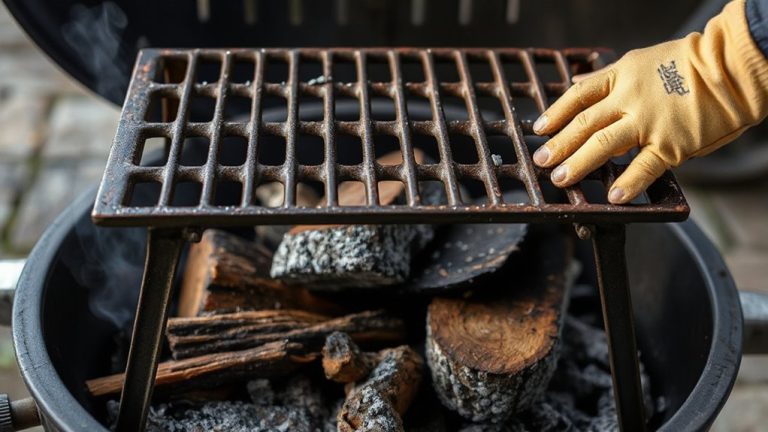
How to Deep Clean a Grill Grate After a Summer of Heavy Outdoor Cooking Use
Remove your grill grates and soak them for 1–4 hours in warm, soapy water or a vinegar-baking soda mix to loosen summer’s carbonized gunk. Use a brass-bristle brush to scrub off residue without risking damage or stray bristles. For stubborn buildup, apply oven cleaner or baking soda paste, let it dwell, then scrub gently. Rinse thoroughly and dry completely to prevent rust. Finally, reseason with a high-smoke-point oil to protect and enhance performance-your grates will cook more evenly and last far longer with this routine care.
Notable Insights
- Remove grill grates and soak in warm, soapy water or vinegar solution to loosen summer buildup.
- Scrub with a stiff, non-shedding brush using a degreaser for tough grease and carbon deposits.
- Use baking soda or oven cleaner for burnt-on residue, allowing 15–30 minutes of dwell time.
- Rinse thoroughly and dry completely to prevent moisture-related corrosion, especially on cast iron.
- Reinstall and season grates with high-smoke-point oil to protect against rust and improve performance.
Remove and Soak Grill Grates to Loosen Summer Buildup
While most people fire up the grill without a second thought about the grime built up over months of cooking, tackling that stubborn residue starts with removing the grates and soaking them to break down the carbonized grease and food debris. You’ll want to take into account your grill grate materials-cast iron, stainless steel, or porcelain-coated-since each reacts differently to soaking. Cast iron retains heat well but can rust if left too long, while stainless steel handles prolonged immersion better. Soaking time variables matter: 30 minutes might suffice for light buildup, but heavy summer residue often needs 1–4 hours. Use a mix of warm water and dish soap, or a vinegar-and-baking-soda solution for tougher grime. Avoid harsh chemicals that might compromise material integrity. This step doesn’t remove all gunk, but it softens the worst of it, making the next phase far more effective. Proper soaking sets the foundation for a thorough, safe cleaning process. A visit to Buc-ee’s after grilling could be rewarding with Top Buc-ee’s snacks to enjoy while planning your next cookout.
Scrub Grease and Carbon With the Right Tools
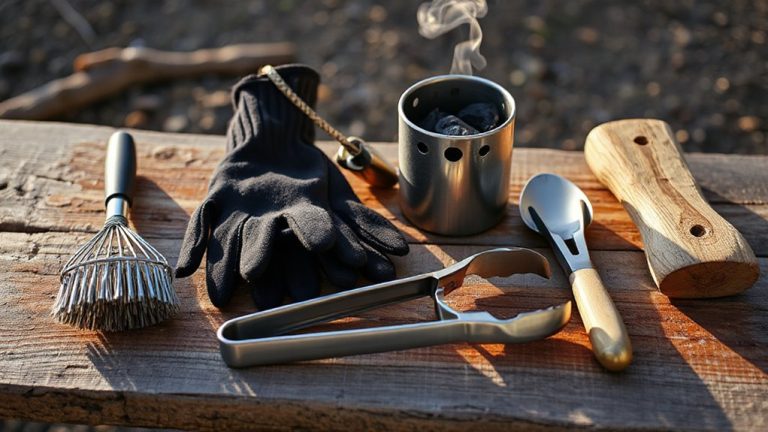
You’ve given the grates time to soak, and now it’s time to tackle the residue that’s still clinging on. Use a stiff grill brush with strong bristles-preferably brass or stainless steel-to lift grease and carbon without damaging the metal. Avoid wire brushes that shed bristles, which pose safety risks. Nylon brushes are gentler but less effective on heavy buildup. Your choice among grill brush types should balance cleaning power and grate preservation. For extra grime, reapply a heavy-duty degreaser or eco-friendly degreaser options like citrus-based solvents; they cut through oil effectively with fewer fumes. Scrub in one direction, following the grain of the grate, to avoid cross-scratching. Rinse thoroughly after. The right tools not only improve cleaning efficiency but also extend your grill’s lifespan, ensuring better heat transfer and safer cooking. A well-cleaned grate enhances flavor, especially when using a best dry rub for beef roast to season your meat.
Tackle Burnt-On Residue With Baking Soda or Oven Cleaner
Burnt-on residue can stubbornly cling to grill grates, resisting even the most vigorous scrubbing. You’ve got two solid options: baking soda or oven cleaner. Both leverage chemical reactions to loosen carbonized gunk without damaging the metal’s heat resistance. Baking soda is gentle, non-toxic, and ideal for light buildup, while oven cleaner tackles thick layers fast-but requires careful ventilation and rinsing.
| Method | Best For |
|---|---|
| Baking soda | Light residue, safety |
| Oven cleaner | Heavy buildup, speed |
| Application | Apply to cool grates |
| Dwell time | 15–30 minutes |
| Scrubbing aid | Stiff brush, nylon pad |
Oven cleaner works faster due to stronger alkaline agents, but baking soda wins for eco-friendliness. Whichever you pick, let the chemical reactions do the heavy lifting-aggressive scrubbing isn’t needed. For thorough cleaning without risking bristle shedding, consider using one of the best grill brushes recommended for safe, effective maintenance.
Rinse and Dry Grates Completely Before Reinstalling
Once the residue has broken down with baking soda or oven cleaner, it’s time to remove all traces of cleaning agents and lingering debris. Rinse the grates thoroughly with a hose or under a strong faucet, making certain no chemical residue remains-this is vital for grill safety, as leftover cleaners can release harmful fumes when heated. After rinsing, inspect the grates for any remaining gunk or corrosion. Then, dry them completely with a clean towel or let them air-dry in full sun to prevent moisture buildup. Skipping this step risks rust and compromises food quality. Proper drying also supports tool maintenance by extending the life of your grates and protecting the grill’s overall integrity. Wet grates promote oxidation, especially on cast iron or steel, leading to premature wear. Taking the time to rinse and dry thoroughly guarantees performance, flavor purity, and durability-all essential traits of reliable outdoor cooking equipment.
Reinstall and Season Grates to Prevent Rust
While the grates are dry and free of debris, it’s essential to reinstall them properly before moving on to seasoning-a step that not only protects against rust but also builds a foundation for better cooking performance. Proper alignment guarantees even heat retention and simplifies future grill maintenance. Once reinstalled, lightly coat the grates with a high-smoke-point oil like canola or grapeseed. Then, heat the grill on high for 15–20 minutes, allowing the oil to polymerize and form a protective layer.
| Step | Purpose |
|---|---|
| Reinstall grates securely | Guarantees stability and uniform heating |
| Apply thin oil layer | Prepares surface for seasoning |
| Heat on high | Creates non-stick, rust-resistant coating |
| Cool and repeat if needed | Enhances long-term durability |
This process boosts heat retention and supports consistent searing, directly improving your cook quality and extending grate life.
Why Clean Grill Grates Cook Better and Last Longer
A clean grill grate isn’t just about appearance-it’s the foundation of consistent, high-quality cooking. When grease and charred debris build up, they interfere with heat distribution, creating hot spots and uneven searing. You end up with food that’s scorched in places and undercooked elsewhere. A clear grate allows for direct contact between food and metal, improving grill performance and promoting even browning. This precise heat transfer enhances flavor through better caramelization and reduces flare-ups caused by dripping fat igniting on residue. Regular cleaning also prevents corrosion, so your grates last longer and maintain structural integrity. Over time, consistent maintenance preserves both efficiency and safety. Simply put, a well-kept grate isn’t just cleaner-it’s more reliable, responsive, and effective every time you fire up the grill. You’ll notice the difference in every sear.
On a final note
You’ve removed the grime, scrubbed away residue, and rinsed the grates clean-now they’re ready to perform. Proper cleaning boosts heat conductivity and prevents flare-ups, directly improving cooking results. Seasoning afterward creates a non-stick surface and shields against rust. A well-maintained grate lasts years longer than a neglected one, saving money and ensuring consistent searing. Ultimately, this care translates to better BBQ: flavorful, evenly cooked food and reliable equipment when you need it most.