Raised Grate System for Low-and-Slow Smoking: 10-14″ Height Guide
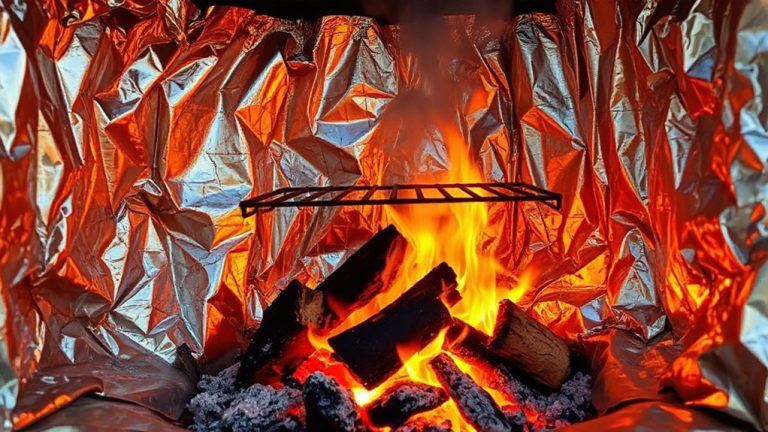
You’ll get more consistent results by building a raised grate system that lifts food 10–14 inches above the coals, reducing scorching while improving heat circulation and smoke exposure. Use thick-gauge stainless or carbon steel for durability and even thermal distribution, avoiding warped or rusty hardware store parts. Weld or bolt a stable frame with uniform crossbars, ensuring airflow isn’t blocked. Keep vents clear and clean the grate regularly. The right setup transforms your cook-better bark, juicier insides, and fewer hot spots. You’re already on track to mastering controlled, long burns.
Notable Insights
- Position the raised grate 10–14 inches above the fire to promote even heat distribution and prevent scorching during low-and-slow cooks.
- Use thick-gauge stainless steel or cast iron for durability, heat retention, and resistance to warping under prolonged high temperatures.
- Construct a stable, level frame with uniform crossbars to support the cooking grate and ensure consistent airflow across the cooking chamber.
- Maintain unobstructed venting and clearance around the firebox to regulate oxygen flow and avoid hot spots or smoke stagnation.
- Avoid non-food-grade materials and clean the grate regularly to prevent contamination and ensure optimal heat transfer and flavor development.
Why a Raised Grate Improves Low-And-Slow Cooking
While traditional grill setups often place food close to the heat source, using a raised grate during low-and-slow cooking gives you far better control over temperature and airflow, two essentials for tender, evenly smoked results. You’re not just adding height-you’re improving heat distribution by letting thermal energy circulate more evenly around the meat. Hot spots become less of an issue, and temperature gradients smooth out, especially in offset smokers or kettle grills. Airflow control improves too, since the space beneath the grate allows oxygen to feed the fire more steadily while smoke moves uniformly across the cooking surface. That consistent environment means better bark formation, juicier interiors, and fewer flare-ups. You’re not fighting the fire-you’re managing it, and that’s what separates good barbecue from great. A raised grate isn’t a gimmick; it’s a functional upgrade for anyone serious about low-and-slow.
Best Materials for a Raised Grate System
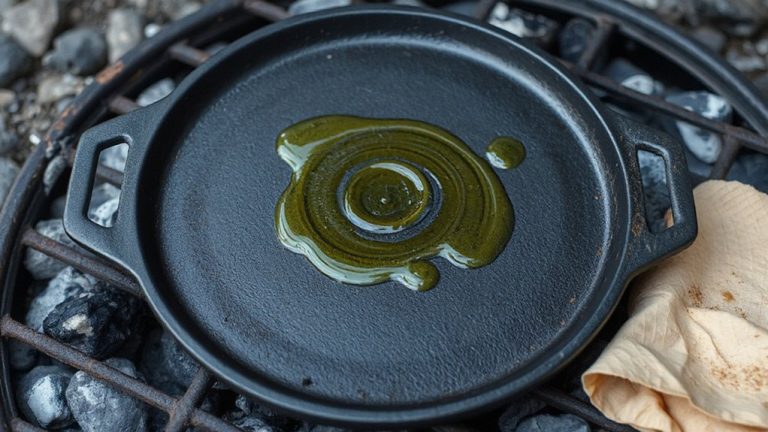
You’ve seen how lifting your cooking surface improves heat circulation and smoke flow, but the real payoff comes down to what that raised grate is made of-because not all materials handle the demands of low-and-slow the same. Cast iron offers excellent heat retention, holding steady temperatures for consistent cooking, but it’s heavy and prone to rust if not maintained. Stainless steel is lighter, resists corrosion, and allows precise airflow control, though it doesn’t retain heat as steadily. Thick-gauge steel grates strike a balance-durable, with decent heat retention and responsiveness to airflow adjustments. Avoid thin or cheap alloys; they warp under prolonged heat and disrupt even cooking. For best results, pick a material that supports long cooks without sacrificing control. Your ideal raised grate should stabilize temperature while letting you fine-tune oxygen flow to the fire-critical for mastering low-and-slow.
How to Build a Raised Grate Step by Step
A well-designed raised grate system starts with a solid plan that matches your cooker’s dimensions and the type of fuel you use. Begin by measuring your cooking chamber and deciding how much vertical clearance you need. Cut your metal rods or bars to size, ensuring they’re uniform to maintain grill stability. Weld or bolt them into a rectangular frame that sits above the firebox, positioning it so heat rises evenly. Secure crossbars at consistent intervals to support the cooking grate and allow proper airflow control. Use high-temperature resistant materials to prevent warping. Test the setup with a light load first-check for wobbling or uneven support. A sturdy build not only improves safety but also promotes consistent cooking temps. Final adjustments should prioritize both structural integrity and ventilation, so your low-and-slow sessions run smoothly without flare-ups or hot spots.
Grate Placement for Better Heat & Smoke
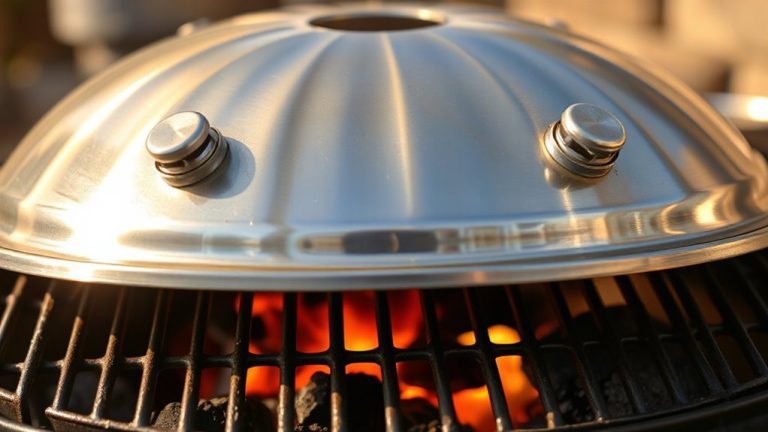
Where should you place the grate for the most even heat and ideal smoke exposure? You’ll want to set your grate height between 10 and 14 inches above the coals for low-and-slow cooking-this distance allows heat to diffuse evenly while keeping flames from scorching your food. Too low, and you risk hot spots; too high, and you lose consistent warmth. Proper grate height also improves smoke absorption, giving meat that rich, flavorful crust. Don’t overlook airflow control: position the grate so smoke flows smoothly across the cooking surface without pooling. Adjustable vents at the firebox and lid help regulate oxygen, stabilizing temperature and reducing flare-ups. Combined, ideal grate height and airflow control give you greater command over the cooking environment. You’ll see better bark development, juicier interiors, and more consistent results across brisket, ribs, or pork shoulder.
Avoid These 5 Raised Grate Mistakes (And How to Fix Them)
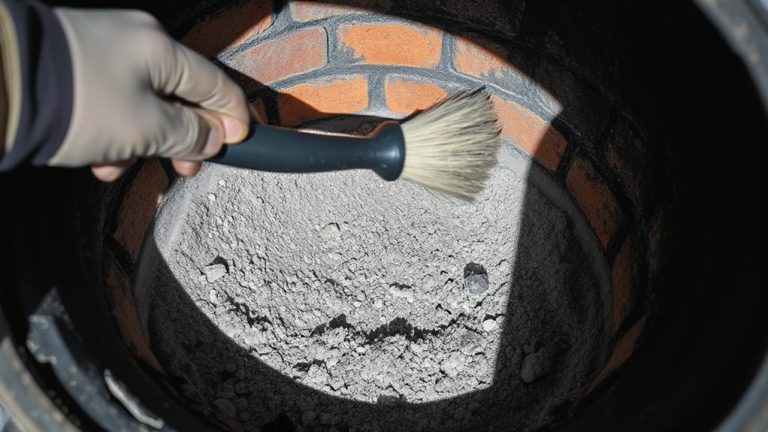
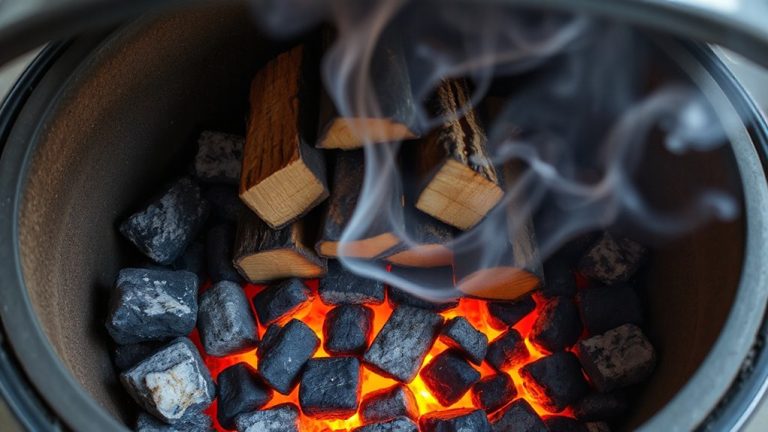
Grilling failures often trace back to setup oversights, and the raised grate is no exception-missteps in its use can undermine even the most carefully planned low-and-slow cook. You might overlook grate stability, causing wobbling that disrupts heat distribution and risks food safety. Always guarantee your support structure is level and secure. Another common error? Blocking vents or stacking too much wood, which ruins airflow balance and leads to uneven smoke or bitter flavors. Position the grate so clearance around all sides allows steady oxygen flow. Using makeshift materials like rusty hardware store grates can degrade performance and hygiene-opt for food-grade steel. A well-chosen replacement can make a significant difference-consider upgrading to one of the best grill grates for improved heat retention and durability. Finally, skipping periodic cleaning diminishes efficiency. Ash buildup restricts airflow, while grease accumulation risks flare-ups. Fix these issues early: check stability before loading, monitor airflow throughout, and maintain your system. A well-tuned raised grate enhances control, delivering consistent, flavorful results every time.
On a final note
You’ve got better control now. A raised grate gives you that extra distance from the fire, smoothing out heat for more even, low-and-slow cooks. It helps manage flare-ups and lets smoke circulate cleanly. Just use sturdy, heat-resistant materials like stainless steel or cast iron, and position the grate so airflow isn’t blocked. Done right, this setup boosts flavor and consistency-especially with briskets or ribs. Watch the gaps, avoid warping, and keep it clean.