Sous-Vide Finish Followed by Cast Iron Sear for Ultimate Steak Texture
You’ll get the ultimate steak texture by starting with a well-marbled cut like rib游戏副本 or strip, then using sous-vide at 134°F for medium-rare to guarantee even doneness from edge to center. After patting it dry and seasoning with salt, sear it in a smoking-hot cast iron skillet for 60–90 seconds per side to trigger a deep Maillard crust. Let it rest briefly before slicing against the grain for maximum tenderness. There’s more to mastering this method than just timing-small details make all the difference.
Notable Insights
- Choose well-marbled cuts like Ribeye or Strip for enhanced juiciness and flavor retention during sous-vide and searing.
- Sous-vide at 134°F for 1–2 hours to achieve precise medium-rare doneness and edge-to-center consistency.
- Pat dry thoroughly post-sous-vide to remove moisture and ensure a crisp, even sear.
- Sear in a smoking-hot cast iron skillet at 450–500°F for 60–90 seconds per side to develop Maillard crust.
- Rest steak 5–10 minutes loosely covered to retain juices without compromising crust integrity.
Choose the Best Cut for Sous-Vide and Searing
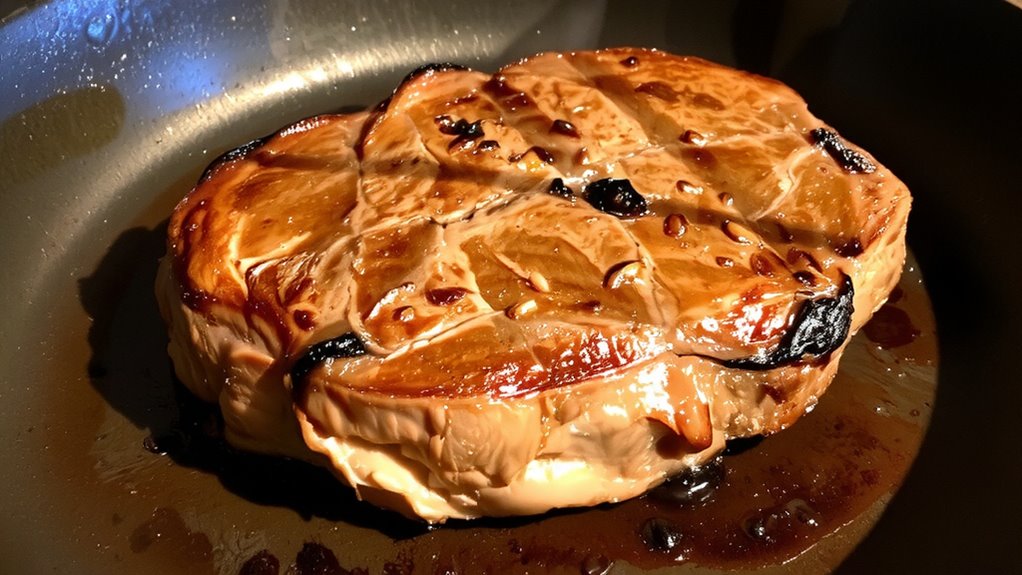
When it comes to sous-vide and cast iron searing, the cut of steak you pick makes all the difference in texture, flavor, and overall success. You’ll want a cut with high marbling content-those fine streaks of intramuscular fat-because they melt during cooking, boosting juiciness and flavor. Cuts like Ribeye, Strip, or Filet Mignon excel, especially when dry-aged. The aging method matters: dry-aging concentrates flavor and tenderizes the meat through controlled enzyme breakdown, giving you a deeper, nuttier profile. Wet-aged steaks are more common and retain moisture well but lack the complexity of dry-aged. For best results, pair a well-marbled, dry-aged steak with your sous-vide and sear method. This combination guarantees a buttery texture and rich taste that stands up to the intense heat of cast iron, delivering a restaurant-quality crust without sacrificing interior tenderness. Choose wisely-it shows in every bite. For BBQ applications, consider Best BBQ Beef Cuts when selecting meat suited for slow cooking and high-heat finishing.
Sous-Vide Your Steak to Perfect Doneness
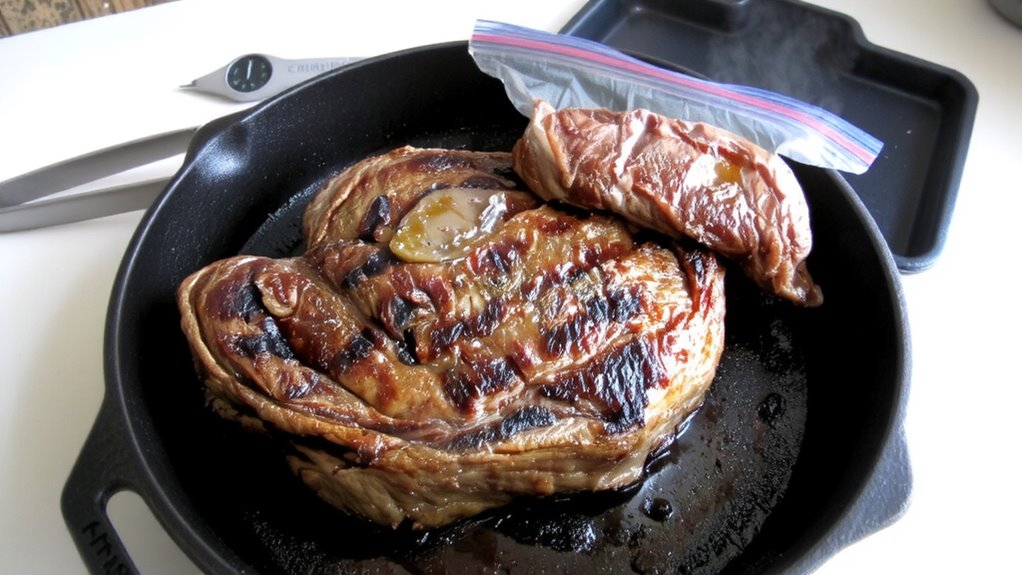
Though you might be tempted to rely on guesswork or intuition, cooking your steak sous-vide means you’re in full control of the outcome, and that starts with setting the right temperature. Begin by vacuum sealing your chosen cut-you’ll lock in juices and guarantee even heat exposure. Place the sealed steak into a bath with precise water circulation, which guarantees consistent cooking from edge to center. For rare, aim for 129°F; medium-rare hits ideal tenderness around 134°F. Hold it for 1 to 2 hours, depending on thickness. Unlike grilling, where hot spots and flare-ups complicate results, this method eliminates variables. You’re not just cooking; you’re engineering perfect doneness. Vacuum sealing prevents oxidation and moisture loss, while steady water circulation avoids cold zones. This isn’t about luck-it’s about science. The steak reaches your target temp evenly, with no overcooked edges. When done, it’s ready for the next step: a blazing-hot sear.
Dry and Season for a Crispy, Golden Crust
| Step | Action | Purpose |
|---|---|---|
| 1 | Pat steak dry | Remove moisture |
| 2 | Apply salt | Enhance flavor |
| 3 | Rest (optional) | Stabilize surface |
| 4 | Final dry pass | Maximize crust thickness |
| 5 | Prepare for sear | Lock in readiness |
Sear in a Smoking Hot Cast Iron Skillet
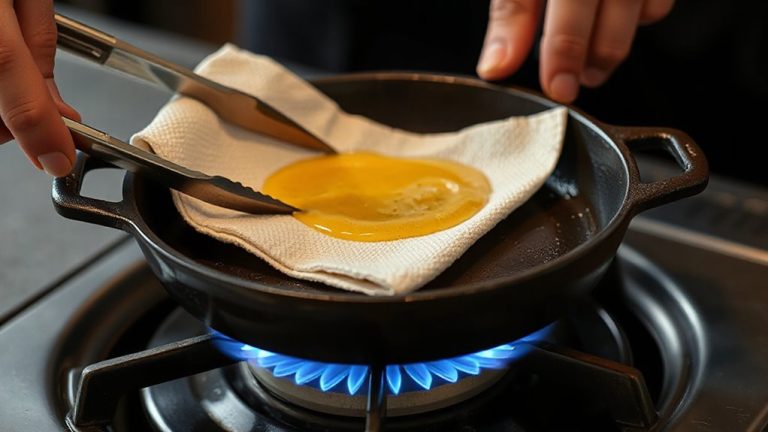
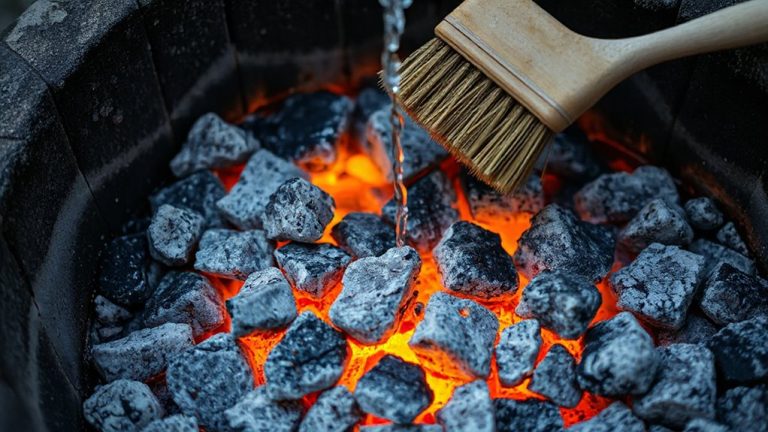
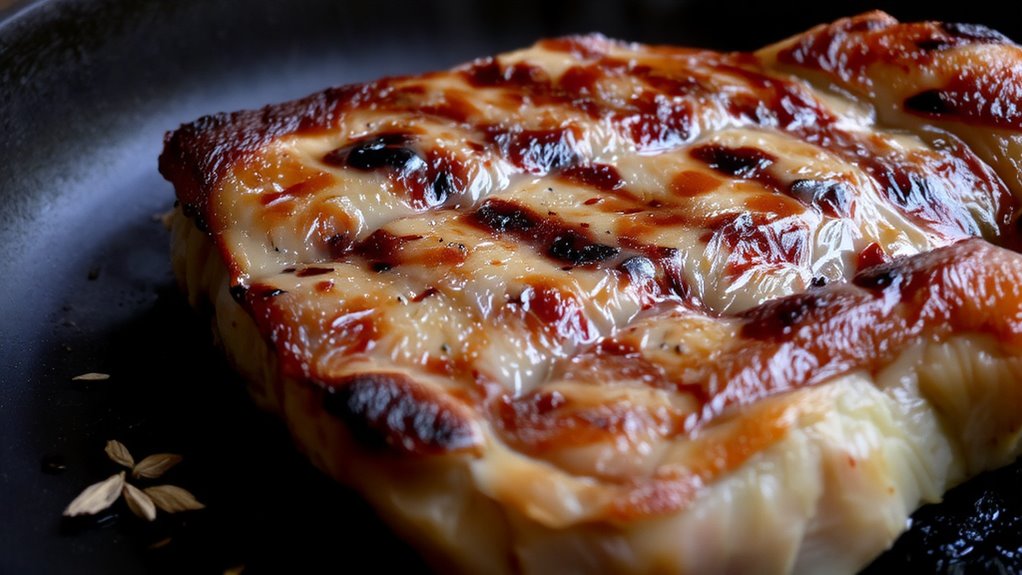
While the steak rests after seasoning, heat your cast iron skillet over high flame until it just starts to smoke-this thermal threshold is critical, as the intense heat guarantees a rapid Maillard reaction that transforms the surface into a rich, caramelized crust. Proper heat control is key; too low and you’ll steam the steak, too high and you risk burning the exterior before achieving ideal browning. You need consistent pan temperature-roughly 450–500°F-for an even sear without overcooking the interior. Cast iron excels here, retaining heat efficiently and distributing it uniformly. Place the steak gently to avoid oil splatter, then press lightly to maximize surface contact. Sear 60–90 seconds per side, flipping once. The result? A deeply flavored, textured crust that elevates sous-vide tenderness. This method’s reliability makes it a top choice among precision-focused cooks. Heat management and pan temperature aren’t just details-they’re the foundation of a flawless sear.
Let the Steak Rest Before Slicing
You’ve built that deep, flavorful crust in the smoking-hot cast iron, and now the most underrated part of steak preparation begins-letting it rest. Steak relaxation isn’t just tradition; it’s science. After searing, internal temperature remains high, and muscle fibers are still contracted from the heat. Resting allows them to relax gradually, redistributing juices evenly. Skipping this step risks losing precious liquid the moment you cut in, undermining all your effort. Aim for five to ten minutes, depending on thickness-enough time for ideal moisture retention without losing surface warmth. Covering loosely with foil helps maintain temperature while preventing steam buildup that could soften the crust. Many home cooks rush this phase, but patience here defines restaurant-level results. True mastery in sous-vide and sear techniques isn’t just about precision cooking-it’s respecting each stage, especially the quiet moments where flavor settles and texture perfects itself.
Slice Against the Grain for Tender Bites
Tenderness isn’t just a result of cooking method-it starts with how you slice. You’ve nailed the sous-vide and sear, so don’t ruin it with a careless cut. Look closely at the steak: those long, parallel lines are the muscle fibers, and slicing *against* them shortens the strands, making each bite more tender. Use a sharp knife and aim for an even thickness-about ¼ inch-so every piece delivers consistent texture. Cutting with the grain leaves tough, chewy strips; going crosswise breaks up the juicy fibers, enhancing both mouthfeel and flavor release. This isn’t just tradition-it’s food science. Whether it’s ribeye or strip, the right cut makes a noticeable difference. You’ve invested time in precision cooking; finish strong with thoughtful slicing. It’s a small step, but essential for turning a well-prepared steak into a truly satisfying experience.
Fix Common Sous-Vide Steak Problems
Even with the most precise cooking, a perfectly sliced steak can still fall short if earlier steps in the sous-vide process didn’t go as planned. If your steak tastes bland or has an odd texture, check for bag leakage-this lets water in and ruins seasoning while disrupting temperature control. Always use airtight bags and double-check seals. Water displacement is another culprit; when not done properly, air pockets prevent even heat transfer, leading to inconsistent doneness. Use the zip-lock method or a vacuum sealer to push out all air before submerging. If you see bubbles rising during the cook, there’s likely a leak. Also, trim excess fat slightly to help the bag conform closely to the meat. While sous-vide is forgiving, these flaws impact results more than most realize. Fixing them guarantees your cast iron sear starts with a flawlessly cooked base.
On a final note
You’ve nailed precise doneness with sous-vide and achieved a deep, flavorful crust via cast iron. This combo delivers unmatched texture-tender inside, crisp outside-consistently. While it demands time and attention, the results justify the effort. Proper drying, seasoning, and a scorching skillet are essential. Resting and slicing against the grain preserve juiciness. For steak lovers, this method sets the gold standard, blending science and technique for restaurant-quality results at home.