How to Season a Cast Iron Skillet Over a Propane Burner for Even Coverage
You’ll want to start with bare, polished iron-strip any rust or old seasoning using steel wool or a lye-based cleaner. Choose a high-smoke-point oil like grapeseed or canola, and apply a micro-thin layer, wiping it nearly dry to prevent stickiness. Place the skillet on your propane burner, where precise flame control guarantees even heat and consistent polymerization. Rotate it every few minutes for uniform coverage, watching for that glossy, non-stick finish-keep going to see how each step builds a resilient, long-lasting surface.
Notable Insights
- Start with bare, clean cast iron by removing all rust and old seasoning using chemical or mechanical methods.
- Apply a micro-thin layer of high-smoke-point oil like grapeseed or canola using a lint-free cloth.
- Heat the skillet evenly on a propane burner, rotating it every few minutes for uniform coverage.
- Monitor for smoke and polymerization, adjusting the flame instantly to prevent overheating or flaking.
- Let the skillet cool gradually on the burner to avoid warping and ensure a durable, even seasoning layer.
Why Season on a Propane Burner?
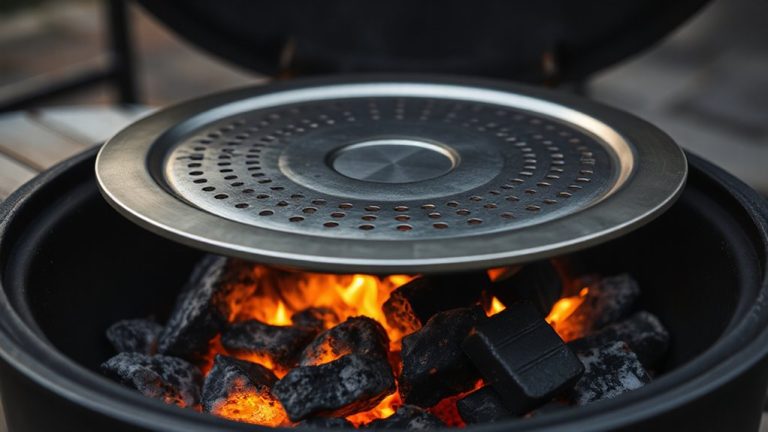
While indoor seasoning works for basic maintenance, you’ll get a more effective, evenly cured layer by starting the process on a propane burner. The open flame provides consistent, high heat that polymerizes oil more uniformly than most stovetops. You’ve got superior heat control-adjust the flame instantly to prevent smoking or warping. That precision helps build durable layers without hot spots. Plus, propane burners offer excellent fuel efficiency, letting you sustain high temperatures longer without wasting resources. Outdoor seasoning also avoids filling your kitchen with smoke, making it a practical choice for deep maintenance. The steady output from propane guarantees the entire skillet surface responds equally, which indoor burners often struggle with due to uneven heat distribution. For serious cast iron care, especially when restoring older pans, this method simply performs better. It’s efficient,可控, and aligns with best practices for long-term skillet performance.
Pick a High-Smoke Oil for Propane Heat
Since propane burners deliver intense, consistent heat, you’ll want to choose an oil with a high smoke point to avoid burning before polymerization occurs. The right oil type makes all the difference-go for refined oils like grapeseed, canola, or high-oleic sunflower, each boasting a smoke point above 400°F. These withstand propane’s fierce, direct flame better than butter or olive oil, which break down too quickly. A high smoke point guarantees the oil can heat long enough to bond with the iron, creating that durable, non-stick layer you’re after. Flaxseed oil may seem ideal, but though it polymerizes well, it’s prone to flaking under high, sustained heat. For propane use, stability matters most. Pick a neutral, refined oil that heats evenly and doesn’t degrade instantly. This isn’t just about performance-it’s about building a seasoning that lasts through real cooking demands. For a detailed comparison of performance under high heat, check out the top picks in best grilling oils.
Strip Rust and Old Seasoning Completely
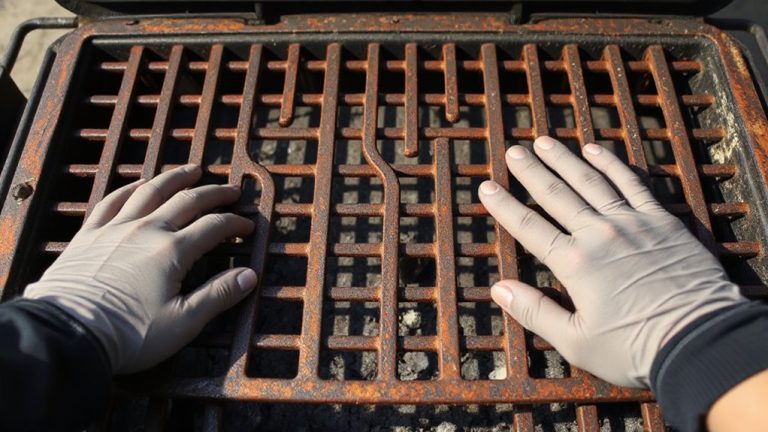
You’ll want to get rid of every trace of rust and old seasoning before starting fresh-this step isn’t just cleanup, it’s the foundation of a solid, long-lasting bond between oil and metal. For stubborn buildup, chemical stripping with a lye-based solution or oven cleaner works fast, dissolving layers without excessive elbow grease. Still, it’s harsh and requires careful handling and thorough rinsing. More hands-on? Mechanical scrubbing with steel wool or a stiff brush gives you direct control, especially on pitted areas where residue hides. Many backyard experts prefer this method because it’s immediate, predictable, and avoids chemical risks. A propane burner setup won’t fix a dirty surface, so skip shortcuts. Whether you strip chemically or scrub by hand, the goal’s the same: bare, shiny iron. That clean slate guarantees your new seasoning adheres evenly and lasts through high-heat searing.
Apply a Micro-Thin Oil Layer
Now that the skillet’s surface is stripped back to bare metal, you’re ready to lay down the first coat of seasoning. Choose an oil type with a high smoke point, like flaxseed, canola, or grapeseed-they polymerize well, creating a durable, nonstick layer. Apply a micro-thin layer using a lint-free cloth or paper towel; this oil application method is critical. Too much oil leads to sticky buildup rather than seasoning. Wipe the oil on, then wipe it off again-like polishing silver-until the surface looks nearly dry. This guarantees the oil bonds to the metal instead of pooling. A proper application method prevents uneven patches and flaking over time. For outdoor cooking enthusiasts, this step builds a foundation that withstands high heat and repeated use, essential for searing and grilling. Skip it, and your skillet won’t perform. Do it right, and you’ll enjoy better heat retention and flavor development.
Heat Evenly on a Propane Burner
While indoor ovens offer consistent heat, heating your skillet on a propane burner gives you more immediate control and mimics the high-output flames used in professional outdoor kitchens. You can adjust the flame instantly, helping maintain thermal balance across the skillet’s surface. Unlike ovens that heat from the outside in, the direct flame promotes a consistent distribution of heat, especially when you rotate the pan slightly every few minutes. This hands-on approach lets you observe how the oil polymerizes in real time, reacting to fluctuations before they damage the seasoning. A well-tuned burner evenly crisps the surface layer without scorching edges, critical for long-term nonstick performance. Though it demands attention, the method offers precision that many pitmasters prefer for achieving a durable, uniform layer. With practice, you’ll develop a rhythm that guarantees your cast iron heats thoroughly and evenly each time-no guesswork, just reliable results.
Avoid Flare-Ups and Cool Safely
A controlled flame gives you command over seasoning, but letting that fire climb unchecked risks undoing your careful work-flare-ups happen when oil drips or pooled fat catches fire, creating sudden spikes in temperature that blister and burn the developing polymerized layer. For effective flare up prevention, apply oil sparingly and wipe off excess before heating; keep a spray bottle of water nearby to dampen small flames without shocking the skillet. Never leave the pan unattended, and position it securely over a steady burner to minimize splatter. Once seasoned, cooling safety is just as essential-let the skillet cool gradually on the burner to avoid thermal shock that could warp or crack it. Fast cooling over concrete or grass risks weakening the metal. Instead, allow it to return to room temperature slowly, preserving both structure and finish.
Test for a Non-Stick, Durable Finish
How do you know when your skillet’s seasoning is truly ready? Perform a quick oil testing and surface inspection to confirm. A well-seasoned skillet should have a smooth, glassy finish-no sticky spots or visible rust. Heat the skillet and add a teaspoon of oil; if it spreads evenly without beading, the seasoning’s holding. Test non-stick performance with a fried egg: if it slides free easily, you’ve succeeded. Below is a summary of key indicators:
| Test Type | What to Look For | Result Meaning |
|---|---|---|
| Visual Check | Uniform dark sheen, no flakes | Proper polymerization |
| Oil Testing | Oil spreads, doesn’t pool | Non-porous surface formed |
| Egg Test | Food releases with minimal effort | Durable, effective seasoning |
| Surface Inspection | No roughness or sticky residue | Ready for regular use |
Trust these steps-they separate functional skillets from truly exceptional ones.
On a final note
You’ve built a resilient, non-stick surface by seasoning over a propane burner, where consistent, high heat polymerizes oil evenly. This method outperforms stovetop seasoning with full-coverage intensity, critical for durability. A well-seasoned cast iron skillet handles searing and slow cooking with equal ease, transferring heat efficiently. Properly maintained, it becomes a long-lasting asset in outdoor cooking, resisting rust and improving over time. It’s practical, effective, and ideal for BBQ enthusiasts who value performance.