Turn a Fire Pit Into an Open Pit Oven (24-36 in Setup)
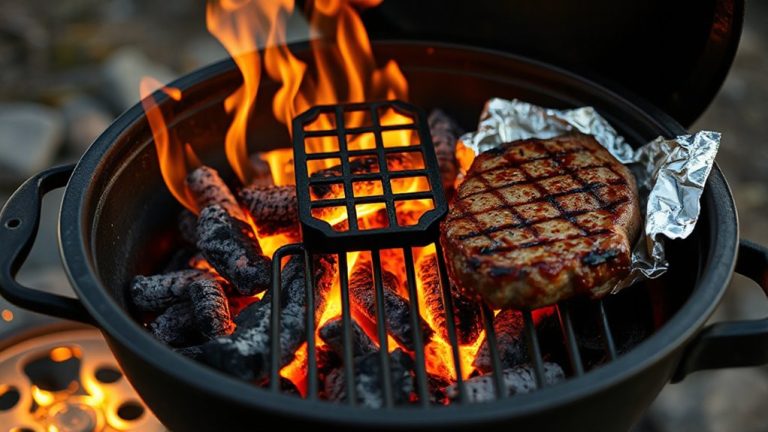
Choose a thick-walled steel or stone fire pit 24–36 inches wide with good airflow vents for stable heat. Set up a grill grate for searing or a stone base to mimic a wood-fired oven’s even radiation. Build a two-zone fire using hardwoods like oak or hickory-they burn hotter and cleaner than softwoods. Control temperature by adjusting vents and log placement, aiming for thin blue flames. Use indirect heat for baking bread or simmering stews, and you’ll see how simple tweaks reveal serious cooking potential.
Notable Insights
- Use a thick-walled steel or stone fire pit with a 24–36 inch diameter for optimal heat retention and cooking space.
- Install a cast iron grill grate or build a stone oven floor to create a stable, heat-retaining cooking surface.
- Set up a two-zone fire by stacking coals on one side to enable both direct searing and indirect roasting.
- Burn hardwoods like oak, hickory, or maple for consistent heat and flavorful smoke during cooking.
- Control temperature by adjusting airflow via vents or log arrangement to maintain steady heat for baking and simmering.
Choose a Fire Pit That Works for Cooking
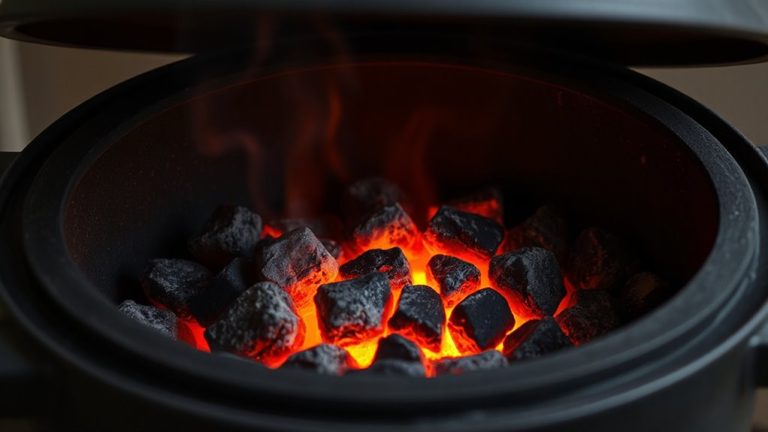
A solid foundation starts with the right fire pit-your cooking performance hinges on it. You need a pit that supports consistent fuel selection, whether wood, charcoal, or a mix, because each affects flavor and heat output differently. Thick-walled steel or stone models offer superior heat retention, radiating steady warmth essential for even cooking. Shallow or thin metal pits lose heat too quickly, making temperature control a struggle. Consider diameter and depth: 24–36 inches wide and at least 12 inches deep maintain a stable thermal environment. Pits with airflow vents give you better control over combustion. Opt for materials like cast iron or refractory brick if you plan frequent use-they endure thermal stress and boost efficiency. A well-chosen fire pit doesn’t just burn; it performs, storing and redistributing heat effectively. Your outdoor oven’s success begins here. Mastering bushcraft campfire styles can enhance your ability to manage heat and fuel efficiently.
Set Up a Grill Grate or Stone Oven Base
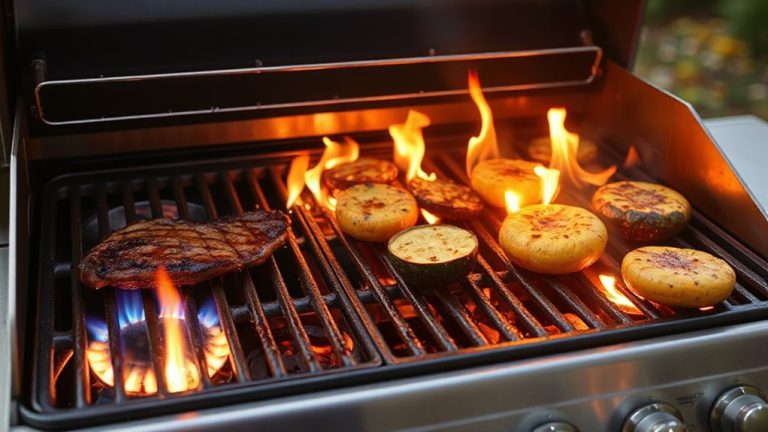
You’ll want to think carefully about how you’re going to transfer heat to your food, because the base you choose-grill grate or stone oven floor-shapes your cooking style and results. A grill grate allows direct flame access and quick searing, making it ideal for meats and veggies; just guarantee stable grill placement to prevent tipping during use. For baking or roasting, a stone oven base absorbs and radiates heat evenly, with excellent stone insulation retaining warmth long after the fire dies. This thermal mass mimics professional wood-fired ovens, perfect for crusty bread or slow-cooked stews. Stone bases require more time to heat but offer superior temperature consistency. Grates are easier to install and clean, while stone demands careful layering and curing. Your cooking goals should guide the choice-simplicity and grilling favor the grate, while authenticity and even heat favor stone. Both need routine inspection, but the payoff is versatile, high-quality outdoor cooking. When using a grate, consider choosing a campfire grill grate made from durable, high-heat materials for optimal performance and longevity.
Build a Two-Zone Fire for Better Control
Once the fire’s going, splitting the heat into two zones-direct and indirect-gives you far more control over cooking outcomes, letting you sear meats over the flame while gently roasting vegetables or finishing thicker cuts without burning. Effective fire placement is key: pile hot coals to one side, leaving the opposite area open for indirect heat. This setup mimics an oven’s broiler and bake modes, improving precision. You’ll maintain consistent heat retention by using dense materials like lava rock or firebrick around the pit’s edges, which absorb and radiate warmth evenly. A two-zone system also reduces flare-ups and allows for longer cook times, essential for dishes like slow-roasted ribs or baked potatoes wrapped in foil. Monitoring temperature becomes easier, too, since you can shift food between zones instead of constantly adjusting the fire. With smart fire placement and solid heat retention, your pit shifts smoothly from campfire to controllable outdoor oven. For even greater versatility, consider using a fire pit with a grill grate that accommodates both direct and indirect cooking zones.
Use Hardwood for Consistent, Flavorful Heat
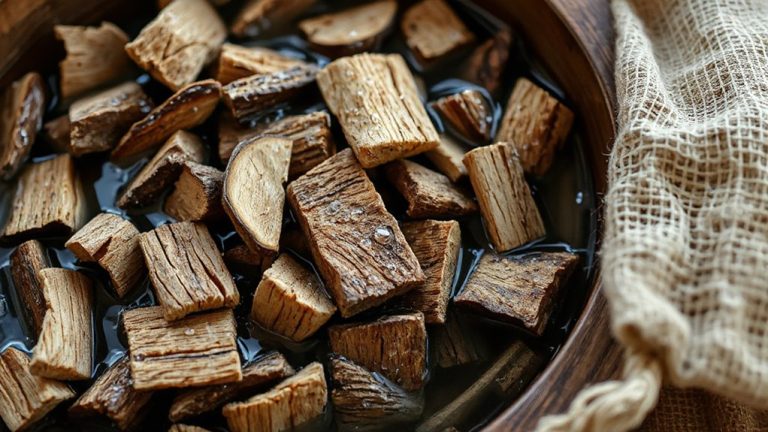
Choosing the right fuel makes all the difference when turning your fire pit into a reliable outdoor oven, and hardwoods like oak, hickory, and maple deliver steady, long-burning heat with rich, nuanced flavors that softwoods simply can’t match. Your wood selection directly impacts heat retention and cooking performance. Hardwoods burn hotter and more evenly, maintaining consistent temperatures ideal for roasting and baking. Below is a quick comparison to guide your choice:
| Wood Type | Best For |
|---|---|
| Oak | Long cook times, reliable heat retention |
| Hickory | Bold flavor, excellent searing |
| Maple | Mild sweetness, consistent burn |
| Pine (softwood) | Avoid-smoky, uneven heat |
Pine pops, creosotes, and lacks heat retention, making it a poor fit. Oak and hickory stand out for durability and flavor control. For best results, season your wood for at least six months-dry logs guarantee cleaner burns and better temperature stability.
Adjust Airflow to Manage Cooking Temperatures
While fire intensity often gets the spotlight, it’s the airflow you control that truly dictates cooking temperature in a converted fire pit oven. You can fine-tune airflow dynamics by adjusting vents or shifting logs to manage oxygen flow, directly impacting heat levels. Too much air, and your fire spikes-too little, and it suffocates, leading to uneven results. For steady temperature regulation, partially restrict airflow once coals are established, maintaining a consistent 300–400°F. Side vents or a makeshift chimney cap help modulate draft strength, giving you precision similar to a traditional wood-fired oven. Observing flame behavior and smoke density guides your adjustments: thin blue flames suggest efficiency; thick smoke means incomplete combustion. Mastering this balance lets you sustain heat effectively, avoiding wild swings. Over time, you’ll intuitively match airflow to cooking demands, making temperature control less guesswork and more science-a key upgrade from basic open-fire grilling.
Simmer Stews and Bake Bread in Your Fire Pit Oven
Though mastering airflow sets the stage, you’ll find the real payoff comes when you start simmering stews and baking bread in your fire pit oven-tasks that showcase its versatility beyond simple grilling. Slow cooking in this setup delivers rich, deep flavors, especially when using cast-iron pots to maintain consistent heat. Wood fired baking, meanwhile, gives breads a crisp crust and smoky aroma hard to replicate indoors. Position food to the side of the fire for indirect heat, mimicking an oven’s brooding warmth. Adjusting fuel and airflow lets you sustain ideal temperatures for hours.
| Cooking Method | Ideal Temp Range (°F) |
|---|---|
| Simmering stews | 180–225 |
| Baking bread | 375–450 |
| Slow cooking | 200–275 |
| Wood fired baking | 400–475 |
Keep Your Open Pit Oven Safe and Clean
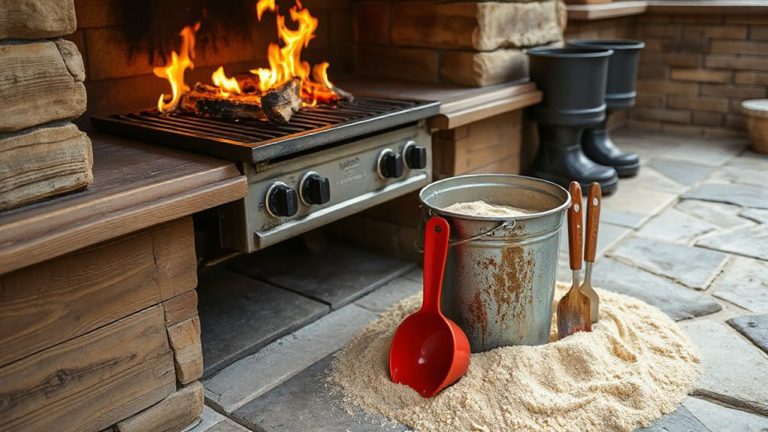
A well-maintained fire pit oven isn’t just more reliable-it’s safer and more efficient over time, so keeping it clean should be a priority after every cook. After the stones cool completely, remove leftover ash with a metal shovel or brush; never dump hot debris, as improper ash disposal can spark unintended fires. Store ashes in a metal container with a lid, keeping it away from wooden structures or dry grass. Routinely check for grease buildup, cracked bricks, or blockages that compromise fire safety. A clean firebox guarantees even heat distribution and prevents flare-ups. You’ll also extend the oven’s lifespan and improve flavor consistency in your food. Simple habits-like scraping grates and covering the pit when not in use-save time and reduce hazards. Think of maintenance as essential prep, not just cleanup. It’s practical, proactive, and critical for anyone serious about outdoor cooking.
On a final note
You’ve turned your fire pit into a versatile outdoor oven, capable of searing, baking, and simmering with control. Using hardwood and a two-zone fire, you achieve steady heat and rich flavor. A grill grate or stone base improves performance, while airflow adjustments fine-tune temperature. With proper setup and cleanup, this open pit oven delivers reliable, restaurant-quality results-ideal for bread, stews, and roasts-making it a practical, durable upgrade for serious backyard cooking.