How to Grill Whole Chicken Using the Beer Can Method Successfully
Choose a 3- to 4-pound air-chilled chicken for less moisture and better crisping. Brine it for 4–6 hours, then pat dry and season well. Use a lager or amber ale-avoid stouts or IPAs-and partially fill the can to stabilize the bird upright on the grill. Cook over indirect heat, ensuring even doneness without charring. Check internal temps: 165°F in the thigh, up to 160°F in the breast. Let it rest before carving to lock in juices. You’ll find the full breakdown of each step worth following carefully.
Notable Insights
- Choose a 3 to 4-pound air-chilled chicken for even cooking and crispier skin.
- Brine the chicken for 4–6 hours, then pat dry to enhance flavor and improve browning.
- Insert a partially filled beer can into the cavity to hold the chicken upright on the grill.
- Set up the grill for indirect heat to prevent charring and ensure even doneness.
- Cook until the thigh reaches 165°F, then rest for 15–20 minutes before carving.
Pick the Right Chicken and Beer for Grilling
A well-chosen chicken and the right beer can make or break your grilling experience, so don’t rush this step. You’ll want a plump, fresh whole chicken-around 3 to 4 pounds-so it cooks evenly without drying out. Smaller birds can overcook; larger ones often cook unevenly on the can. Look for air-chilled poultry if possible, as it retains less surface moisture, helping your spice rubs adhere better and improving skin texture. When it comes to beer, choose one with a balanced flavor-like a lager or amber ale-that complements your brining techniques and rub profile. Avoid heavy stouts or overly hoppy IPAs, which can impart bitterness. The beer’s steam infuses the meat, so pair it thoughtfully with your spice rubs. A mismatched beer dulls flavors, while the right one elevates both moisture and taste from the inside out.
Prep the Chicken for Crispy Skin and Juicy Meat
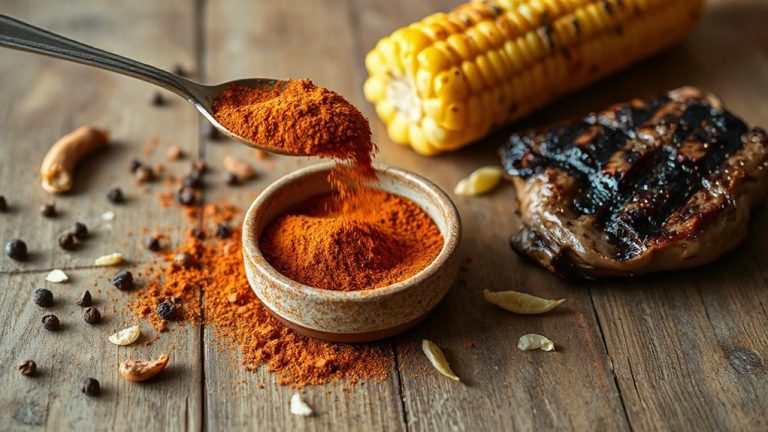
Crispy skin and juicy meat start long before the chicken hits the grill-they begin the moment you start prepping. For maximum flavor and moisture, soak your bird in a brine solution for 4–6 hours. This simple step enhances juiciness and helps the skin crisp evenly. After brining, pat the chicken dry-moisture is the enemy of crunch. Then, apply your seasoning blend generously, focusing on crevices and under the skin for deeper flavor penetration. A large, food-grade container ensures even brine coverage and safe refrigeration during soaking, so choose a brining container that’s spacious and leak-proof.
| Step | Purpose | Time Required |
|---|---|---|
| Brine solution soak | Enhances moisture and flavor | 4–6 hours |
| Pat dry | Promotes crispy skin | 10 minutes |
| Seasoning blend application | Builds robust flavor | 15 minutes |
Dry prep time sets the stage for ideal heat transfer and browning. Proper technique here directly impacts eating quality.
Insert the Beer Can for Stable, Upright Grilling
You’ve prepped the chicken for maximum flavor and texture, so now it’s time to set it up for even cooking on the grill. Carefully slide the chicken onto a partially filled beer can, making certain it stands upright with the can inserted into the cavity. This position promotes stable grilling and allows heat to circulate evenly. Your beer selection matters-not just for alcohol content but for how its nuances enhance flavor infusion. Light lagers work well for subtle taste, while stouts or ales add depth, especially with bold seasonings. As the chicken cooks, steam from the beer gently permeates the meat, helping maintain moisture. The upright stance also exposes more surface area to ambient heat, encouraging uniform browning. While some debate the actual impact of the beer’s contribution, practical tests show juicier results compared to dry-roasting. Just make certain the can is stable to prevent tipping during grilling.
Set Up the Grill for Indirect Heat
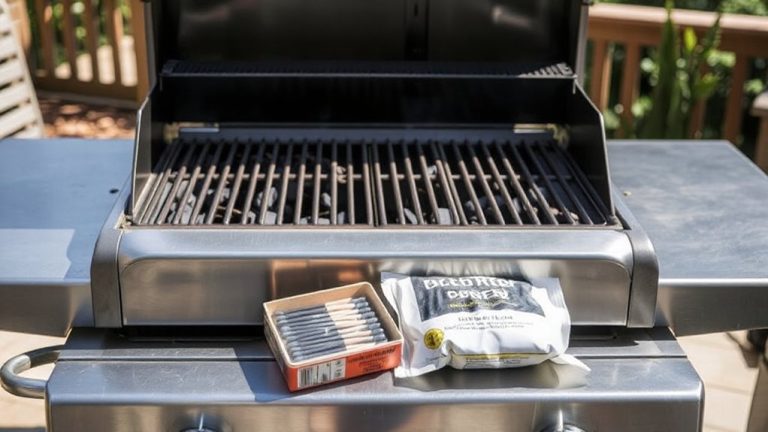
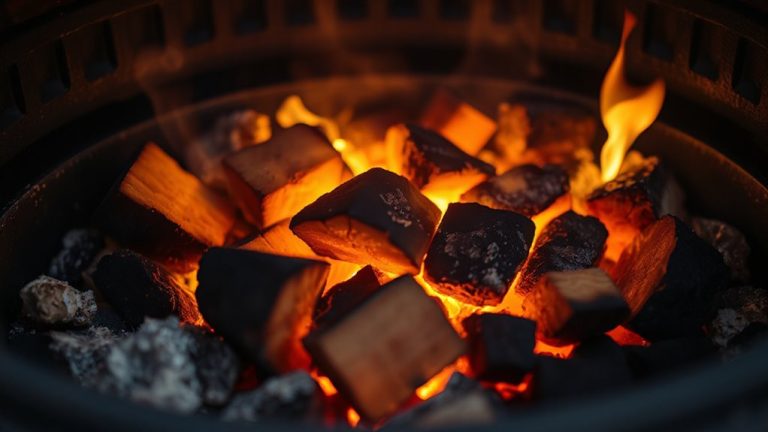
For successful beer can chicken, setting up your grill for indirect heat is essential-this means positioning the burners or coals so that the chicken isn’t directly over the flame. You’re aiming for consistent, surrounding heat that cooks the bird evenly without charring. If you’re using a gas grill, turn on only one side; for charcoal, pile the coals on one half. This setup gives you control and reduces flare-ups. Proper fuel selection matters-propane offers convenience and steady temperatures, while lump charcoal delivers a richer smoke flavor but demands closer monitoring. Either way, clean grates and well-maintained burners or vents guarantee efficient performance. Regular grill maintenance prevents grease buildup and promotes even heating. Indirect cooking isn’t just technique-it’s a functional approach that combines smart fuel choices with reliable equipment care, turning backyard grilling into a precise, rewarding process.
Check Temperature to Avoid Overcooking
Getting the internal temperature right is where most home cooks either nail the beer can chicken or end up with a dry, overcooked bird. You’ve got to check the internal temperature in multiple spots-thigh, breast, and near the bone-since heat distributes unevenly. For food safety and juiciness, the thickest part of the thigh should hit 165°F, while the breast shouldn’t exceed 160°F; carryover heat will finish the job. Relying on time alone is risky-it varies too much based on chicken size and grill fluctuations. A digital meat thermometer is your best tool here. It gives you precision and removes the guesswork. Trusting visual cues? That’s how you undercook or dry out the meat. Monitoring internal temperature guarantees both safety and quality, making it the most reliable method. Skip it, and you’re gambling with flavor and food safety. For the most accurate results, choose a digital meat thermometer with fast read times and high precision.
Rest and Carve Your Beer Can Chicken
After removing the chicken from the grill, it’s often best to let it rest before carving-this simple step makes a noticeable difference in moisture retention and overall texture. Aim for a resting time of at least 15 to 20 minutes, loosely tented with foil; this allows internal juices to redistribute, preventing dryness when you cut into it. During this pause, the residual heat continues to gently cook the meat, guaranteeing even doneness without overexposure to direct flame. When ready, use a sharp knife and a steady carving technique: remove the legs first, then separate the thighs from drumsticks, followed by slicing the breast meat against the grain for maximum tenderness. Proper carving technique guarantees clean cuts and well-presented servings. Skipping resting time undermines all your effort-juices spill out, leaving meat less flavorful and drier. A well-rested bird yields juicier results, making this brief wait a critical part of successful outdoor cooking.
On a final note
You’ve grilled a moist, evenly cooked chicken with crisp skin by using indirect heat and a beer can for stability. This method delivers flavorful results when done right-monitoring internal temperature guarantees juiciness without overcooking. While not foolproof, it’s reliable with practice. Resting before carving preserves moisture. For outdoor cooks, it’s a satisfying technique that combines convection roasting and smoky grilling, proving effective for weeknight dinners or weekend BBQs.