How to Season and Cure a New Smoker Before First Use
You should season your new smoker by coating the interior with a high-smoke-point oil like canola or grapeseed, then heating it gradually-start at 225°F for a few hours, then ramp up to 350–400°F for a second cycle. This builds a polymerized layer that seals pores, prevents rust, and guarantees clean smoke adherence. Skip this step, and you risk off-flavors or uneven heating. Proper seasoning boosts temperature stability and long-term performance-there’s more to get right for consistent, great-tasting results.
Notable Insights
- Coat the smoker’s interior with a high-smoke-point oil like grapeseed or canola to create a protective, non-stick layer.
- Gradually heat the smoker to 225°F for several hours to cure the oil and build a solid seasoning foundation.
- Increase the temperature to 350–400°F for a second cycle to fully polymerize the oil and enhance durability.
- Avoid using low-smoke-point oils or applying oil to a cold smoker, as this prevents proper bonding and causes residue.
- After seasoning, perform a first smoke with simple meat at 225–250°F to test performance and develop flavor.
How to Season Your Smoker (Step by Step)
While seasoning your smoker might seem like an optional first step, it’s actually essential for both performance and longevity, so don’t skip it. You’ll start by coating the interior with a high-smoke-point oil, then heating the unit gradually. Begin at around 225°F, letting it run for a few hours-this initial phase builds a solid foundation and aids temperature control. Afterward, increase the heat to 350–400°F for another cycle. This stabilizes the metal, reduces hot spots, and seals the surface. Proper seasoning supports better flavor development by preventing raw metal taste and helping smoke adhere cleanly to food. You’ll notice performance improves over time, especially when maintaining consistent temperatures during long cooks. The process may take half a day, but the payoff in durability and cooking quality is worth it. Trust the method: your smoker won’t deliver its best without this essential step.
Why You Should Season Before First Use
Because your smoker’s metal surfaces come straight from the factory with residues and open pores, seasoning before first use locks in performance and protects your investment from the start. You’re not just cleaning-you’re building a foundation. The oil layer you apply polymerizes under heat, creating a slick, durable finish that boosts heat retention and guarantees more consistent cooking temperatures. That means fewer fuel adjustments and steadier smoke. More importantly, this barrier is essential for rust prevention. Unseasoned metal absorbs moisture, leading to corrosion that weakens structural integrity over time. Once rust starts, it’s hard to stop. Seasoning also burns off manufacturing oils that could taint your first smoke. Think of it as preventative maintenance and performance tuning all in one. You’ll get cleaner flavor, better temperature control, and longer equipment life. It’s not optional-it’s the first real step in serious outdoor cooking.
Supplies You Need to Season Your Smoker
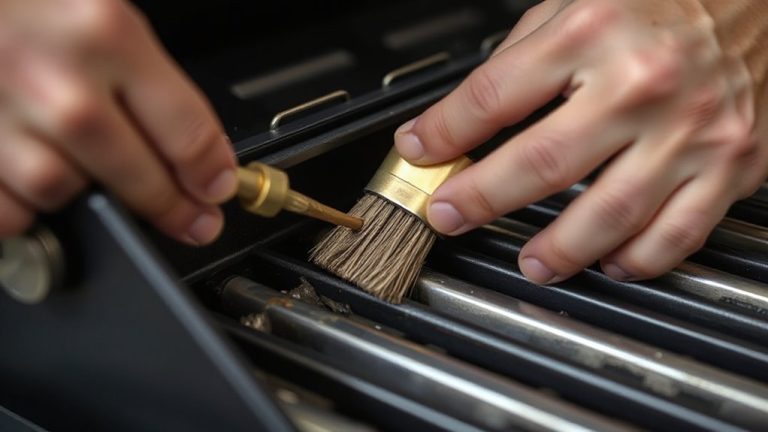
You’ve got a solid reason to season your smoker before firing it up for the first cook-it protects the metal, improves heat performance, and keeps rust at bay. To do it right, gather the right supplies. You’ll need quality cleaning tools to remove factory residue, like a stainless steel brush, microfiber cloths, and a degreaser. For seasoning, choose suitable types of oil with high smoke points-these bond well to metal. Here’s what to have on hand:
| Supply | Purpose | Recommended Choice |
|---|---|---|
| High-smoke-point oil | Creates protective layer | Grapeseed or canola |
| Cleaning brush | Removes debris and residue | Stainless steel bristle |
| Microfiber cloths | Wipe down surfaces evenly | Lint-free, absorbent |
| Heat-resistant gloves | Protect hands during prep | Silicone, long-cuff |
| Spray bottle | Apply oil in fine, even mist | Adjustable nozzle |
Using the right cleaning tools and types of oil guarantees a durable, even seasoning.
Mistakes to Avoid When Seasoning
If you skip preheating the smoker before applying oil, you’re setting yourself up for an uneven coating that won’t bond properly to the metal. Without that initial heat, the oil just sits on the surface instead of polymerizing, which weakens the protective layer. You also risk over seasoning damage by applying too many oil layers too quickly-more isn’t better here. Each coat needs time to heat, smoke off, and cure fully. Rushing leads to flaking or sticky residue. An uneven coating not only compromises protection but can impart off-flavors to your food down the line. Stick to thin, deliberate layers and follow temperature guidelines for your smoker’s material. Trust the process: gradual buildup creates a durable, non-stick surface. Avoid high-smoke-point oils that aren’t suited for extended heat exposure. Done right, seasoning extends your smoker’s life and improves cooking performance from the first smoke onward. For best results, use a high-smoke-point oil like best oil for seasoning that ensures a strong, long-lasting polymerized layer.
First Smoke Tips and Maintenance After Seasoning
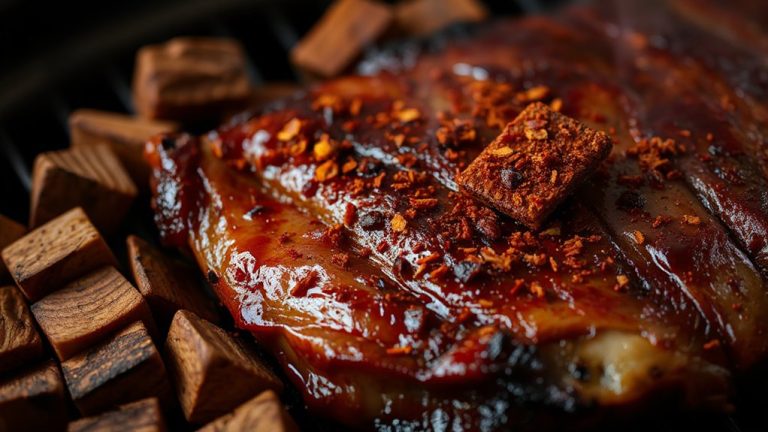
Once the seasoning process is complete, it’s time to move forward with your first smoke-this initial cook not only tests the integrity of the cured surface but also begins to build the flavor foundation for future meals. Start with something simple, like pork shoulder or chicken, to assess your smoker’s temperature control and airflow response. Maintain a steady 225–250°F; fluctuations can lead to uneven cooking or dry meat. Good fuel management is key-use quality wood chunks or charcoal, adding them gradually to avoid temperature spikes. Monitor the smoke color: clean, thin blue smoke indicates efficient combustion, while thick white smoke suggests incomplete burning and potential bitterness. After cooking, allow the smoker to cool before brushing away debris. Regular inspection and minor adjustments after the first smoke help fine-tune performance, ensuring longer-lasting durability and consistent results.
On a final note
You’ve seasoned your smoker-now it’s ready for real use. This initial process protects the metal, burns off factory residues, and builds a solid foundation for consistent heat and smoke control. Think of it as setting the stage for better flavor and longer equipment life. Skipping it risks off-flavors and rust. Proper seasoning, followed by regular cleaning and oiling, guarantees performance and durability. For serious outdoor cooking, this step isn’t optional-it’s essential maintenance that pays off in every rack of ribs or brisket you smoke.