Mastering the Thin-Grill Technique for Rapid, High-Heat Searing
You master thin-grill searing by using a carbon steel or cast iron surface that heats quickly and holds high temps for rapid crust formation. Bring meat to room temperature, pat it dry, and season just before grilling to boost the Maillard reaction. Sear over screaming-hot grates for 60–90 seconds per side without moving to lock in color. Avoid crowding and fix common issues like flare-ups with proper prep-your results will be consistently crisp and flavorful. There’s more to optimizing this technique just ahead.
Notable Insights
- Use a carbon steel grill for fast heating and superior heat retention during high-temperature searing.
- Preheat the grill thoroughly and clean the grates to ensure maximum Maillard reaction and crust formation.
- Pat meat dry and bring to room temperature to promote even searing and prevent steam buildup.
- Sear for 60–90 seconds per side before flipping to develop a consistent, caramelized crust.
- Avoid overcrowding by cooking in batches, maintaining grill temperature for optimal sear results.
What Is Thin-Grill Searing (And Why It Works)?
Why do some of the best sears come from the simplest grills? Thin-grill searing relies on direct, intense heat applied over a minimal cooking surface, leveraging the principles of searing science to create a crisp, flavorful crust. You’re working with heat dynamics that favor rapid temperature transfer-thin grates heat faster and retain less residual energy, letting you achieve consistent contact and quick caramelization. This method excels with steaks, chops, and other thin cuts, locking in juices while developing complex Maillard reactions. Unlike bulkier grills that buffer heat, thin-grill designs respond immediately to adjustments, giving you tighter control. The efficiency isn’t just about speed; it’s about precision. You’ll notice cleaner sear lines and more predictable results, especially when managing flare-ups. Though limited for low-and-slow cooking, this technique shines where high-heat performance matters most-delivering professional-grade sears with straightforward, reliable gear.
Choose a Grill for Thin-Grill Searing
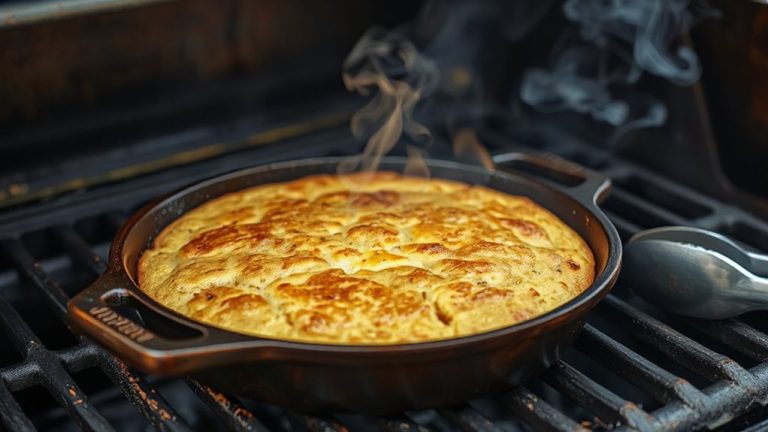
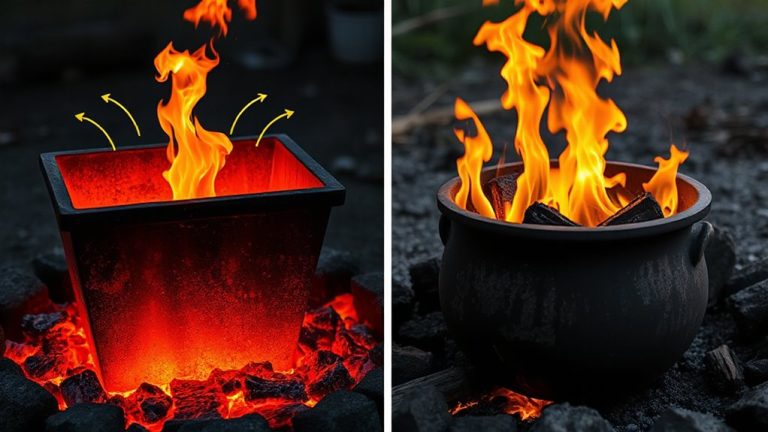
A well-designed grill makes all the difference when you’re chasing that perfect sear. You need one that delivers intense, consistent heat fast-especially with the thin-grill method. Your choice of grill material matters: cast iron retains heat beautifully but heats slowly, while carbon steel strikes a better balance, warming quickly and holding high temps. Stainless steel? Lightweight but tends to struggle with heat distribution. Look for grills with thick plates or well-built grates that minimize hot spots. Even heating across the surface guarantees each bite gets that crisp, caramelized crust. Inconsistent heat distribution ruins the effect, leaving you with patchy results. Tube burners outperform smaller ones, giving broader flame coverage. You’ll also want tight seals and sturdy construction to lock in temperature. Grill material and heat distribution aren’t just specs-they’re central to performance. Pick wisely, and you’ll dominate high-heat searing every time.
Prep Meat for a Better Sear
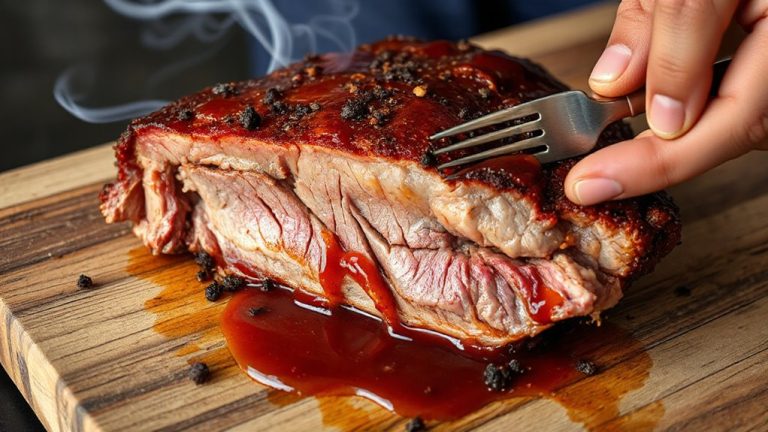
You’ve picked the right grill-now it’s time to get the meat ready so it earns that flawless sear. Start by letting your steak reach room temp-about 30 to 40 minutes out of the fridge-so it cooks evenly and avoids a cold center with burnt edges. A uniform internal temp supports consistent browning, critical when working with high heat. Next, you’ve got to dry pat the surface aggressively with paper towels; moisture is the enemy of searing, creating steam instead of a crisp Maillard reaction. Even thick-cut steaks or firm fillets need this step-don’t skip it. Season right before grilling to avoid drawing out moisture too soon. Proper prep isn’t just detail work-it directly impacts crust development, flavor depth, and overall texture. With the meat prepped correctly, you’re setting up for maximum heat transfer the moment it hits the grate.
Get the Timing Right for Maximum Sear
Once the grill’s screaming hot and the meat’s perfectly prepped, timing becomes the make-or-break factor in achieving that deep, flavor-packed sear. You’ve got seconds-literally-to lock in juices and develop that rich crust. Sear timing starts the moment the meat hits the grates; flip too soon and you’ll tear it or lose contact, stalling Maillard reaction. Wait just long enough for the surface to caramelize, usually 60 to 90 seconds per side on thin cuts. The grill’s heat retention plays a huge role here-thin grills respond fast but cool quickly if overloaded. That’s why you can’t crowd the surface. For best results, work in batches and let the grill rebound between them. Proper sear timing isn’t guesswork; it’s about syncing your moves with the grill’s thermal rhythm. Master this, and you’ll turn out steaks with restaurant-quality crust every time.
Fix Common Searing Problems
Most searing issues stem from just a few preventable mistakes, and the good news is they’re fixable with small, precise adjustments. Poor smoke management often leads to bitter flavors or excessive flare-ups, especially if fat drips aren’t controlled. Grease fires usually start from overcrowding the grill or neglecting drip tray maintenance. You can avoid both by preheating properly and keeping surfaces clean. Timing and temperature monitoring also play key roles in consistent results. Using the right best grill brushes makes it easier to maintain a spotless cooking surface and prevent residue buildup between uses.
| Problem | Solution |
|---|---|
| Excessive smoke | Improve ventilation, trim excess fat |
| Grease fires | Clean drip trays, avoid oil buildup |
| Uneven sear marks | Position food at 45°, avoid moving early |
Adjust airflow, manage fuel placement, and stay vigilant-these steps guarantee cleaner searing and better control over your thin-grill performance.
On a final note
You’ve now mastered the thin-grill technique, leveraging high heat and quick searing for restaurant-quality results. This method excels with steaks, chops, and burgers, delivering deep Maillard reactions without overcooking. Success hinges on proper prep, timing, and grill maintenance. While not ideal for slow cooks, it’s unmatched for flavor development in minutes. With practice, you’ll achieve consistent, crisp sears, transforming outdoor cooking into precise, efficient art.