Extinguishing Deep-Seated Roots Within Fire Pits Using Progressive Soaking
You’re better off using progressive soaking to extinguish deep-seated embers in fire pits, especially near roots that retain heat. Pour water slowly-it penetrates deeper than dousing, fully saturating hidden coals. Fast streams scatter sparks, so use a gentle spray from three feet away. Check underground warmth with an infrared thermometer, not just your hand. A metal poker helps break up hot spots safely. For lasting safety and pit longevity, thorough saturation beats quick fixes every time-there’s more to mastering cool-down than most realize.
Notable Insights
- Progressive soaking requires slow, steady water application to saturate deep-seated embers and root-connected fuel sources.
- Use a gentle spray from at least three feet away to avoid disturbing hot material and triggering flare-ups.
- Focus water on suspected root pathways where embers may tunnel underground, ensuring prolonged saturation.
- Employ a long-handled shovel to break up compacted layers and expose hidden heat sources for full dousing.
- Verify complete extinguishment by checking subsurface temperatures with an infrared thermometer until ambient levels are reached.
How to Stop Fire Pits From Reigniting
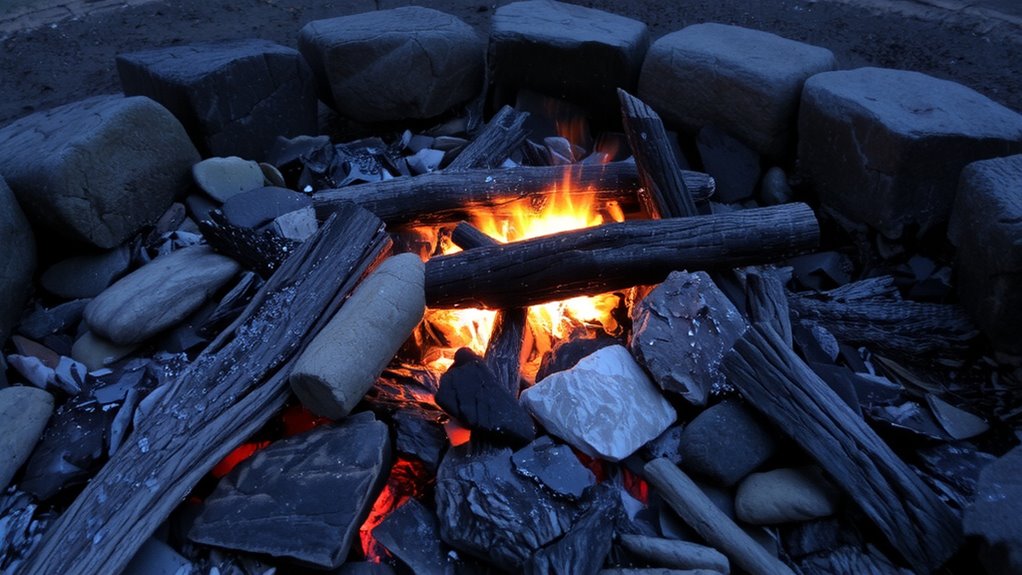
Why do some fire pits spring back to life hours after you thought they were out? It’s usually due to buried embers reigniting when exposed to oxygen. To stop this, never rely solely on smothering with dirt or quick dousing. Chemical suppressants work fast, breaking down combustion elements, but they can leave residue and aren’t ideal for cooking areas. Fire blankets, especially those made from aerospace-grade silica, cut off oxygen efficiently and safely-perfect if you plan to cook again soon. We’ve tested both, and fire blankets offer more control and less mess. Still, for long-term safety, neither replaces thorough extinguishing. Always monitor the pit after use. Fire blankets are reusable and eco-friendly, while chemical suppressants are best for emergencies. Combine smart habits with the right tools, and you’ll keep your fire pit truly out-no surprises later.
Use Slow Watering to Kill Hidden Embers
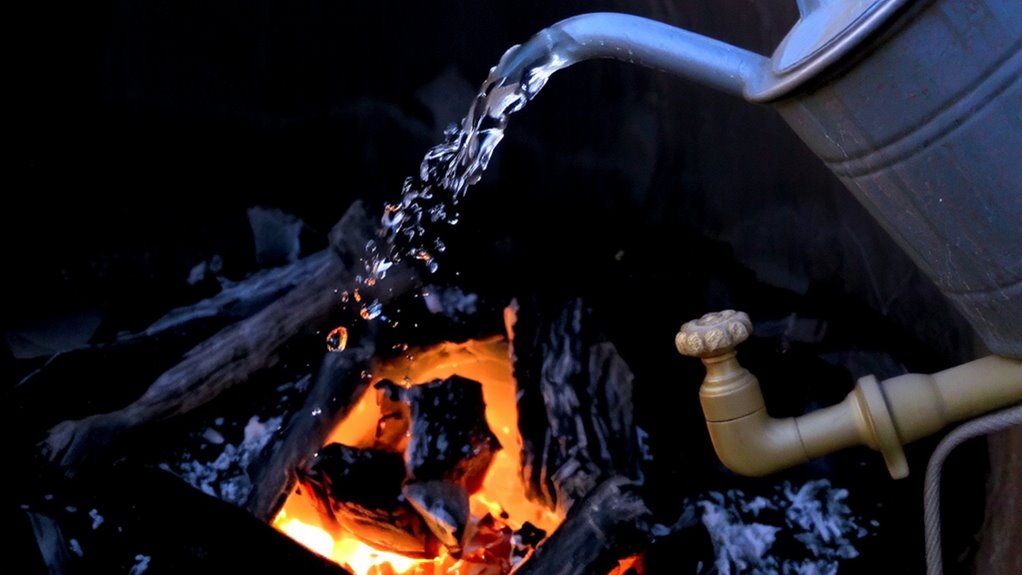
While dousing a fire pit with a sudden rush of water might seem effective, it often fails to reach deep-seated embers that lurk beneath the ash, leaving them to smolder undetected. You’re better off using slow watering-it lets moisture penetrate deeper, ensuring thorough ember saturation. This method increases contact time between water and heat sources, reducing the chance of a surprise flare-up. Think of it as root dousing: just as you’d saturate soil to reach plant roots, you need sustained water exposure to kill hidden embers at their core. Pour water gradually, letting it hiss and steam completely before adding more. This controlled approach is especially essential after prolonged cooking, when charcoal and wood retain intense heat. Unlike quick dumps that create steam shields, slow watering improves absorption and minimizes risk. Practical, deliberate, and effective-this technique supports both safety and clean maintenance in any outdoor BBQ setup.
Apply Water Safely Without Sparks
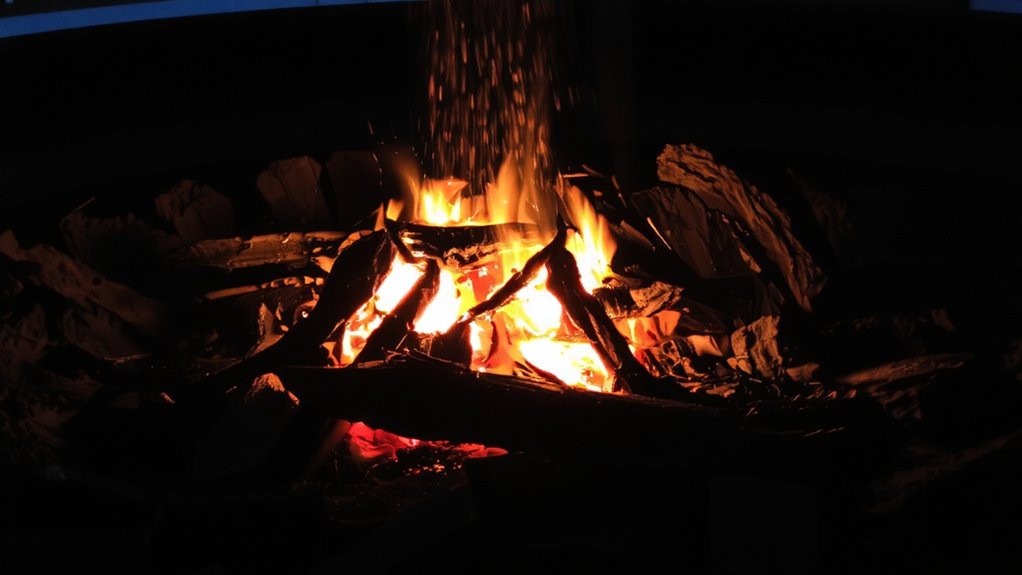
How often have you tossed water onto a fire pit only to see sparks leap up like startled insects? That reaction isn’t just startling-it’s dangerous. To prevent flying embers, you need controlled water pressure and a smart safety distance. Don’t blast the fire with a high-pressure stream; it stirs up ash and sparks, increasing burn risk. Instead, use a gentle spray, letting water seep gradually into the coals. Stand at least three feet away-this safety distance shields you from sudden pops while giving better control. A nozzle with adjustable settings helps regulate flow, making low-pressure saturation more effective. You’re not just dousing flames-you’re neutralizing heat safely. This method protects both you and your fire pit’s structure. Consistent, careful application guarantees the fire dies without drama. Over time, this practice extends your pit’s lifespan and keeps backyard cooking safe. Safety isn’t just gear-it’s technique.
Check for Lingering Heat Underground
Could the ground beneath your fire pit still be holding onto heat long after the flames are gone? It’s more common than you think. Embers can tunnel underground, especially near root systems with close root proximity, retaining high soil temperature for hours. That residual heat might reignite smoldering material or damage nearby plants. To check, carefully place the back of your hand just above the soil surface-don’t touch it directly. If it feels warm, the ground’s still active. For a more accurate read, use an infrared thermometer to gauge subsurface warmth. Areas with compacted soil or recent burns often hold heat longer. Ignoring lingering heat risks accidental fires and undermines your fire pit’s safety. Always verify the ground has cooled to ambient soil temperature before calling it safe. This step’s essential, especially in dry seasons when even minor heat can spark bigger issues. Choosing the right material, such as heat-resistant best rocks for fire pits, can also minimize underground heat retention and improve overall safety.
Best Tools to Cool Fire Pits Deep
Cooling a fire pit thoroughly means going beyond the surface-your tools need to reach deep, where trapped embers and root-adjacent heat can linger for hours. A long-handled shovel helps break up hot coals, promoting effective charcoal fragmentation so water penetrates deeper layers. Pair it with a metal poker to stir and test for residual heat below the surface. A garden trowel works well for shallow pits, but for deep-set fires, rigid steel tools are better at disrupting ember insulation formed by ash and compacted residue. Avoid plastic-handled tools near intense heat-they degrade fast. Stainless steel resists warping and rust, ensuring longevity. A heat-resistant glove gives you control when adjusting components manually. Sprayers with deep-reach nozzles deliver water more efficiently than buckets, minimizing steam burns and encouraging even saturation. Together, these tools don’t just cool the pit-they prevent hidden re-ignition by attacking heat at its core.
Prevent Underground Fires in Permanent Pits
While most people assume the fire’s out once flames disappear, the real danger often lies beneath-especially in permanent pits where heat can migrate underground and ignite buried roots or nearby vegetation. You can’t overlook soil insulation, which traps heat and encourages ember migration long after the fire seems dead. To prevent underground fires, monitor ground temperature post-burn and douse the pit progressively. Use layered soaking to penetrate deep into the substrate, disrupting potential ember pathways.
| Factor | Risk Level |
|---|---|
| Soil Insulation | High |
| Ember Migration | Moderate to High |
Permanent pits, though durable, demand more vigilance than portable units. Their fixed nature increases contact with surrounding soil, creating ideal conditions for hidden combustion. Your best defense? Consistent, thorough soaking and regular inspection of the pit’s base and perimeter. Prevention beats crisis-every time.
On a final note
You’ve seen how progressive soaking stops deep embers, and it works-but only if done slowly and thoroughly. Rushing risks reignition, especially in permanent pits where heat lingers below. Using a hose with a mist setting gives control, minimizing steam bursts and flying sparks. A shovel helps expose hot zones, while a moisture-resistant thermometer confirms safety. Overall, effective fire pit shutdown combines the right tools, technique, and patience. It’s not flashy, but it’s essential for safety and longevity.