How to Retrofit a Gas Grill With Infrared Burners for Searing Without Overheating Sides
You can retrofit your gas grill with an infrared burner by choosing a compatible kit that matches your grill’s make and gas line layout-stainless steel or ceramic models deliver even, intense heat up to 900°F for perfect searing. Install it securely, align the emitter, and set up distinct heat zones to avoid overcooking edges. Clean monthly and calibrate regularly for consistent results. Use high-marbled steaks and short sear times for a crisp crust. Mastery starts with precision-and what comes next sharpens every detail.
Notable Insights
- Choose an infrared burner kit compatible with your grill’s make and model to ensure proper fit and performance.
- Install the burner according to manufacturer specs, securing it firmly and checking for gas leaks before use.
- Create distinct heat zones by pairing the infrared burner with lower-heat adjacent zones for balanced cooking.
- Maintain even heat by cleaning the burner monthly and clearing debris that blocks radiant energy distribution.
- Sear steaks quickly on high infrared heat while using cooler zones to prevent side overcooking and ensure doneness control.
Find the Right Infrared Burner Kit for Your Grill
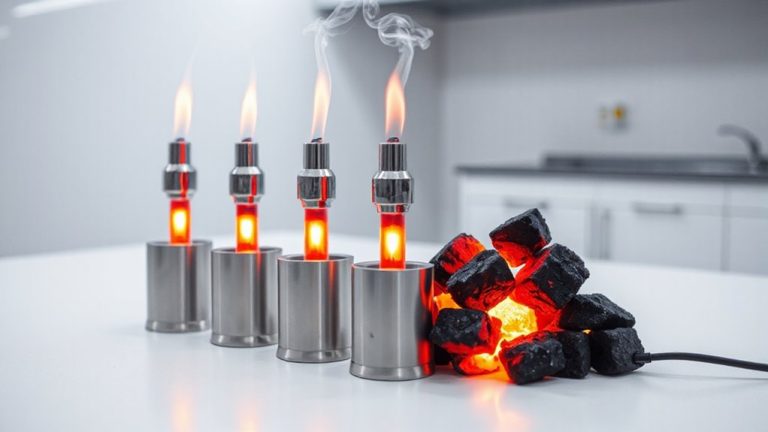
While your gas grill may have served you well over the years, upgrading it with an infrared burner kit can markedly boost its performance-especially if you’re after seared, restaurant-quality steaks at home. Choosing the right kit means checking for compatibility issues first-many universal models fit popular brands, but dimensions and gas line placement vary. You’ll want one specifically designed for your grill’s make and model to avoid leaks or misalignment. Most kits include necessary installation tools like drill bits, wrenches, and mounting brackets, though some demand extra hardware. Look for units made from stainless steel or ceramic for durability under high heat. Infrared burners reach 900°F+, delivering intense, focused heat perfect for searing without overcooking surrounding areas. A well-matched kit guarantees even thermal distribution and long-term reliability, making your retrofit not just feasible but functionally sound for serious outdoor cooking.
Install Your Infrared Burner in 5 Steps
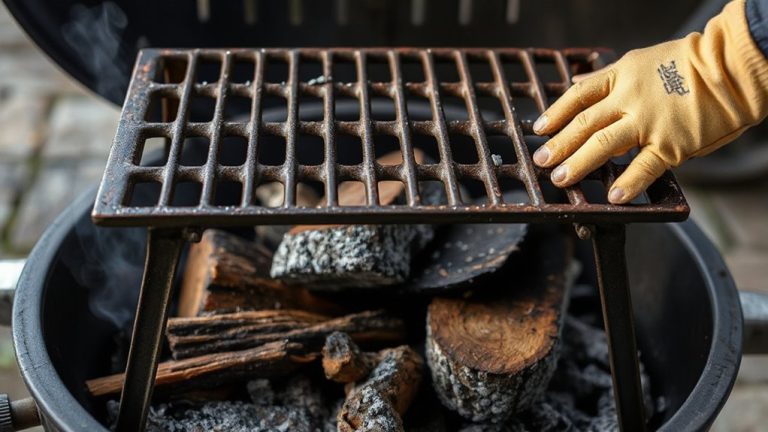
Installing your infrared burner doesn’t have to be complicated-most kits are designed with the DIY backyard chef in mind, and with the right approach, you can complete the upgrade in a single afternoon. Start by turning off the gas and removing the cooking grates and flavorizer bars. Carefully position the infrared burner according to the manufacturer’s specs, ensuring correct burner placement for even radiant heat distribution. Secure mounting brackets firmly to prevent shifting during use. Connect the gas line using included connectors, double-checking for leaks with a soapy water solution. Finally, restore gas flow and test ignition. Prioritize infrared safety by inspecting the unit regularly for cracks or warping, especially in the emitter surface. Proper installation not only boosts searing efficiency but also reduces flare-ups and hot spots. With attention to detail, your retrofit enhances performance while keeping maintenance manageable-ideal for consistent, high-heat cooking without sacrificing control or durability.
Control Heat Zones for Better Searing
If you’ve added infrared burners to your gas grill, you’re already ahead when it comes to high-heat searing, but mastering heat zones takes that performance further. You can achieve precise heat distribution by setting up distinct areas: one directly under the infrared burner for intense searing, and adjacent zones on lower settings for gentle cooking. This setup prevents overcooking the sides while locking in juices. By controlling where and how much heat hits the food, you’ll see real flavor enhancement-especially with steaks or chops that benefit from a caramelized crust. Unlike traditional burners, infrared delivers focused energy, so use it strategically. Keep one zone off or low to allow carryover cooking without charring. Effective heat zoning doesn’t just improve searing-it gives you consistent results across different proteins and thicknesses, making your upgraded grill far more versatile.
Clean and Calibrate Your Infrared Burner
A clean and properly calibrated infrared burner isn’t just a maintenance task-it’s essential to achieving peak grilling performance. Grease and debris can block the emitter surface, leading to uneven heating and hot spots that undermine searing precision. You should clean the burner monthly with a soft brush and check for clogs in the ports. Proper infrared alignment guarantees the burner’s radiant energy transfers directly to the cooking zone without scattering. Misalignment causes energy loss and inconsistent temps. Burner synchronization-matching output across all burners-maintains even heat distribution, especially critical when searing larger cuts. Without it, one side may overcook while the other underperforms. Calibration involves adjusting air shutter settings and verifying flame stability. Most manufacturers recommend using a thermal leak detector or infrared thermometer to confirm uniform surface temps. Regular upkeep maximizes efficiency, prolongs lifespan, and keeps your retrofit performing like a high-end built-in model.
Sear Steaks Perfectly Like a Pro
| Steak Thickness | Sear Time (Each Side) | Target Internal Temp |
|---|---|---|
| 1 inch | 1–1.5 min | 130°F (Medium Rare) |
| 1.5 inches | 1.5–2 min | 135°F (Medium) |
| 2 inches | 2–2.5 min | 140°F (Medium Well) |
This method balances efficiency with control, giving you restaurant-quality results. For the best smoked steaks, choose well-marbled cuts like ribeye steak that hold up well to high heat and retain moisture during cooking.
On a final note
You’ve upgraded smart-adding an infrared burner gives you searing heat up to 900°F, ideal for locking in juices fast. When installed right and paired with zone control, it boosts versatility without scorching adjacent areas. Regular cleaning prevents flare-ups, and calibration guarantees even radiant heat. For high-heat searing and precise outdoor cooking, this retrofit pays off, blending performance and practicality. It’s a solid move for serious grillers.