Cast Iron Nachos Built Layer-By-Layer Over Portable Butane Burner With Melting Cheese
You’ll want a well-seasoned 10- to 12-inch cast iron skillet with low sides and dual handles for even cooking and easy access. Layer sturdy tortilla chips and freshly grated melting cheeses like cheddar and Monterey Jack, repeating once for balance. Use a portable butane burner to control heat precisely-low for melting, high for browning-ensuring crisp chips and gooey cheese without sogginess. Add fresh toppings off-heat to maintain texture, and clean the skillet promptly after serving. There’s more to mastering the perfect batch than just heat and layers.
Notable Insights
- Use a 10- to 12-inch well-seasoned cast iron skillet for even heat distribution and easy serving.
- Layer sturdy tortilla chips and freshly shredded cheese in alternating, balanced layers for optimal melt and crispness.
- Employ a portable butane burner to apply adjustable, consistent heat for controlled cheese melting and browning.
- Select high-melt cheeses like young cheddar, Monterey Jack, or fontina, grating them fresh for smooth results.
- Add moisture-rich toppings only after cooking to preserve chip texture and prevent sogginess.
Pick the Right Cast Iron Skillet for Nachos
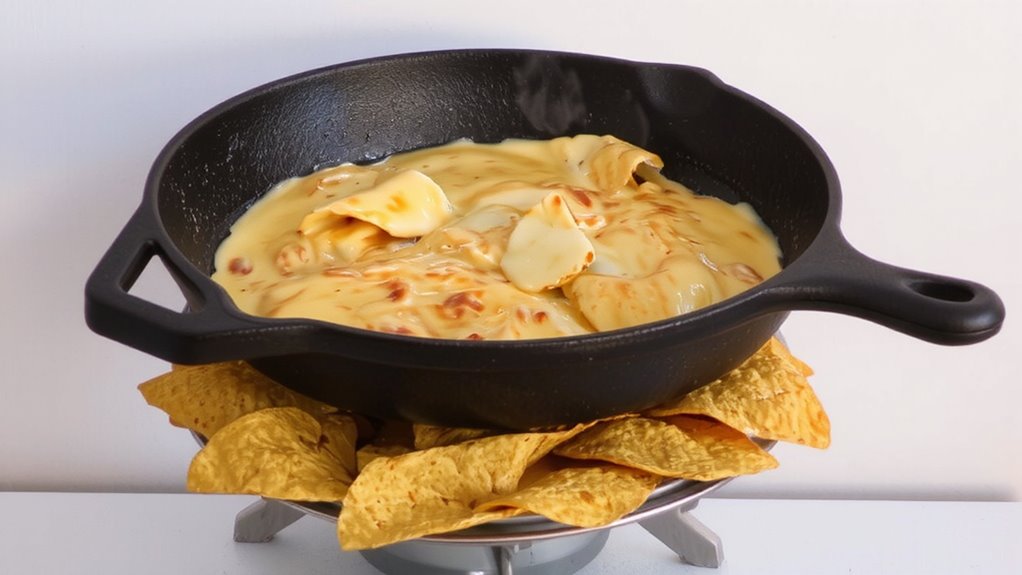
When it comes to making cast iron nachos, the skillet itself isn’t just cookware-it’s the foundation. You’ll want a 10- to 12-inch skillet; it’s large enough for feeding a small group but still manageable over a portable butane burner. Good heat retention guarantees cheese melts evenly without scorching-critical when cooking outdoors where temperature control is trickier. A well-seasoned pan improves this performance, as proper skillet seasoning creates a natural non-stick surface that withstands repeated heating and resists flavor transfer. Look for one with a flat cooking surface and low sides for easy serving. Skillets with loop handles can limit spatula access, so dual side handles are preferable. While vintage pieces have charm, modern pre-seasoned options often offer more consistent results. Ultimately, durability and performance outweigh aesthetics-choose a skillet that can endure direct flame and frequent use without degrading. Proper care keeps it reliable for years.
Build Layers: Chips, Cheese, Repeat
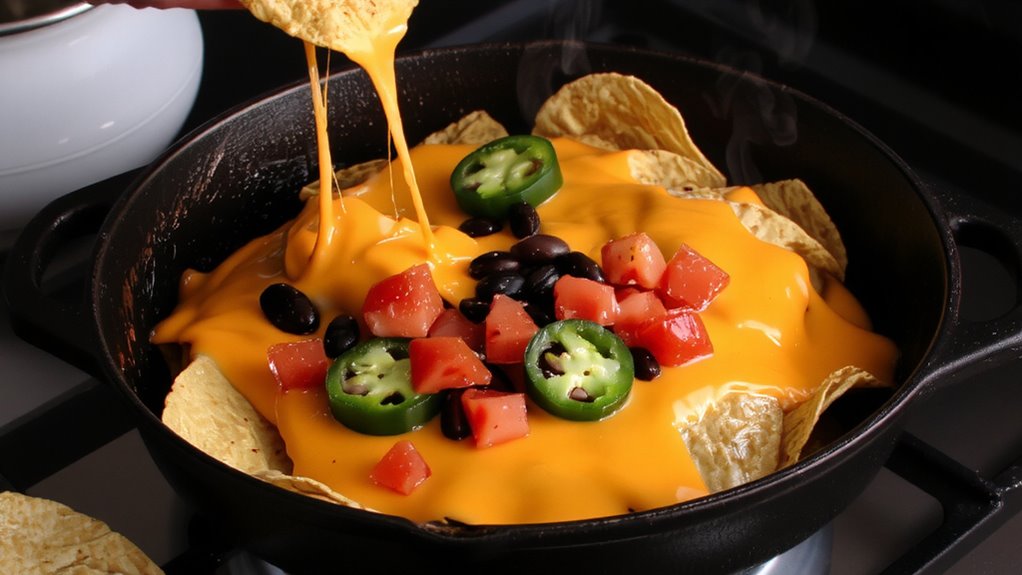
Though layering might seem straightforward, doing it right makes all the difference in achieving evenly melted cheese and crisp, intact chips from edge to center. Your layer assembly should begin with a single, even spread of sturdy tortilla chips-don’t overcrowd, or heat won’t circulate properly. Scatter a moderate amount of shredded cheese on top, ensuring full coverage without piling too thick. This balanced cheese distribution prevents soggy patches while promoting consistent melt across the entire surface. Repeat the process once or twice more, depending on skillet size, always ending with a final cheese blanket. Avoid mixing in toppings yet; those come later. Each layer should feel intentional-too sparse and you lose richness, too dense and you sacrifice texture. Smart layering maximizes surface area for heat exposure, a critical factor when aiming for golden, bubbling perfection without burning edges. For even heating on the go, consider using a best portable grill with consistent flame control.
Use a Butane Burner for Better Nachos
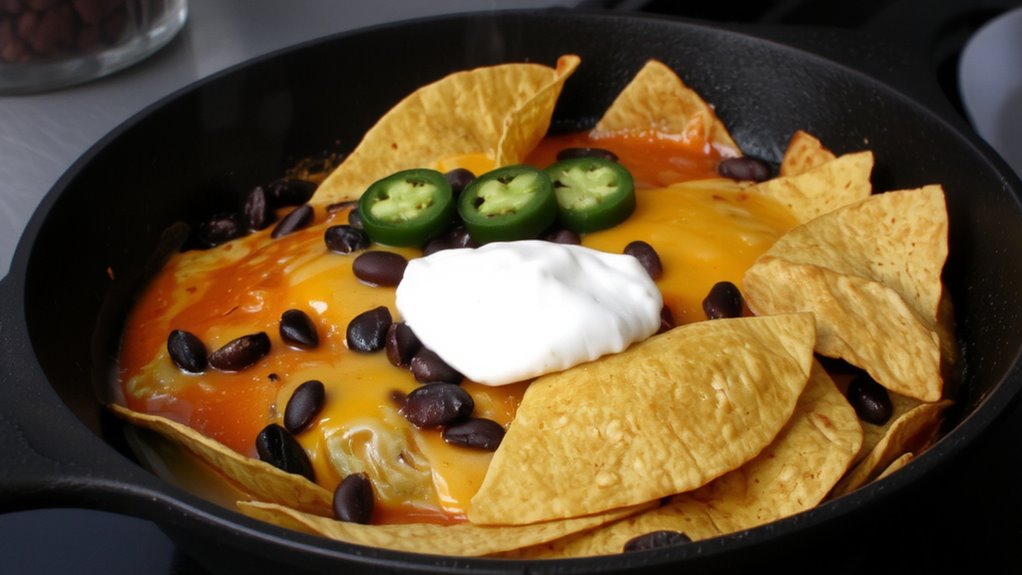
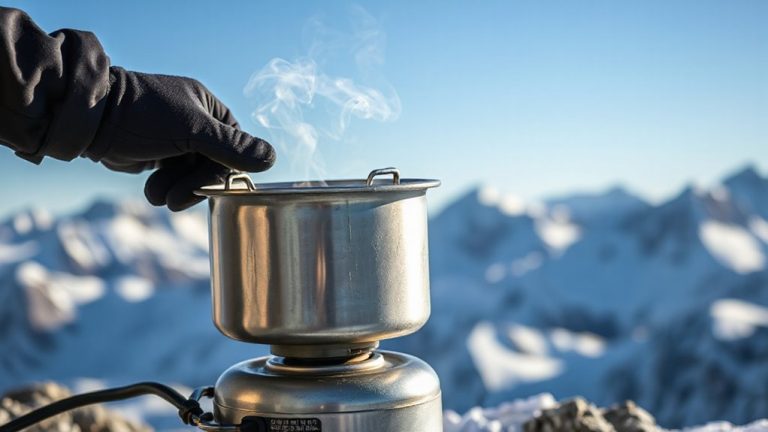
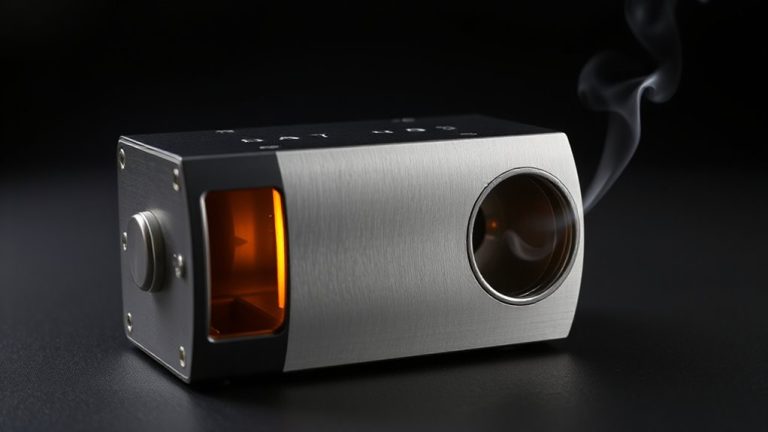
If you’re after restaurant-quality melt and blistered cheese edges at home, a butane burner might be the upgrade your nacho game needs. These portable units deliver consistent, adjustable heat ideal for finishing cast iron nachos tableside. With precise flame control, you can modulate the intensity-low for gentle melting, higher for browning the top layer. Unlike ovens or broilers, which often create hot spots, the burner promotes even heating across the entire dish. That means every bite, from center to edge, gets properly melted without cold patches or scorched chips. The open flame also adds a subtle complexity you can’t get from electric sources. Plus, setup is simple: place your skillet over the burner, light it, and you’re cooking. They’re lightweight, easy to clean, and perfect for outdoor setups. For backyard gatherings or tailgates, a butane burner doesn’t just work-it performs. For reliable performance, consider using one of the best butane lighters.
Choose Cheeses That Melt Perfectly
How do you achieve that smooth, velvety cheese blanket that clings to every chip without turning grainy? You start by selecting cheeses with excellent melt consistency-like young cheddar, Monterey Jack, or fontina. These melt evenly under the controlled heat of your butane burner, creating a cohesive layer instead of pooling or breaking. Avoid pre-shredded varieties loaded with anti-caking agents; they often resist melting smoothly. Instead, grate your own for better texture. For ideal cheese pairing, blend a mild, buttery cheese like Jack with a sharper cheddar to balance flavor and melt. A small addition of American cheese can enhance melt consistency without overpowering taste. Stick to cheeses high in moisture and low in aging-aged cheeses often separate and turn oily. With proper cheese selection, you guarantee each layer integrates seamlessly, delivering a rich, stretchy finish characteristic of well-executed cast iron nachos cooked outdoors.
Add Toppings Without Soggy Cast Iron Nachos
You’ve built a solid foundation with a smooth, well-melted cheese layer, but the real test comes when adding toppings-each one either enhances the structure or risks turning your cast iron nachos into a soggy mess. To maintain the integrity of your crispy base, apply fresh toppings only after removing the skillet from heat. Moisture-heavy ingredients like diced tomatoes or jalapeños should be used sparingly and placed strategically to avoid pooling. Overloading leads to steam buildup, which softens chips rapidly. Opt for dry, hearty additions first-shredded meats or beans-then finish with cool, fresh toppings like cilantro or radish for contrast. Layering matters: keep wetter components elevated, away from direct contact with chips. A well-balanced distribution secures every bite delivers flavor without sacrificing texture. With deliberate assembly, your nachos maintain a golden, crispy base long after cooking, making them ideal for outdoor gatherings where performance and presentation count.
Keep Nachos Hot and Crisp
While cast iron excels at holding heat, keeping nachos hot and crisp depends on more than just the skillet-it hinges on timing and thermal management. You need to balance heat retention with serving duration, especially outdoors. Cast iron retains heat longer than most materials, so your nachos stay warm even as guests dig in. But leave them sitting too long, and crispness fades. Serve immediately after the final cheese melt to preserve that ideal texture. A portable butane burner helps maintain consistent warmth during gatherings, though direct, prolonged flame exposure can overcook edges. Adjust the flame low once cheese melts-this sustains temperature without scorching. In outdoor cooking, where environmental factors like wind or ambient temperature interfere, tight control over heat input makes a noticeable difference. With smart heat management, your nachos remain hot, crisp, and enjoyable from first bite to last. Consider using a best trivets for every kitchen to safely transfer the hot skillet and protect your serving surfaces.
Clean Your Skillet After Making Cast Iron Nachos
After the last bite of melty, golden nachos disappears from the skillet, the focus shifts naturally from serving to care. You should clean your skillet while it’s still warm-this makes stuck-on cheese much easier to remove. Use a stiff brush or chainmail scrubber with hot water; avoid soap if possible to preserve seasoning maintenance. Once clean, dry the pan immediately and thoroughly over low heat on your burner-this step is essential for rust prevention. Wipe a thin layer of neutral oil, like vegetable or canola, across the surface while warm to reinforce the nonstick layer. Unlike other cookware, cast iron thrives on routine care, especially after cooking acidic or cheesy dishes. Skipping proper drying or oiling compromises performance over time. Proper cleaning isn’t just about hygiene-it’s about protecting your investment and ensuring consistent heat retention and flavor development on future cookouts.
On a final note
You’ve built layered cast iron nachos over a portable butane burner, and the results speak for themselves. This method delivers even melting and sustained heat, essential for ideal texture. Cast iron retains warmth well, while butane offers precise control outdoors. Choosing high-melt cheeses like Monterey Jack guarantees gooeyness without greasiness. Proper layering prevents sogginess, and immediate serving preserves crispness. Cleanup is simple if done while warm-just scrub lightly with salt. It’s efficient, effective outdoor cooking.