Creating a Charcoal Moat Around a Central Cooking Zone for Controlled Radiant Heat
You create a charcoal moat by arranging coals in a ring around a central cooking zone, letting radiant heat circulate evenly while minimizing flare-ups. This setup boosts fuel efficiency and sustains steady temperatures, ideal for low-and-slow brisket or whole chicken. Keep coal gaps at 2–3 inches for ideal airflow, and pair top and bottom vents to fine-tune smoke and heat. Use dry wood chunks for clean, thin blue smoke. Mistakes like uneven distribution or ash buildup hurt performance-fix them to master indirect control and access more precision in your cook.
Notable Insights
- Arrange charcoal in a circular ring around a central cooking zone to create even radiant heat.
- Maintain a 2–3 inch gap between coals for optimal airflow and consistent temperature control.
- Clear the grill center to enable indirect cooking while radiating heat inward from the moat.
- Use top and bottom vents to regulate oxygen flow and sustain steady, controlled combustion.
- Light coals evenly and let them ash over before cooking for peak heat efficiency and flavor.
What Is a Charcoal Moat (And Why It Works)
While you might not have heard the term before, a charcoal moat is quickly becoming a go-to technique for backyard cooks who want stable, long-lasting heat without constant refueling. You arrange charcoal in a ring around a central cooking zone, creating a consistent thermal barrier that leverages natural heat dynamics. This setup radiates warmth evenly, minimizing hot spots and flare-ups. You’re not just cooking over fire-you’re managing it strategically. The design boosts fuel efficiency, meaning you use less charcoal over time while maintaining ideal temperatures. Observations show moats sustain heat longer than traditional piles, especially during slow roasts. You’ll notice fewer mid-cook adjustments, making it ideal for hands-off cooking. It’s not just clever placement-it’s smart thermal engineering. Experienced pitmasters appreciate the control it offers, turning guesswork into repeatable results. For you, this means more predictable outcomes and less waste. It works because physics is on your side. A well-executed moat setup pairs perfectly with the capabilities of top-rated models, such as those found in the best charcoal grill smokers.
Build a Charcoal Moat in 5 Simple Steps
Once you’ve grasped the science behind radiant heat and oxygen flow, building a charcoal moat becomes a straightforward process that enhances control over your cook. This method boosts charcoal efficiency and stabilizes airflow dynamics for consistent results. Follow these five steps:
| Step | Action | Purpose |
|---|---|---|
| 1 | Clear a central zone on the grill grate | Creates a no-heat zone for indirect cooking |
| 2 | Arrange coals in a circular ring around the center | Focuses radiant heat inward |
| 3 | Leave a 2–3 inch gap between coals | Optimizes airflow dynamics and prevents overheating |
| 4 | Light coals evenly and let ash over | Guarantees steady burn and peak charcoal efficiency |
| 5 | Monitor flame flare-ups and adjust gaps | Maintains balance between heat and oxygen |
This layout supports precision cooking without constant coal management. For best results, consider using one of the top-rated charcoal grill models known for superior heat retention and airflow control.
Control Heat and Smoke Like a Pro
You’ve set up your charcoal moat, and the structure’s working just like it should-spreading heat evenly, managing airflow, and giving you a stable cooking zone. Now it’s time to master heat control. By adjusting the gap between coals and tweaking lid vents, you fine-tune temperature without flare-ups. Closer coals boost radiant heat; spreading them out lowers intensity-ideal for longer cooks. For smoke management, use dry, seasoned wood chunks instead of chips; they smolder longer and produce cleaner smoke. Avoid thick white plumes-clean, thin blue smoke means you’re on track. Positioning the moat correctly reduces direct flame exposure, so your food gets flavor without bitterness. Maintaining steady airflow through the bottom and top vents keeps combustion efficient. Proper heat control and smoke management aren’t just about technique-they’re about consistency. Once you nail both, your cookouts gain restaurant-level precision with backyard practicality.
Best Foods for a Charcoal Moat Zone
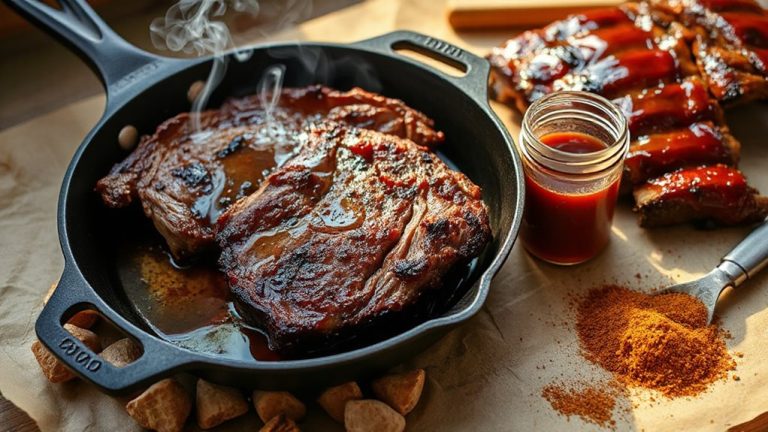
Think big when it comes to the charcoal moat-this setup shines brightest with foods that benefit from steady, indirect heat and clean smoke. You’ll want thick cuts like beef brisket, pork shoulder, or whole chickens, which slowly render fat and absorb flavor without scorching. These proteins thrive in the moat’s radiant warmth, cooking evenly over extended sessions. For marine grilling, opt for sturdy fish like tuna, swordfish, or salmon; their oil-rich flesh holds up well to low-and-slow exposure and gains a subtle smokiness without drying out. Delicate items? Skip them-they won’t benefit. Cast iron searing, however, pairs perfectly post-smoke; finish steaks or chops over direct center heat for a crisp crust. Vegetables like whole bell peppers or large mushrooms also excel, their density matching the moat’s gentle output. Avoid anything thin or quick-cooking unless you shift zones. The moat isn’t for flash cooking-it’s for control, depth, and consistency.
Fix These Charcoal Moat Mistakes
Why do some charcoal moats fail to deliver steady heat or consistent smoke, despite their clever design? You’re likely dealing with uneven distribution or airflow imbalance. If coals bunch in one section, you’ll get hot spots that ruin delicate searing control. Spread them evenly around the perimeter-no gaps, no stacks. That guarantees consistent radiant heat toward the center zone. An airflow imbalance usually stems from blocked vents or mismatched top and bottom vent settings. You need balanced oxygen flow: open the bottom vents enough to feed the fire, then adjust the lid vents to regulate temperature. Too much restriction starves the coals; too much exposure burns them too fast. Also, check for ash buildup-it chokes airflow and worsens uneven distribution. Clean the grill base before lighting. Small tweaks fix most issues, turning a flawed moat into a reliable heat engine.
Go Beyond: Dual-Zone and Smoker Mods
Mastering the charcoal moat gives you solid control, but expanding into dual-zone setups or smoker mods reveals far more versatility. You can sear meats over direct heat while simultaneously roasting vegetables or baking bread indirectly-ideal for cast iron searing and Dutch oven roasting. A dual-zone configuration splits your grill into hot and cool areas, letting you manage flare-ups and cook diverse items at once. Smoker mods, like adding a smoke box or using a ceramic deflector, enhance low-and-slow sessions, producing richer flavor in briskets or ribs. These upgrades demand attention to airflow and fuel management but offer superior results. You’ll find that temperature consistency improves, especially when combining the moat with offset coals. With practice, you’re not just grilling-you’re mastering multi-method outdoor cooking that balances precision with flexibility, making every session more dynamic and rewarding.
On a final note
You’ve built your charcoal moat, mastered heat control, and avoided common pitfalls-now you’re cooking with precision. This setup delivers consistent, radiant heat ideal for searing proteins or slow-roasting vegetables. It’s more efficient than direct grilling, offering better smoke management and temperature stability. With proper airflow and fuel placement, performance improves noticeably. Once you integrate dual-zone setups or smoker mods, versatility expands. The moat isn’t just clever-it’s a practical upgrade worth mastering for serious outdoor cooks.