Upgrading Thermometers to IR Guns Capable of Reading Charcoal Surface Hotspots
You’re still getting uneven sears because traditional thermometers miss the real issue-hidden hotspots across your grill surface. Infrared guns detect radiant heat instantly, revealing temperature swings as high as 50°F between zones. With adjustable emissivity and a 12:1 distance-to-spot ratio, they map exact heat patterns so you can position food precisely. Pair readings with airflow tweaks for consistent results. Just avoid common errors like ignoring smoke interference or lens grime-your setup’s next upgrade depends on it.
Notable Insights
- Traditional thermometers can’t detect uneven heat; IR guns instantly map charcoal grill hotspots for better cooking control.
- IR guns measure radiant heat from the grate surface, revealing temperature variances invisible to contact thermometers.
- Adjust emissivity settings on your IR gun to compensate for charred grates or ash buildup and maintain accuracy.
- Choose an IR gun with a 12:1 or higher distance-to-spot ratio to precisely target small hotspots on charcoal grills.
- Avoid measuring through smoke and clean the lens regularly to prevent distorted surface temperature readings.
Why Hotspots Ruin Charcoal Grilling
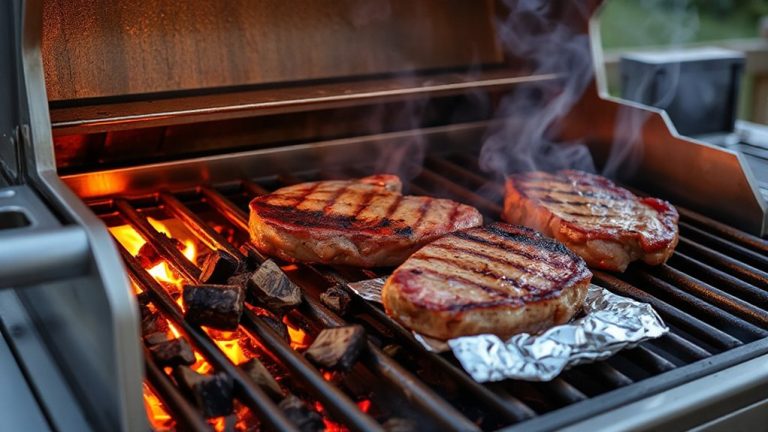
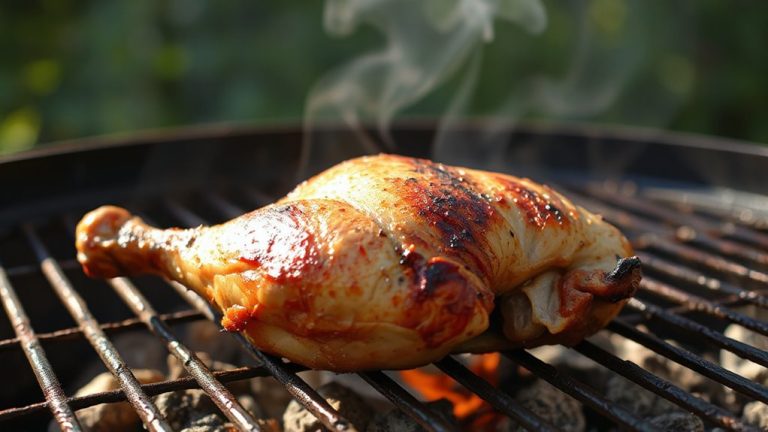
While you’re aiming for evenly seared steaks and consistent cookימים, hotspots throw off your entire grilling game by creating zones of intense, unpredictable heat. These hotspots lead to uneven cooking-parts of your food char while others remain underdone, undermining both texture and appearance. You might sear a ribeye only to find one side nearly burnt and the other barely warmed through. That kind of inconsistency doesn’t just affect doneness; it creates flavor inconsistencies, as certain areas absorb more smokiness or develop bitter, carbonized notes. Charcoal piles or airflow imbalances often cause these temperature spikes, and without precise monitoring, they’re hard to manage. Traditional thermometers can’t map surface variance quickly, leaving you guessing. Hotspots compromise control, and when you’re chasing restaurant-quality results, that lack of precision diminishes reliability. For serious outdoor cooks, managing heat distribution isn’t optional-it’s essential for consistent, flavorful outcomes every time. A backpacking thermometer may seem unrelated, but the evolution of portable temperature tools has paved the way for affordable, highly accurate backpacking thermometers ideal for real-time surface readings.
How IR Guns Reveal Hidden Heat Patterns
You already know hotspots sabotage even cooking-those unpredictable zones of scorching heat turn what should be a perfectly seared steak into a gamble of charred edges and raw patches. Infrared (IR) guns expose these hidden patterns by detecting radiant energy emitted from the grill’s surface, translating it into precise temperature readings without contact. Because different materials emit energy differently, understanding surface emissivity is key-charred grates or ash-covered coals can skew results if not accounted for. High-quality IR thermometers compensate for this, offering adjustable emissivity settings for more accurate feedback. You’ll also notice temperature drift over time, especially as coals degrade or airflow shifts, and IR guns catch these fluctuations instantly. While traditional probes lag, IR devices give real-time visibility, letting you respond before food suffers. They’re not infallible, but when used wisely, they outperform standard thermometers in spotting thermal inconsistencies critical to mastering charcoal grilling. For reliable performance, choose models recognized in the best temperature sensors buying guide.
Map Your Grill’s Zones With an IR Gun
How do you gain real control over your grill’s performance? You start with surface mapping using an IR gun. Instead of guessing where the hot and cold zones are, you scan the cooking grate to visualize temperature differences across the surface. This process, known as grill calibration, transforms guesswork into precision. You’ll find spots that run 50°F hotter just inches apart-common in charcoal setups due to uneven air flow or fuel distribution. By recording these variations, you create a thermal map that guides where to sear, roast, or gently cook. Surface mapping isn’t a one-time task; it should be repeated after adjusting vents, adding coals, or changing grates. Over time, consistent grill calibration leads to better searing, fewer burnt edges, and evenly cooked meats. It’s not just about heat-it’s about understanding how that heat behaves where your food actually sits.
Pick the Best IR Gun for Grill Use
An accurate infrared thermometer gives you the upper hand in outdoor cooking, turning temperature management from estimation to exactness-and once you’ve mapped your grill’s zones, choosing the right IR gun becomes the next step in mastering heat control. Look for models with adjustable emissivity settings, since different surfaces-like cast iron grates or charcoal-emit heat differently, and a fixed setting can throw off readings. A gun with a distance-to-spot ratio of at least 12:1 gives you precise targeting from a safe distance, so you’re not leaning over hot coals. Higher ratios, like 30:1, offer even better accuracy for spotting small hotspots. Opt for a durable build with a backlit display for low-light sessions, and guarantee it responds quickly-under 500 milliseconds. While premium models cost more, their reliability and calibration stability pay off with consistent performance season after season. For comprehensive comparisons and top picks, check out the best meat thermometers guide.
Balance Airflow and Coals Using IR Readings
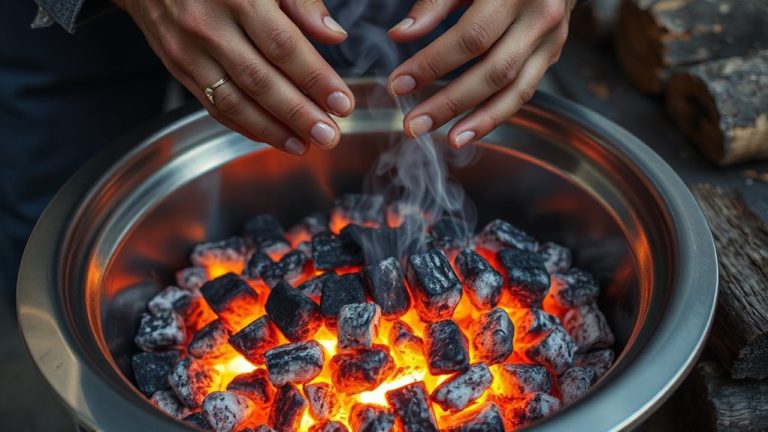
Though most backyard cooks focus on fuel arrangement, fine-tuning airflow and coal distribution with infrared readings can transform inconsistency into precision, especially when managing indirect zones or multi-zone grilling setups. By scanning the surface, you spot uneven coal density and adjust vents or redistribute coals before temperatures spiral. Your IR gun reveals what eyes miss-subtle hotspots or cooling zones-letting you modulate oxygen flow and maintain equilibrium.
| Reading (°F) | Action Suggested |
|---|---|
| 600+ | Reduce airflow, shift coals |
| 450–550 | Maintain current setup |
| 350–450 | Increase airflow slightly |
| <300 | Add coals, check density |
Adjusting fuel arrangement based on real-time feedback guarantees even cooking. Coal density directly impacts thermal output, so spread or pile coals accordingly. Use your IR gun not just to measure, but to balance-making airflow and coal placement deliberate, not guesswork.
Avoid These 5 IR Gun Mistakes
You’ve already seen how infrared thermometers help balance airflow and coal distribution, giving you control over temperature zones that visual cues alone can’t provide. But even the best IR gun fails if you make avoidable mistakes. First, ignoring emissivity settings skews readings-charcoal and cast iron emit differently, so adjust accordingly. Second, poor distance accuracy throws off results; get too far, and the spot size grows, averaging hot and cool areas. Third, shooting through smoke or steam distorts measurements. Fourth, a dirty lens leads to false highs or lows. Finally, relying solely on surface scans without cross-checking grates or food means missing thermal lag. These errors compromise precision, turning a useful tool into a guesswork device. Master emissivity settings and respect distance accuracy, and your IR gun stays reliable. Used right, it’s indispensable for dialing in ideal cooking conditions every time.
On a final note
You’ve seen how hotspots sabotage searing and skew cooking times. An IR gun gives you real-time surface readings, exposing uneven heat invisible to the eye. With it, you map grilling zones accurately, adjust airflow, and position coals for balanced thermal performance. Models with at least 30:1 distance-to-spot ratios offer precision for grill work. Used right, they transform guesswork into control. Avoid common errors like dirty lenses or poor aiming. This tool isn’t flashy, but for consistent results, it’s essential.