Cleaning and Re-Oiling a Dutch Oven After a Weekend of Rainy Campfire Cooking
After your Dutch oven’s been through rain and fire, wipe off ash with a damp cloth while it’s cool, then scrub rust spots gently with steel wool-avoid soaking it. Dry it fast with a towel and apply heat to confirm all moisture’s gone. Use grapeseed or canola oil for re-seasoning, heating it in the oven at 400°F for even polymerization. Store it ajar and oiled in a dry place. Keep this routine, and you’ll maintain a slick, lasting finish.
Notable Insights
- Let the Dutch oven cool completely before cleaning to prevent thermal shock and cracking.
- Wipe away ash and debris with a damp cloth, using gentle circular motions near lid edges and legs.
- Scrub rust spots lightly with steel wool, avoiding submersion to prevent moisture absorption and further rust.
- Dry thoroughly with a towel, then apply controlled heat to ensure all moisture is removed before re-oiling.
- Re-season with a high-smoke-point oil like grapeseed or canola, heating evenly in oven or over fire.
Remove Ash and Rust From Your Dutch Oven
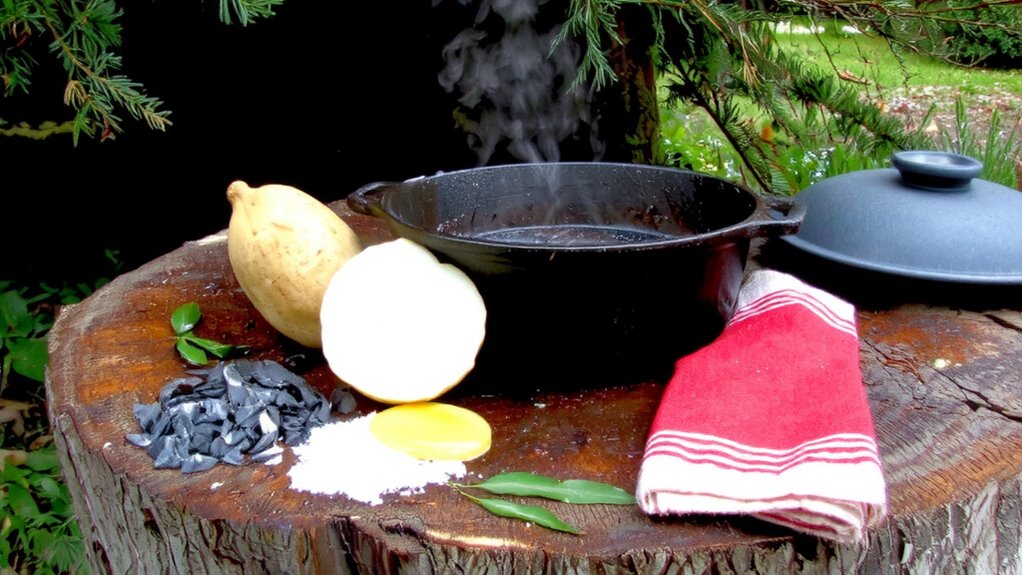
You’ve probably noticed that over time, your Dutch oven can accumulate ash or even develop rust, especially if it’s been stored improperly or used frequently over open flames. After a weekend of rainy campfire cooking, ash buildup becomes more stubborn, often caked on by moisture and prolonged exposure. To safely remove it, let the oven cool completely-never douse a hot oven, as thermal shock can cause cracking. Once it’s safe to handle, use a damp cloth to wipe away loose ash, working in gentle, circular motions. For rust spots, especially near lid edges or legs, scrub lightly with steel wool, then wipe again. Avoid submerging it; cast iron absorbs moisture, which escalates rust risk. Cleaning near a cool fire is handy-you can warm the oven slightly to loosen debris, but never overheat it during cleanup. This method preserves seasoning and structural integrity, ensuring long-term performance.
Dry Your Dutch Oven Completely
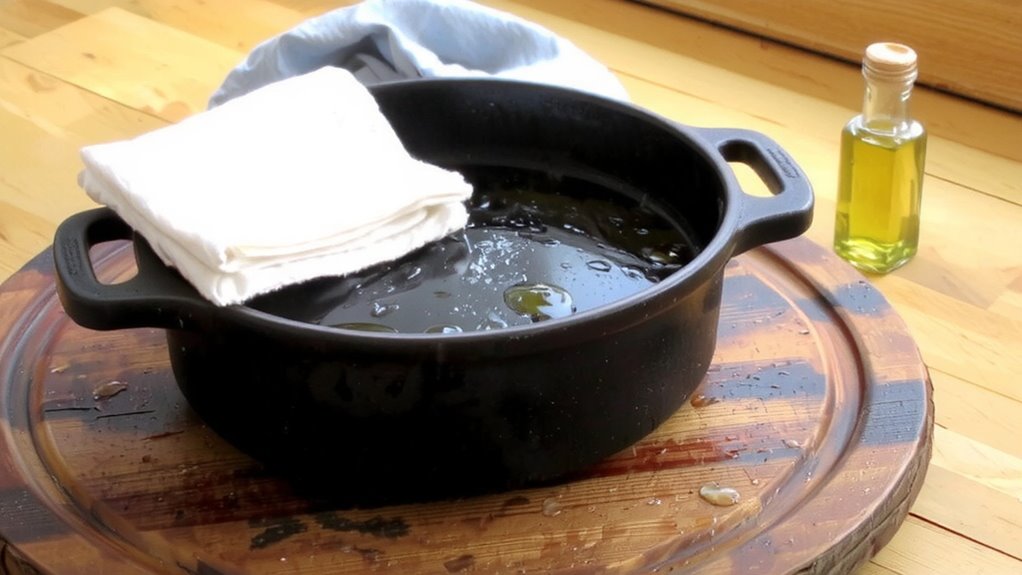
While removing ash and rust is essential, failing to dry your Dutch oven thoroughly can undo all that careful work, so don’t rush this step. Moisture leads to rust, especially in cast iron, so use towel wiping to remove surface water immediately. Place the oven on a stove over low heat or in a warm oven for even drying. Air drying alone isn’t reliable, particularly in humid conditions, and may leave residual moisture in crevices.
Consider the following factors when drying:
| Method | Effectiveness |
|---|---|
| Towel wiping | High (initial) |
| Air drying | Low to medium |
| Stovetop heat | High |
| Oven drying | High |
| Sun exposure | Medium (weather-dependent) |
For best results, combine towel wiping with controlled heat to guarantee complete moisture removal. This prep step ensures your seasoning bonds properly and lasts longer, enhancing performance during outdoor cooking and BBQ sessions.
Pick the Best Oil for Seasoning
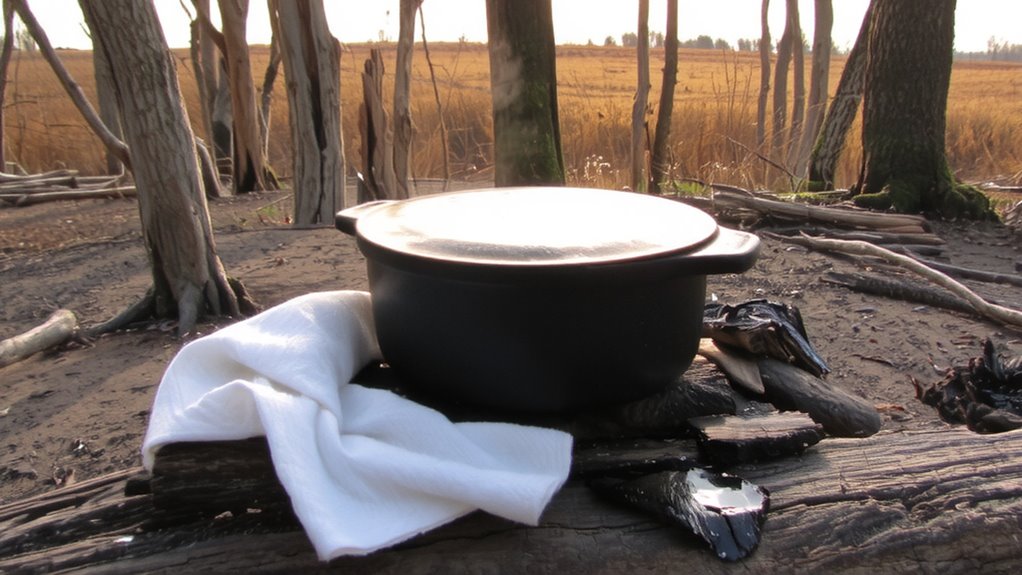
Once the Dutch oven’s completely dry, the next move is choosing the right oil for seasoning-a step that shapes how well your cookware performs over a campfire or grill. You’ll want an oil with a high smoke point, like flaxseed, grapeseed, or canola, so it polymerizes instead of burns when heated. Flaxseed oil’s popular for creating a tough, slick layer, but it can flake if overheated. Grapeseed oil strikes a balance-decent smoke point and lower oil viscosity, helping it spread evenly without pooling. Canola’s reliable and affordable, with consistent results for beginners. Avoid olive oil; its low smoke point leads to sticky residue. The oil’s viscosity affects how thin or thick it coats, influencing how smoothly it bonds during curing. A thin, even layer is key-too much leads to gummy spots. Pick your oil based on heat stability and ease of application, because the right choice builds a lasting, non-stick surface. For even more durable results, consider using one of the best oil for seasoning options specifically formulated for high-heat grill maintenance.
Re-Season Your Dutch Oven in the Oven or Over Fire
Though re-seasoning can happen indoors or out, heating your Dutch oven in the oven or over a fire brings distinct advantages depending on your setup and end use. If you’re using your oven, you’ve got precise heat control, which helps you stay just above the smoke point of your oil without going too far-ideal for building a smooth, even layer. Most oils perform best between 375°F and 450°F, so an oven thermometer helps maintain accuracy. Over a fire, things get less predictable. You’ll rely on flame consistency and distance, making heat control trickier, but the radiant heat can create a durable seasoning when done right. The open flame often exceeds the oil’s smoke point quickly, which isn’t bad-it just demands attention. For routine maintenance, the oven’s reliability wins. For field repairs or after heavy use, a controlled campfire session proves surprisingly effective.
Prevent Rust With Proper Storage and Use
If you’ve put in the effort to season your Dutch oven well, protecting that finish during storage and use makes all the difference in longevity and performance. Always let it cool completely before storing-trapping moisture leads to rust, so ventilation importance can’t be overstated. Store it in a dry place with the lid slightly ajar, allowing air circulation. Avoid stacking other gear inside it, as dents compromise both handling safety and seasoning integrity. Never leave it damp or sealed in a plastic bag, even short-term. When transporting, use a breathable cotton cover instead of plastic to maintain airflow and reduce condensation risk. Regularly check for chips or moisture spots, especially in humid climates. Proper handling safety means using dry mitts to prevent accidental slips and avoiding thermal shock. Smart storage isn’t just convenience-it’s essential maintenance that preserves performance, protects your investment, and keeps your cookware ready for the next adventure.
Keep Your Dutch Oven Non-Stick for Years
A well-maintained seasoning layer is your Dutch oven’s best defense against sticking, and keeping it intact comes down to consistent care. Each time you cook, you’re reinforcing the surface texture that makes food release effortlessly. Avoid harsh scrubbing or soap, which strips this seasoned layer and degrades cooking performance over time. Instead, wipe it clean, rinse if needed, and re-oil while warm. Regular use builds up a slick, almost glassy finish that improves with age. A smooth surface texture isn’t just about looks-it reflects how well your oven handles searing, simmering, and baking. When stored properly and re-oiled occasionally, your Dutch oven’s cooking performance stays reliable, whether you’re simmering chili or baking cornbread. Think of seasoning as a living coating: it responds to how you treat it. With attention and routine maintenance, you’ll keep it non-stick for years-just like the best camp cooks do.
On a final note
You’ve cleaned, dried, and re-seasoned your Dutch oven properly, ensuring long-term performance. Proper maintenance after wet, smoky cooking prevents rust and preserves the non-stick surface. High-smoke-point oils like flaxseed or vegetable oil bond best during seasoning. Whether using your oven at home or over a campfire, consistent care enhances durability and cooking results. Smart storage-dry, covered, with light oil-keeps it ready for years of reliable outdoor use.