How to Convert a Weber Kettle Into a Precision Two-Zone Cooking Machine
Pile lit charcoal on one side of your Weber kettle using a chimney starter for even ignition, leaving the other side empty to create distinct direct and indirect zones. Control temperature by adjusting the bottom vent for oxygen and the top vent for airflow-half-open vents stabilize heat around 300–350°F. Add a heavy-duty deflector pan over the coals to block flames and catch drips, enhancing control. Sear steaks over direct heat, then move them to the cool side to finish cooking evenly. Roast vegetables indirectly for consistent results. Trim excess fat to minimize flare-ups, and reposition food quickly when flames rise. This setup mimics a hybrid grill-oven, offering precise doneness and crust development-ideal for mastering backyard barbecue with professional-level results. More refined techniques follow to elevate your control further.
Notable Insights
- Arrange charcoal on one side of the grill using a chimney starter for even ignition and a clear two-zone heat layout.
- Control temperature by adjusting the bottom vent for oxygen and the top vent for smoke and heat release.
- Use a deflector pan over the lit coals to create a stable indirect cooking zone and reduce flare-ups.
- Sear foods over direct heat, then move to the indirect side for controlled, even finishing.
- Roast vegetables or slow-cook items entirely in the indirect zone for consistent, gentle heat exposure.
Arrange Charcoal for Two-Zone Heat
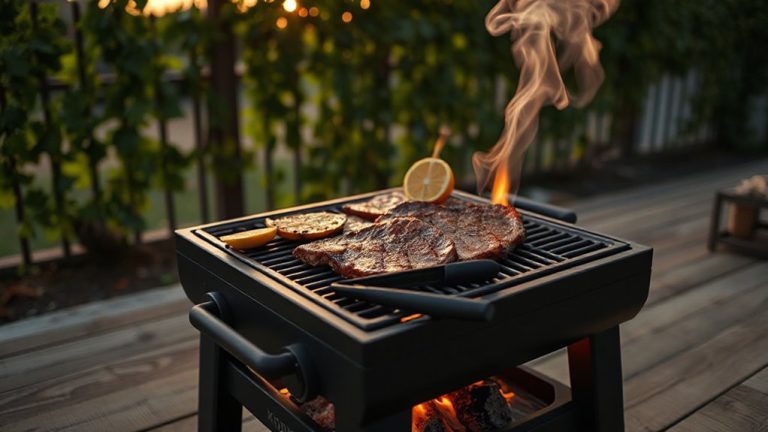
To set up two-zone heat in your Weber Kettle, start by piling the charcoal on one side of the fire grate, leaving the other side empty-this creates a clear division between direct and indirect heat zones. This charcoal configuration is key to controlling heat distribution across the cooking surface. You’ll sear steaks over the blazing coals, then shift them to the cooler side to finish gently without burning. It’s simple, but effective. Unlike single-zone setups, this method gives you more control, letting you manage cooking intensity reliably. The heat distribution isn’t perfectly even, but with practice, you’ll anticipate hot spots. This layout mimics a grill and oven in one. For best results, use a chimney starter to guarantee even charcoal ignition before arranging. Once lit, avoid rearranging the coals mid-cook. This setup works particularly well for thicker cuts, whole chickens, or vegetables needing longer exposure. It’s efficient, practical, and maximizes your kettle’s versatility.
Regulate Heat With Top and Bottom Vents
Once you’ve arranged your charcoal for two-zone cooking, mastering the vents becomes the next critical step in maintaining consistent temperatures. Proper airflow control isn’t just about temperature-it’s about stability and precision. The bottom vent feeds oxygen to the fire, while the top vent releases smoke and hot air. You adjust them together for ideal vent alignment, balancing combustion and heat retention. Open both wide for searing; restrict the bottom vent slightly to hold steady low temps for slow cooking. Over-restricting chokes the fire, while too much airflow spikes heat unpredictably.
| Bottom Vent | Top Vent | Resulting Effect |
|---|---|---|
| Wide Open | Wide Open | Maximum heat, fast burn |
| Half Open | Half Open | Stable 300–350°F |
| Slightly Open | Slightly Open | Low & slow, ~225°F |
Fine-tuned vent alignment gives you repeatable results, turn after turn.
Create Indirect Zones With a Deflector Pan
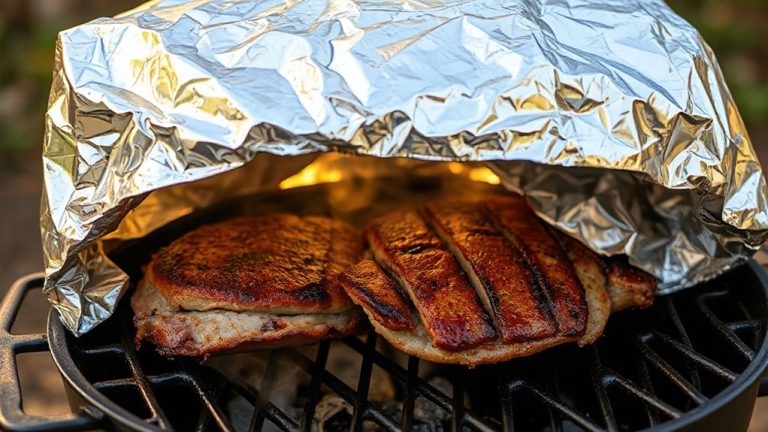
A deflector pan can be a game-changer when you’re converting your Weber Kettle for reliable two-zone cooking. Placed on the grill grate over the lit side, it blocks direct flames and creates an indirect zone, letting you roast or smoke items without scorching. Proper deflector pan placement is critical-center it above the coals to maximize heat reflection efficiency and promote even ambient temperatures. Aluminum pans work well due to their conductivity and low cost, though they warp under extreme heat. Heavy-duty steel or ceramic alternatives offer better durability and more consistent heat reflection efficiency over time. The pan also catches drips, reducing flare-ups and simplifying cleanup. While not essential, a deflector pan markedly improves temperature control, especially for longer cooks. You’ll notice more stable heat distribution across the indirect side, making it ideal for delicate foods. Consider it a smart upgrade in your kettle’s precision.
Sear Steaks or Roast Veggies: Zone by Food
You’ve set up your deflector pan to manage heat and minimize flare-ups, giving you a stable indirect zone-now it’s time to put that setup to work based on what you’re cooking. For steaks, start over the direct heat side to develop deep sear marks and robust crust formation, locking in juices and flavor. The intense radiant heat caramelize proteins rapidly, creating that restaurant-quality finish you want. Once seared, move them to the indirect zone to finish cooking evenly without overcharing. Roasting vegetables? Place them entirely in the indirect zone-gentler, even heat allows them to soften and sweeten without burning. Dense veggies like potatoes benefit from the consistent ambient temperature, while tender ones like zucchini gain subtle smokiness. Matching food to zone isn’t just practical-it’s essential for precision. You’re not just grilling; you’re controlling outcomes through strategic placement. For the best results when searing, use a pan that enhances heat retention and distribution, such as a cast iron best pan for steak.
Stop Flare-Ups and Time Your Cook Right
While high heat gives you that perfect sear, letting flare-ups run wild can wreck both flavor and control-so keeping them in check is critical for consistent results. Flare management starts with proper airflow: keep the bottom vents partially closed and the lid vent opposite the coals to reduce oxygen feeding flames. Trim excess fat to minimize drippings, and if flames surge, simply shift food to the cool side until they subside. This two-zone setup gives you instant control, turning flare management into a predictable part of your routine. Cook timing also improves-you sear over direct heat, then move to indirect to finish without overcooking. No more guessing; you’re guiding the process. With stable temps and fewer surprises, you get even doneness and better crust development. Ultimately, mastering flare management and cook timing transforms your Weber kettle into a responsive, precision cooker-one that handles everything from quick chops to slow ribs with confidence.
On a final note
You’ve turned your Weber kettle into a versatile cooking rig. With proper charcoal placement and vent control, you get precise two-zone heat-ideal for searing steaks or roasting veggies indirectly. The deflector pan helps manage flare-ups and boosts temperature stability. While it demands attention, this setup rivals more expensive smokers, proving that smart modifications enhance performance. It’s a practical, effective upgrade for any backyard griller who values control and consistency.