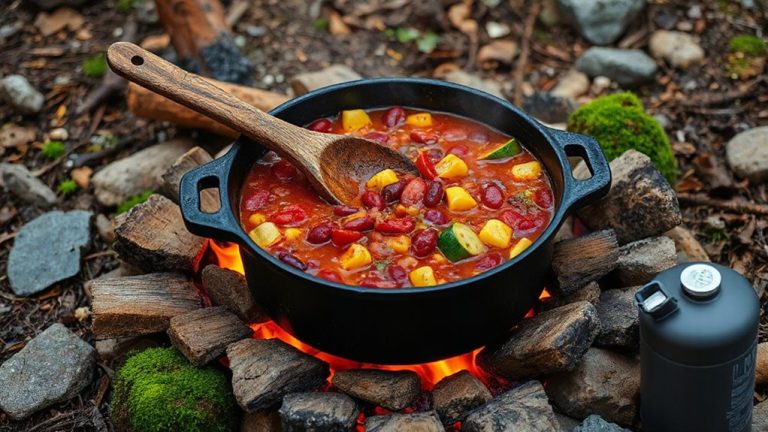
Mastering the Dutch Oven: Campfire Biscuits With Cast Iron Precision
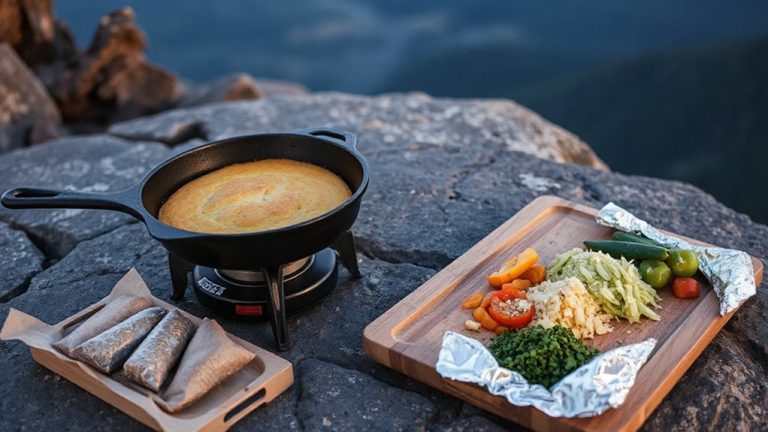
You’re using cast iron because it holds and spreads heat steadily over coals, giving your biscuits even rise and golden crust without burning. Preheat your well-seasoned Dutch oven with coals underneath and on the lid-two-thirds below, one-third above-for balanced baking. Cold butter and buttermilk in the dough guarantee flakiness, while rotating the oven prevents hot spots. If biscuits scorch or stay raw, adjust coal placement. You’ll soon see how small tweaks transform campfire baking.
Notable Insights
- Use a well-seasoned cast iron Dutch oven for superior heat retention and even baking over coals.
- Prepare biscuit dough with cold butter and buttermilk, mixing just until a soft dough forms.
- Preheat the Dutch oven in glowing coals for 10–15 minutes to stabilize cooking temperature.
- Position two-thirds of coals under and one-third on top of the oven for balanced heat distribution.
- Rotate the oven and lid periodically to prevent hot spots and ensure even browning.
Why Cast Iron Wins for Campfire Biscuits
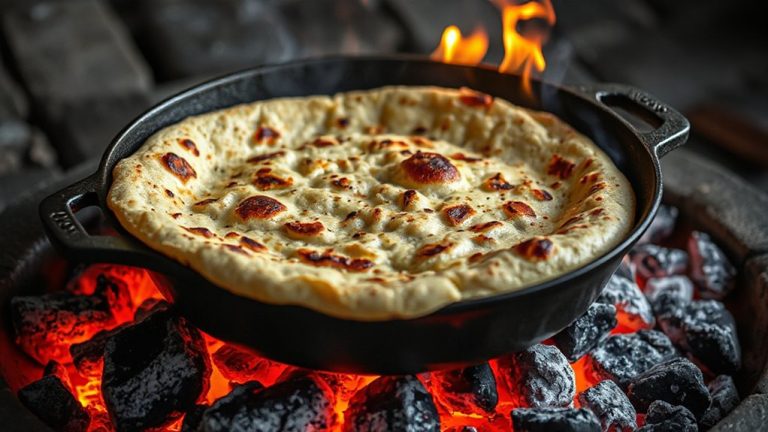
Heat retention-that’s where cast iron pulls ahead when you’re making campfire biscuits. You need steady, reliable heat to transform raw dough into golden, flaky layers, and cast iron delivers. Unlike thinner metals, it absorbs and holds high temperatures, buffering against the fluctuations of open flames. That consistent thermal output guarantees your biscuits don’t burn on the edges while staying raw in the center. It’s this balance that promotes even browning across every inch of the crust. You’ll notice a uniform golden finish-never patchy or streaked-thanks to how the material radiates heat evenly. Even when nestled in glowing coals, a well-seasoned cast iron Dutch oven maintains performance, supporting thorough, predictable baking. Other materials might heat up faster, but they can’t match cast iron’s sustained, all-over warmth. For dependable results over open fire, heat retention and even browning make cast iron the clear winner when you’re cooking outdoors.
Prep Your Dutch Oven for Even Baking
A well-prepped Dutch oven makes all the difference when you’re after evenly baked results over a campfire. You’ll want to start with solid seasoning maintenance-well-seasoned cast iron not only prevents sticking but also contributes to consistent heat retention. Before each use, lightly oil the interior and heat it briefly to reinforce the non-stick surface. Check for any chips or rust, especially if stored outdoors, as damaged seasoning disrupts performance. A clean, evenly coated surface guarantees your oven heats uniformly, avoiding hot spots that could burn your biscuits. The heavy walls and tight-fitting lid are great for heat retention, but only if the seasoning is intact. Don’t skip preheating-let the oven sit in the coals for 10–15 minutes to stabilize the temperature. Proper prep turns raw potential into reliable performance, making every batch as good as the last.
Make Easy Campfire Biscuit Dough
While you’re getting your Dutch oven ready, it’s a good idea to prepare the biscuit dough with ingredients that hold up well in outdoor conditions. Use all-purpose flour-it’s reliable and widely available, though some swear by pastry flour for tenderness. Avoid whole grain types; they can make biscuits dense over a fire. Combine 2 cups flour, 1 tbsp baking powder, 1 tsp salt, and 1 tbsp sugar. Cut in 1/3 cup cold butter until the mix looks crumbly-this mixing technique guarantees flaky layers. Stir in 3/4 cup cold buttermilk just until a soft dough forms; overmixing leads to tough biscuits. Turn it onto a floured surface and gently pat it to 1-inch thickness. Cut with a biscuit cutter, pressing straight down for even rise. The dough holds well before baking, so you can prep it ahead. This method balances simplicity and performance, ideal for campfire precision.
Place Coals Right for Perfect Biscuits
When baking biscuits over a campfire, positioning the coals properly makes all the difference between golden, evenly-risen results and a charred or undercooked disappointment. You need balanced coal distribution to guarantee consistent heat control-too much under the oven, and the bottoms burn; too little, and the biscuits stay doughy. Aim for about two-thirds of the coals under the Dutch oven and one-third on top, nestled under the lid’s rim. This ratio mirrors an oven’s ambient heating, allowing thorough baking without scorching. Use medium-sized coals, not flames, for steady radiant heat. Rotate the oven and lid a quarter turn every few minutes to correct hot spots, since uneven coal distribution is common. With practice, you’ll read the heat’s intensity by hand feel-three seconds over the coals means it’s medium, ideal for biscuits. Good heat control isn’t luck; it’s technique.
Fix Burnt or Raw Dutch Oven Biscuits
What went wrong when your biscuits come out burnt on the bottom and raw on top? Poor oven placement is likely the culprit-too many coals underneath or uneven distribution creates excessive bottom heat. If your dutch oven sits directly over high heat without proper elevation, the base scorches while the top stays undercooked. Dough consistency also plays a critical role; too wet and the biscuits won’t set, too dry and they resist even baking. For better results, redistribute coals evenly-fewer underneath, more on the lid-to balance the temperature. Adjust oven placement by using a trivet or lifting the oven slightly to reduce direct radiant heat. Check your dough: it should be soft but cohesive, holding its shape without sticking. With proper dough consistency and strategic oven placement, you’ll achieve golden, fully baked biscuits every time-crisp outside, tender inside, just like cast iron cooking should be.
On a final note
You’ve mastered the basics, and now your campfire biscuits rise evenly, golden and crisp. Cast iron delivers unmatched heat retention, essential for reliable outdoor baking. With proper coal placement and preheating, your Dutch oven performs like a portable oven. Minor mistakes-burnt edges or undercooked centers-adjust with practice. This method isn’t flashy, but it’s effective, durable, and grounded in real camp kitchen demands.