How to Use a Campfire Grill Grate to Cook Flatbreads From Scratch
You’ll need a sturdy grill grate set over hot embers for even heat-place it once flames subside to avoid charring. Mix flour, water, salt, and a pinch of leavening, then knead until smooth and let rise under a damp cloth. Flatten with a water bottle or your hands, keeping edges thin and center slightly thick. Cook 2–3 minutes per side on the scorching grate, flipping with tongs or a spatula for a blistered, golden finish. Toppings like halloumi, harissa, or grilled veggies add bold flavor. Better results come from managing heat zones and dough hydration-small adjustments make all the difference out here.
Notable Insights
- Use a sturdy campfire grill grate to ensure even heat distribution and prevent dough from falling through.
- Prepare flatbread dough with flour, water, salt, and a leavening agent, kneading until smooth and elastic.
- Let dough rest under a damp cloth in a warm spot for 30–60 minutes to allow proper fermentation.
- Flatten dough using a bottle or hands, dusting with flour to prevent sticking and ensure even thickness.
- Cook flatbreads on a preheated grill over embers, 2–3 minutes per side, until golden and blistered.
What You Need to Make Campfire Flatbreads
Your campfire cooking setup starts with the right tools, and a sturdy grill grate is essential for making flatbreads over an open flame. You’ll need a heat-resistant grate that fits securely over the fire, providing even contact for consistent browning. Pair it with long-handled tongs and a spatula for safe handling. For ingredients, flour selection matters-opt for all-purpose or high-gluten flour, as they hold up well to open-flame heat and yield a chewy yet crisp texture. Water sourcing is equally critical; use clean, filtered water if possible, since impurities can affect both taste and dough consistency. A mixing bowl and damp cloth are simple additions but crucial for resting the dough. Together, these tools and thoughtful ingredient choices set the foundation for quality flatbreads, ensuring efficient cooking and reliable results in the wild where conditions aren’t forgiving. For optimal performance, choose a campfire grill that offers stability and even heat distribution.
How to Mix and Knead Dough in the Wild
Dough consistency is the quiet foundation of campfire success, and achieving it in the wild demands attention to detail. You’ll want to balance hydration levels carefully-too much water makes the dough sticky and hard to manage, while too little yields a crumbly mess. Start by mixing flour, water, salt, and any leavening agent in a bowl or improvised container. Knead on a clean, flat surface for about 8–10 minutes until smooth and elastic. Fermentation techniques matter even outdoors: let the dough rest in a warm, sheltered spot for 30–60 minutes, covering it with a damp cloth. This brief proofing improves texture and flavor. Wild conditions mean variable temperatures and wind, so monitor closely. Proper kneading and controlled fermentation guarantee your flatbread holds up on the grill grate, delivering a reliable base for campfire cooking every time.
How to Flatten Dough Without a Rolling Pin
A smooth, even surface-whether it’s a water bottle, wine bottle, or heavy-duty reusable container-makes a surprisingly effective substitute for a rolling pin when flattening dough in the wild. Begin with a light flour dusting on your surface and dough to prevent sticking, then use firm, consistent rolls from the center outward. Rotate the dough occasionally to maintain even thickness. When a bottle isn’t available, hand pressing works well: gently stretch the dough from the center, using fingertips to push and thin it evenly. Though less precise than traditional tools, hand pressing offers greater control over thin spots and edges. Both methods perform reliably over rough terrain, where portability trumps precision. Flour dusting remains essential regardless of technique, minimizing tear and drag. While these improvisations lack the elegance of kitchen equipment, their practicality in outdoor settings is undeniable. With a steady touch, you’ll achieve flatbreads ready for direct grill contact-thin enough to crisp, yet sturdy enough to hold. A properly prepped campfire grill grate ensures even heat distribution for optimal flatbread cooking.
How to Control Campfire Heat for Flatbreads
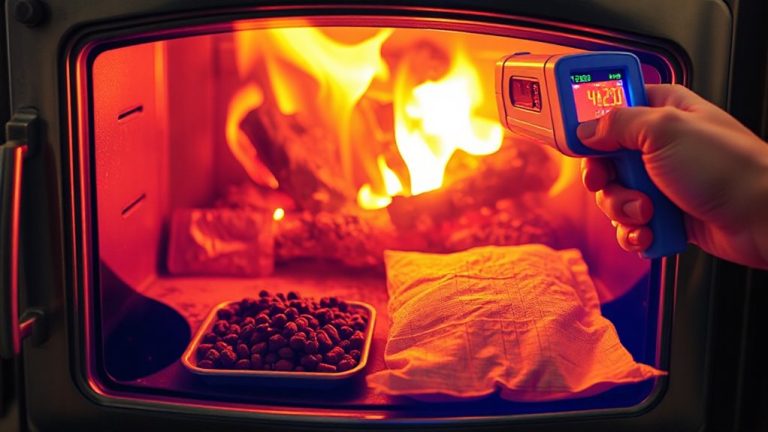
While mastering flame placement won’t guarantee perfect flatbreads on its own, it’s the most critical factor in achieving consistent results over a campfire. Effective fire management means creating distinct heat zones-high, medium, and low-by banking coals to one side or adjusting log positions. You’ll need a hotter zone for searing and a cooler area for slower cooking or holding finished flatbreads. Uneven heat leads to charring or underbaking, so let flames die down to embers before placing the grate. Avoid constant flare-ups by keeping fuel dry and airflow steady. Monitoring heat zones lets you adapt as conditions change, ensuring better control than brute flame alone. Though no substitute for skill, thoughtful fire management transforms unpredictable open flames into a reliable outdoor oven, making it easier to produce bakery-quality flatbreads even in rugged settings. A well-chosen best grilling spatulas can help safely flip delicate flatbreads without tearing.
How to Cook Campfire Flatbreads on a Grill Grate
You’ll want your grill grate scorching but not flaming when you start cooking flatbreads-think of it like a well-seasoned cast-iron skillet over a kitchen burner, only bigger and fueled by wood. Place your dough directly on the hot grate, where intense, even heat promotes rapid gluten development and a pleasantly chewy texture. The open flame enhances sourdough fermentation’s natural tang, deepening flavor through subtle charring. Flip after 2–3 minutes, when edges crisp and bubbles form. Cook the second side just until golden-timing matters, as residual heat continues cooking the bread. A successful bake balances heat management with dough readiness, yielding a blistered exterior and airy crumb. Using a grate guarantees superior airflow and Maillard reaction compared to foil methods, making it the most effective way to achieve professional-quality flatbreads in the wild. Cleanup’s simple: burn off residue, then brush clean.
Creative Toppings for Campfire Flatbreads
What if your campfire flatbread could double as a canvas for bold, rustic flavors? You’ve got the basics down-now it’s time to experiment. Think beyond marinara and mozzarella. Try smashed white beans with rosemary and lemon zest for earthy gourmet flavors, or swipe the base with harissa for a spicy kick. You’re working over open flame, so ingredients should hold up: grilled onions, charred peppers, and smoky halloumi add depth. Pulling from global inspirations, consider za’atar and labneh, or kimchi with melted cheddar for a fusion twist. A drizzle of infused oil or balsamic glaze after cooking enhances complexity. Since the grill grate delivers direct heat, toppings should be pre-cooked or quick-searing. The beauty lies in adaptability-each flatbread reflects your campsite’s vibe. With minimal gear and bold combinations, you’re not just feeding the crew-you’re elevating outdoor cooking into something inventive, satisfying, and subtly refined.
On a final note
You’ve got what it takes to make flatbreads over a campfire, and the grill grate is your best ally. It distributes heat evenly, prevents burning, and gives a reliable sear. Cooking outdoors demands attention to flame and airflow, but the results-crispy, smoky bread-justify the effort. With minimal gear and smart technique, this method proves that rustic cooking can be efficient and satisfying under real conditions.