How to Make Campfire Nachos Without Melting the Cheese Too Fast
Use thick, ridge-reinforced tortilla chips-they handle heat better and stay crisp longer over the fire. Prep toppings like diced veggies and seasoned meat ahead of time for even cooking. Layer chips first, then beans or meat, and hold off on the cheese until the base is warm. Cook over indirect heat with a fire shield to block flares, ensuring the cheese melts without scorching. Timing and structure make all the difference-get it right, and you’ll discover even more ways to elevate your outdoor feast.
Notable Insights
- Use thick, ridge-reinforced chips to maintain structure and resist burning over the fire.
- Prep all toppings in advance to minimize handling time and ensure even, controlled assembly.
- Layer cheese only when lower ingredients are nearly warm to prevent overheating and scorching.
- Cook over indirect heat to gradually melt cheese while preserving chip crispness and avoiding flare-ups.
- Shield the cooking area with a fire shield or inverted grate to block sudden flames and regulate heat.
Choose Campfire-Ready Chips
A sturdy chip is your first line of defense against a gooey disaster when making campfire nachos. You need chip thickness that can withstand heat without instantly softening or crumbling under warm toppings. Thin chips might work in a kitchen oven, but over open flame, they’ll quickly char or buckle. Opt for brands with a hearty, ridge-reinforced shape-these hold up better during layered heating. You’ll also want to contemplate flavor variety carefully; while bold seasoning adds depth, overly spiced or oily chips can smoke too much over flames, overwhelming other ingredients. Stick to balanced, robust options like sea salt or hint-of-lime that enhance without dominating. Thick, durable chips don’t just support weight-they preserve texture contrast, a key element in great nachos. When grilled gradually, they offer a toasty crunch that complements melted cheese without surrendering to it. Choose wisely, and your base layer becomes a reliable foundation, not a casualty.
Prep Toppings Before the Fire
You’ve picked your chips with care, favoring thickness and structure to endure the uneven heat of a campfire, so don’t undo that effort with haphazard topping prep. Chop veggies before you leave-dicing onions, bell peppers, or jalapeños ahead of time saves energy and guarantees even distribution. Uneven pieces won’t cook uniformly over open flame, increasing the risk of some burning while others stay raw. Use sealable pack containers to keep ingredients fresh and protected from ash or insects. These containers also minimize cleanup, a practical advantage in remote sites. Prepping early prevents frantic handling near the fire, where distractions can lead to accidents or overheated layers. Smart organization directly impacts how evenly your nachos heat. Seasonings and proteins should be pre-measured too-every minute spent adjusting is a minute your cheese risks melting too soon. A disciplined approach to prep guarantees flavor and texture stay balanced from start to finish.
Layer Smart to Save the Cheese
Even though heat radiates unevenly from an open flame, you can still achieve melted cheese without turning it into a burnt smear if you layer with intent. Start with sturdy chips on the bottom-they’ll hold up better under moisture and heat. Add a moderate layer of beans or meat next, then distribute cheese only when lower ingredients are nearly warm. This layer timing prevents early melting. Use your toppings as cheese insulation: diced tomatoes, onions, or jalapeños spread lightly on top create a barrier that slows direct heat exposure. Don’t pile cheese too thick-thin, even coverage melts uniformly and reduces scorching. Remember, residual heat will continue melting cheese once removed from the fire, so pull the nachos off just before the cheese reaches perfect gooeyness. A well-timed layer strategy enhances texture control, making each bite balanced and avoiding the common pitfall of rubbery or burnt dairy.
Cook Over Indirect Heat
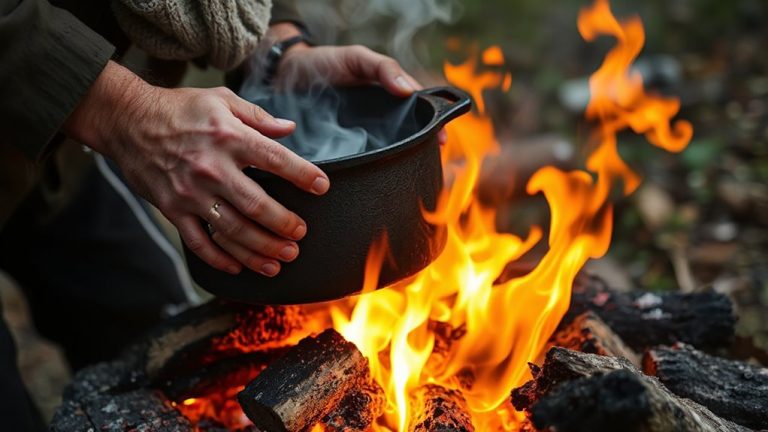
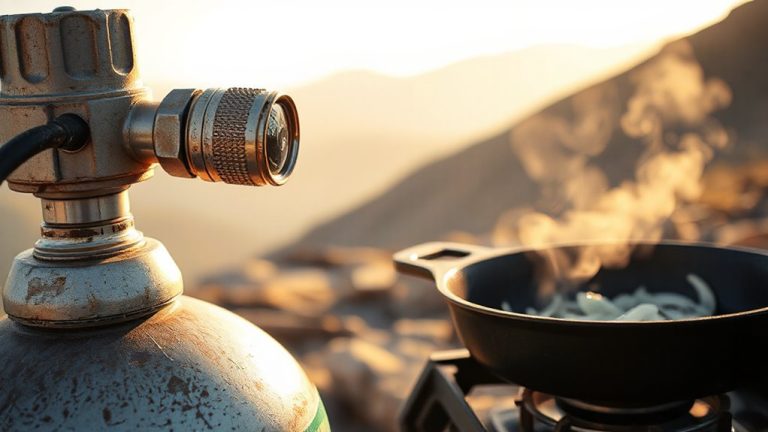
Since direct flames can scorch toppings before the base warms through, cooking your nachos over indirect heat gives you far more control over the melting process. You’ll position your skillet or foil packet to the side of the campfire, where radiant heat gently warms the layers without charring them. This method relies heavily on fire management-keeping flames low and coals spread evenly-so you can maintain steady heat regulation. Unlike grilling over open flame, indirect cooking reduces hot spots, allowing cheese to soften just right while chips stay crisp. It’s not just safer; it’s smarter, turning a potentially rushed task into a predictable, repeatable process. Experienced camp chefs prefer this technique because it mirrors oven-like conditions, giving consistent results even in unpredictable outdoor settings. With proper placement and attention, your nachos won’t burn, and the flavors will meld perfectly. For best results, use a campfire grill designed to optimize heat distribution and stability when cooking off-grid.
Shield From Sudden Flares
While you can’t always predict when embers will surge or wind will shift, taking steps to shield your nachos from sudden flares keeps the cooking process under control. Positioning your pan behind a fire shield reduces direct flame contact and stabilizes heat exposure. A simple fire shield-like a metal reflector or even an inverted grill grate-blocks rogue flames while allowing radiant heat to cook evenly. Consider using a commercial flare guard if you frequently cook over open flames; these devices limit oxygen flow to hot spots, suppressing unexpected flare-ups. Both solutions improve heat management, though a flare guard offers more precision. These tools don’t eliminate risk, but they markedly reduce the chance of scorching. Effective shielding means your nachos warm through without burning. It’s not just about protection-it’s about creating a consistent cooking environment. For reliable campfire results, intelligent fire management is essential. Always assess your setup before adding toppings.
Add Cheese at the Perfect Time
When the base layer of tortilla chips has crisped up and your meats and beans are warmed through, that’s your signal to add the cheese-timing it too early leads to burnt patches and a greasy melt, while waiting too long leaves you with underwarmed toppings and dry spots. Watch for visual and thermal timing cues: slight oil sheen on beans, steam rising from meat, and chips holding firm without scorching. These signs mean heat distribution is ideal. Adding cheese now guarantees even melt and ideal cheese texture-creamy but not liquefied. Use shredded cheese for faster, uniform coverage. Avoid chunks; they delay melting and create hotspots. Below are key indicators to help you nail the timing:
| Heat Level | Timing Cue | Cheese Texture Result |
|---|---|---|
| Low | Slow steam, no sizzle | Patchy melt, rubbery spots |
| Medium | Light sizzle, warm aroma | Smooth, creamy melt |
| Medium-High | Chips lightly golden | Ideal flow, slight crisp |
| High | Smoke from edges | Greasy, burnt patches |
| Flaring | Flames touching pan | Bitter, blackened cheese |
Swap to Fire-Friendly Ingredients
You’ve timed the cheese melt just right, but now it’s time to think about what goes under and over those tortilla chips-some ingredients handle campfire heat better than others, and swapping in fire-friendly options makes all the difference. Skip raw veggies; they’ll char before cooking through. Instead, use pre-cooked beans, canned diced tomatoes, or grilled meats-they’re stable and reduce cooking time. These Dutch oven hacks save effort and prevent overheating delicate layers. Delicate cheeses like queso fresco work better than shredded cheddar, which can scorch. For toppings, try foil packet tricks: steam jalapeños or onions separately to retain crunch. Pre-assemble packets at home for faster site prep. Sturdy chips with thick cuts resist breaking and sogginess. Avoid moisture-heavy ingredients unless drained well. Swapping smart means even heat distribution and cleaner flavors. With the right ingredients, your campfire nachos stay balanced, textured, and practical-no last-minute fixes, just reliable outdoor results you can count on every time.
On a final note
You’ve got to time it right-add the cheese only when the heat’s steady. Cooking over indirect heat keeps the chips crispy without scorching, while shielding from flares prevents bitterness. Prepping toppings early guarantees even warmth throughout. This method beats melting cheese too soon, which turns everything greasy. For outdoor cooking, control matters most. With smart layering and fire-friendly ingredients, campfire nachos become practical, satisfying fare that actually performs well in the wild.