How to Properly Season a New Cast Iron Dutch Oven for Long-Lasting Non-Stick Performance
You’ll want to season your new cast iron Dutch oven with a high smoke point oil like canola or grapeseed for best results. Rub a thin, even coat over the entire surface-inside, outside, and handle-then bake it upside down at 400°F for an hour. Let it cool in the oven to avoid cracks. Repeat this 3–4 times to build a slick, durable non-stick layer that enhances cooking performance. A well-seasoned finish develops over time, and there’s more to getting it just right.
Notable Insights
- Choose a high smoke point oil like canola or grapeseed to ensure effective polymerization during seasoning.
- Apply a thin, even layer of oil to the entire Dutch oven, including exterior and handle, using a lint-free cloth.
- Bake the Dutch oven upside down at 375°F–450°F for one hour to prevent oil pooling and promote uniform seasoning.
- Place a baking sheet on the lower rack to catch drips and maintain a clean oven during the seasoning process.
- Repeat the seasoning process 3–4 times to build a durable, glossy, non-stick surface for long-lasting performance.
How to Season a Cast Iron Dutch Oven
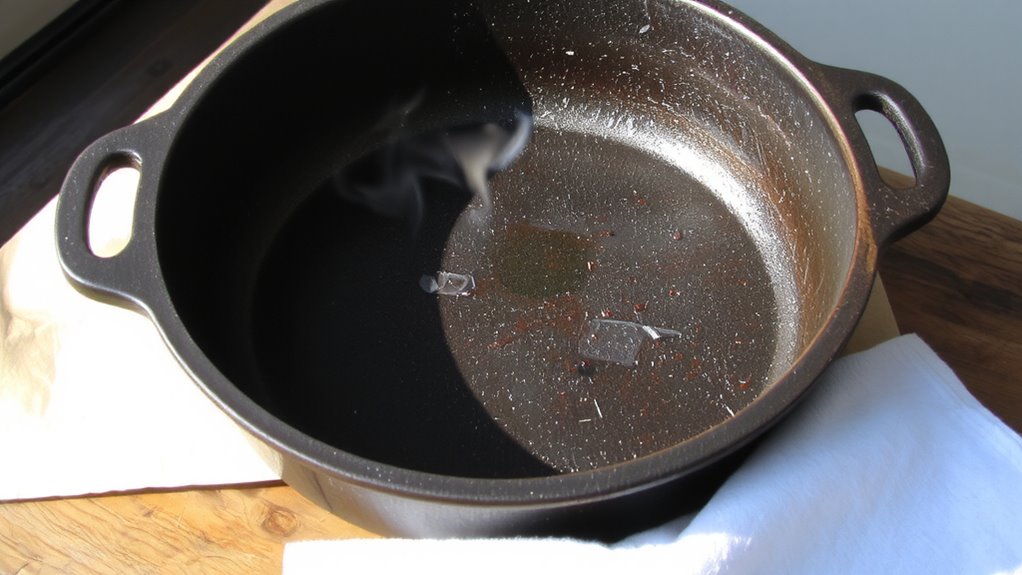
While many people overlook the importance of proper seasoning, it’s actually the key to getting the most out of your cast iron Dutch oven, especially when cooking outdoors over open flames or coals. Rooted in cast iron history and dutch oven origins, this practice preserves both functionality and tradition. Early Dutch artisans perfected thick, even-walled pots that retained heat superbly, but seasoning remains what prevents rust and creates a natural non-stick surface. You’ll want to coat the entire surface-inside and out-with a thin layer of oil, then bake it upside down in the oven. This polymerizes the oil, forming a durable, slick finish. Over time and with use, your seasoning improves, much like the best vintage pieces passed down through generations. Proper care honors the dutch oven’s legacy while ensuring reliable, even cooking over coals or campfires.
Use High Smoke Point Oil for Best Results
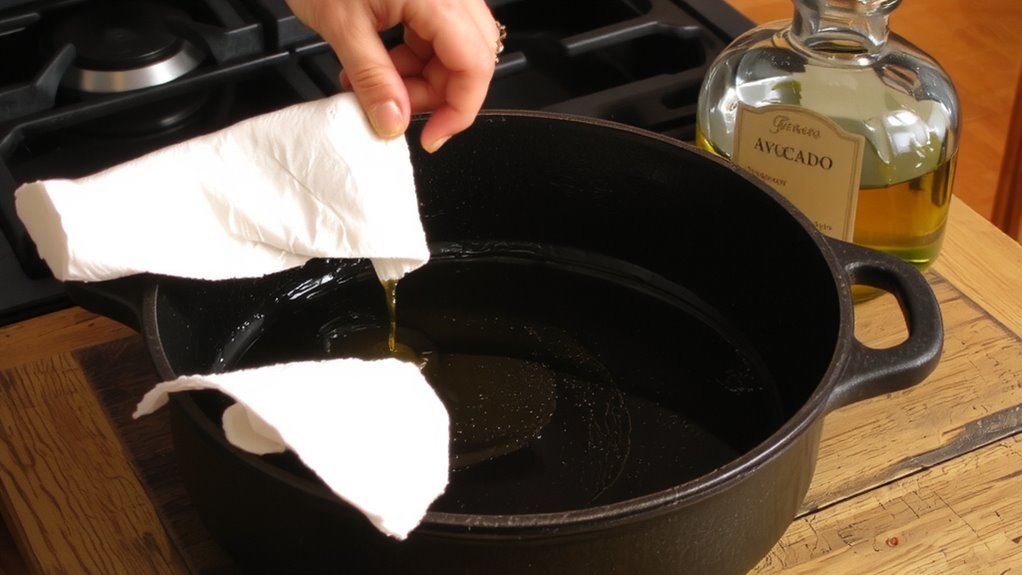
A good seasoning starts with the right oil, and you’ll want to choose one with a high smoke point for the best results. Oil selection is critical-when heated past its smoke point, oil breaks down and leaves a sticky, uneven layer. For effective seasoning, pick oils that can endure high oven temperatures without smoking or degrading. Here’s a quick comparison:
| Oil Type | Smoke Point (°F) | Best for Seasoning? |
|---|---|---|
| Flaxseed | 225 | Yes, but fragile |
| Canola | 400 | Yes, balanced |
| Grapeseed | 420 | Yes, reliable |
| Extra Virgin Olive | 325 | No, too low |
Canola and grapeseed oils offer strong performance and consistency, making them ideal for durable layers. While flaxseed polymerizes well, it can flake over time. Avoid oils with low smoke points-they won’t build a resilient non-stick surface.
Rub on a Thin Layer of Oil
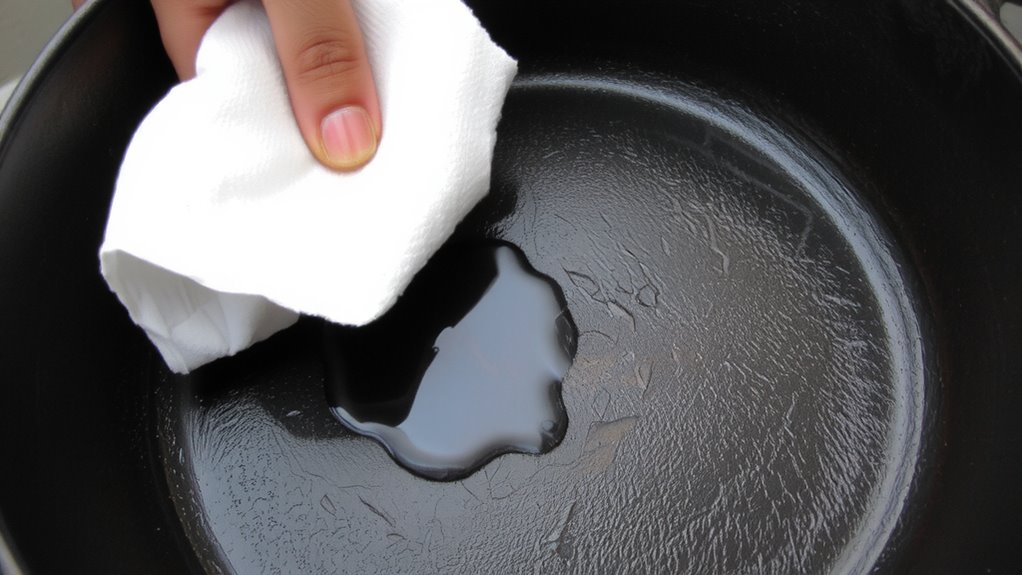
One key step you can’t afford to skip is applying a thin, even layer of oil to your cast iron Dutch oven before seasoning. When it comes to cast iron care, how you apply the oil matters just as much as the oil you choose. Use a lint-free cloth or paper towel to spread a light coating over the entire surface, including the handle and exterior. This oil application method guarantees the polymerization process works effectively during heating, forming a durable non-stick layer. Too much oil leads to sticky residue or uneven seasoning, while too little leaves bare spots vulnerable to rust. A well-executed oil application method sets the foundation for long-term performance. Proper technique not only enhances heat retention and cooking results but also simplifies future cleaning and maintenance, making your Dutch oven a reliable companion for consistent, high-quality outdoor cooking and BBQ.
Heat It in the Oven to Build Protection
Now that you’ve rubbed on a thin, even layer of oil, it’s time to lock it in by heating your Dutch oven in the oven. Preheat to the ideal oven temperature-typically 375°F to 450°F-to polymerize the oil without burning it. Place the Dutch oven upside down on the middle rack to prevent pooling. Add a baking sheet on the lower rack to catch any drips. Maintain the temperature for one hour, then turn off the oven and allow the Dutch oven to cool gradually. This cooling process guarantees even curing and minimizes thermal shock. Here’s a quick reference:
| Step | Detail |
|---|---|
| Oven Temperature | 375°F–450°F |
| Heating Duration | 1 hour |
| Cooling Process | Turn off oven; cool inside |
This controlled method builds a durable, protective layer essential for long-term performance.
Repeat for a Stronger Non-Stick Layer
While a single round of seasoning protects your cast iron Dutch oven, repeating the process builds a smoother, more effective non-stick surface over time. You’ll notice a clear improvement after two to three rounds of oven curing-each session strengthens the surface bonding between the oil and the iron. As the layers polymerize, they create a harder, more resilient finish that resists sticking and simplifies cleanup. We recommend repeating the seasoning process three to four times when first breaking in your Dutch oven. Use a thin coat each time; too much oil leads to sticky buildup instead of a sleek, black patina. With every cycle, monitor the change: a well-seasoned surface looks glossy, not dull. This repetition isn’t overkill-it’s essential maintenance. Strong surface bonding guarantees long-term performance, especially during high-heat outdoor cooking or slow BBQ sessions where consistent heat retention matters.
On a final note
You’ve now seasoned your cast iron Dutch oven properly, ensuring long-term durability and non-stick performance. Using a high smoke point oil and repeated oven heating builds a resilient polymerized layer. This foundation improves with use, making it ideal for outdoor cooking and BBQ, where consistent heat retention matters. Proper care prevents rust and enhances cooking results. A well-maintained Dutch oven becomes a reliable, versatile tool-perfect for everything from searing to slow-cooking over coals.