Restoring Vintage Cast Iron: A Step-by-Step Deep Clean and Re-Seasoning Process
You start by inspecting your cast iron for deep pitting or cracks-minor wear is fine, but structural damage means it’s beyond repair. Then, strip off rust and old seasoning with steel wool or a chain-mail scrubber for light buildup, or try sandblasting for severe cases. Wash with hot water, dry thoroughly on the stove, and apply a thin coat of high-smoke-point oil like flaxseed. Bake it upside down at 400°F for an hour, cool it in the oven, and repeat two to three times. Clean with hot water and salt after use, dry well, and lightly oil to maintain the surface. Proper care keeps it performing like new, and there’s still more to get right.
Notable Insights
- Inspect the cast iron for deep pitting or cracks, as these compromise integrity and may require retiring the piece.
- Remove rust and old seasoning using steel wool, a chain-mail scrubber, or sandpaper for thorough surface cleaning.
- Clean the piece with warm water and a soft sponge, then dry completely, including heating on the stove to remove moisture.
- Apply a thin layer of high-smoke-point oil, bake upside down at 375–450°F for one hour, and repeat 2–3 times for durable seasoning.
- Maintain the seasoning by avoiding soap, drying promptly after use, and applying a light coat of oil before storage.
Check for Rust and Damage
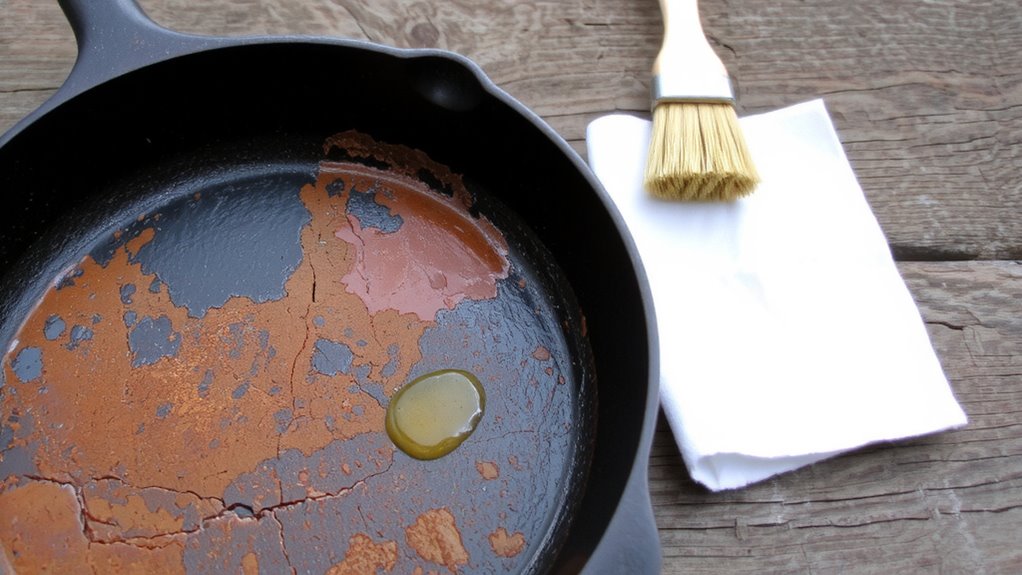
While you’re keen to restore that old cast iron, you should start by checking for rust and damage, since doing so determines whether the piece is worth saving. Run your fingers over the cooking surface to detect surface pitting-small, rough depressions that can harbor bacteria and make seasoning uneven. Minor pitting is common and manageable, but deep or widespread pitting compromises performance. Flip the piece and inspect the underside and edges for structural cracks, which weaken integrity and can expand under heat, leading to splits. Unlike surface flaws, structural cracks aren’t fixable and signal it’s time to retire the pan. A solid cast iron skillet should feel heavy and uniform, with no warping or thin spots. If it passes this inspection, it’s a worthy candidate for restoration. Remember, durability is cast iron’s hallmark, but only if the foundation is sound. For guidance on selecting reliable pieces, consider reviewing top vintage cast iron picks to understand quality markers in well-made skillets.
Scrub Off Rust and Old Seasoning
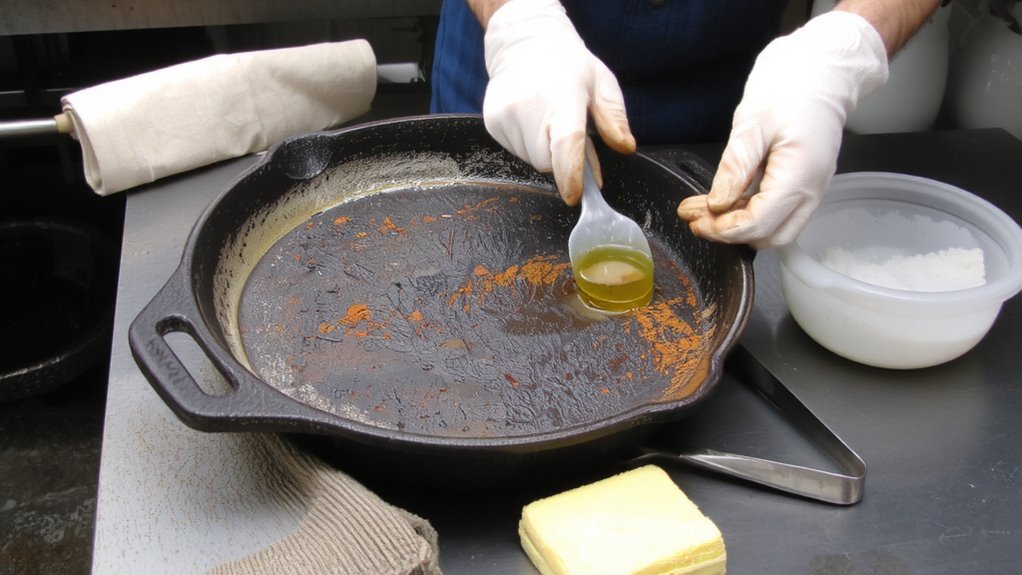
Your pan made it through the inspection-no deep pitting, no cracks, just the wear and tear of years at the stove or over coals, which means you’ve got a solid candidate for revival. Now it’s time to scrub off rust and old seasoning. You’ve got options: chemical etching strips layers fast but can leave residues, while abrasive blasting removes material uniformly and is ideal for stubborn buildup. For home restoration, elbow grease with steel wool or a chain-mail scrubber works well and avoids potential hazards. Blast or etch only if you’re prepping multiple pans or dealing with severe corrosion.
| Method | Best For |
|---|---|
| Steel wool | Light rust, home use |
| Chain-mail scrubber | Stuck-on carbon |
| Chemical etching | Fast, full restoration |
| Abrasive blasting | Heavy pitting, workshops |
| Sandpaper (80–220) | Controlled, detailed work |
Wash and Dry Before Seasoning
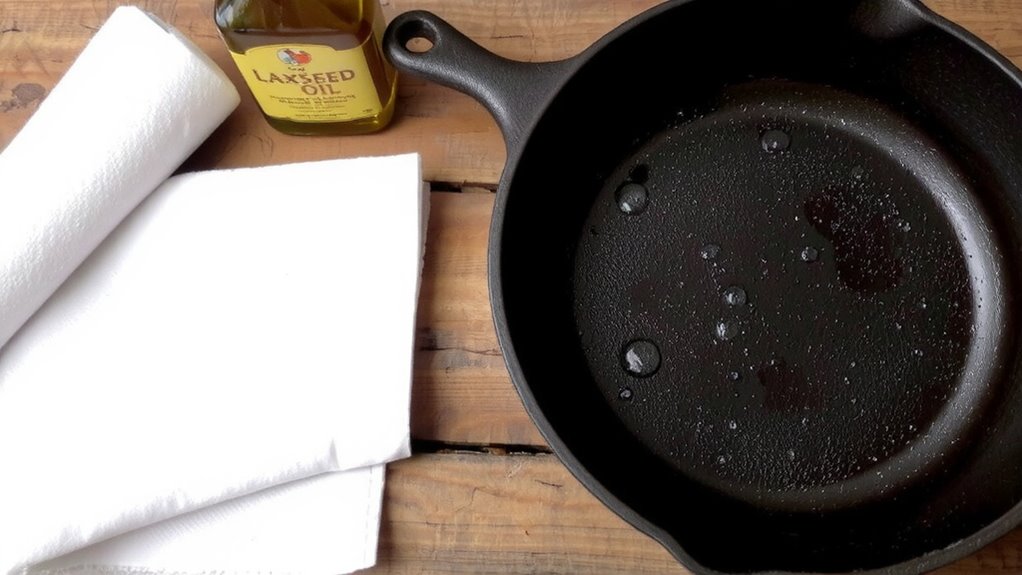
Once you’ve stripped away rust and old seasoning, it’s time to clean off any residue so the pan’s surface is pristine before applying fresh oil. Wash the cast iron with warm water and a soft sponge-avoid soap if possible, as it can interfere with the seasoning bond. Rinse thoroughly to remove any scrubbing compound or loosened particles. Then, dry the pan immediately and completely. Place it on the stove over low heat for 5–10 minutes guarantee all moisture evaporates. You’ll want to preheat oven shortly after drying, so timing matters. Use paper towels to wipe the surface one final time, checking for spots or grit. Even a trace of water can cause steam bubbles under seasoning, leading to an uneven finish. Proper drying isn’t optional-it’s essential for a durable, nonstick surface. This step sets the foundation, directly affecting how well the seasoning adheres and performs during outdoor cooking. Skimp here, and the pan won’t heat evenly or resist sticking.
Apply a Fresh Seasoning Layer
Now that your cast iron is spotless and bone-dry, it’s time to build a strong, long-lasting seasoning layer-one that’ll stand up to the demands of outdoor cooking. Start with smart oil selection: use a high-smoke-point oil like grapeseed, flaxseed, or canola, since they polymerize well under heat. Apply a thin, even coat-too much leads to sticky residue. Your oven’s heat level matters: 375–450°F is ideal for proper bonding without burning off the oil. Place the piece upside down on the rack to let excess drip off, and bake for one hour. Let it cool in the oven to avoid thermal shock. Repeat 2–3 times for durability. This process fills pores and creates a slick, non-stick surface. A well-seasoned surface resists rust and handles flare-ups, making it essential for consistent searing and even heat retention over live fire. For best results, consider using one of the top picks for grill oils recommended for high-heat applications.
Care for Your Cast Iron Daily
While proper seasoning establishes the foundation, daily care determines whether your cast iron will perform reliably over coals or falter when searing a thick steak. After cooking, let the pan cool slightly, then use gentle cleaning-opt for a brush and hot water, avoiding soap that strips oils. For stubborn bits, a light scrub with coarse salt works without damaging the surface. Dry thoroughly immediately; moisture is a cast iron’s enemy. A light wipe with neutral oil after cleaning maintains the seasoning. Proper storage matters: keep it in a dry place, preferably with the lid off or a paper towel inside to prevent trapped humidity. Never stack bare cast iron-use a cloth liner if necessary. With consistent, mindful use, your piece won’t just survive-it’ll improve, developing a slicker, more resilient surface over time, ideal for backyard searing or slow-smoked brisket.
On a final note
You’ve restored your cast iron properly-now it’ll perform like a top-tier outdoor cooking tool. A well-seasoned surface conducts heat evenly, resists rust, and improves with each use. Unlike finicky grills, cast iron holds temperature steadily, searing effectively and reducing fuel waste. With daily care-wipe, dry, re-oil-you preserve its efficiency. It’s not just maintenance; it’s investment in durability and cooking precision. This isn’t trendy kitchenware; it’s functional, long-lasting gear built for real results.