Using Brown Sugar-Paprika Dry Rub on Grilled Pork Ribs for Perfect Crust
You’ll get a rich, caramelized crust by applying a brown sugar-paprika dry rub to dry ribs before grilling. The sugar promotes browning, while paprika adds color and smokiness. Press the rub on firmly, use a two-zone fire at 225–250°F, and maintain steady smoke for deep flavor. Choose meaty St. Louis or baby back racks, keep the membrane intact, and avoid wrapping to preserve the bark. You’ll see how small tweaks in prep and heat control make all the difference.
Notable Insights
- Pat ribs dry before applying the rub to ensure proper adhesion and crust formation.
- Use a light mist of apple juice or mustard to help the brown sugar-paprika rub stick without clumping.
- Press the rub gently into the meat for even coverage and consistent caramelization during grilling.
- Maintain a 225–250°F two-zone grill to prevent sugar burn and develop a smoky, crisp bark.
- Choose St. Louis-style or baby back ribs with good marbling for optimal fat rendering and crust development.
Make the Brown Sugar-Paprika Dry Rub
While you’re prepping for a solid session on the grill, getting your dry rub right can make or break the outcome, especially with pork ribs, which rely heavily on seasoning to build flavor before smoke and heat do their work. You’ll want to mix brown sugar with smoked paprika for that essential smoky sweetness, deep enough to caramelize but not overwhelm. Add garlic powder, onion powder, salt, black pepper, and a pinch of cayenne to achieve proper spice balance-enough heat to wake up the palate but not mask the meat. The brown sugar aids in browning, while paprika lends color and earthiness. This blend sticks well, adheres evenly, and penetrates slightly during rest. It’s simple to scale and stores well. When applied correctly, it sets the stage for a richly layered bark, though the real magic happens later-once the heat takes over. For those using an air fryer, a similar balance of sweet and savory works well, as seen in top-rated dry rubs for air fryer chicken wings.
Apply the Rub for a Crispy Crust
Once you’ve mixed your dry rub, the next critical step is how you apply it-because proper technique guarantees every inch of the rib rack gets seasoned for a deep, crispy crust. Start by patting the ribs dry; moisture is key for rub adhesion. A light mist of apple juice or mustard slather helps the spices stick without causing sugar clumping. Use your fingers to press the rub gently but firmly into the meat, ensuring even coverage, especially along the bone ends and curved edges. Don’t skimp-build a thin, uniform layer that clings well, as this promotes consistent browning. Too thick, and the brown sugar burns; too thin, and you lose flavor depth. Proper application improves texture and maximizes crust development during grilling. You’ll notice better bark formation and richer flavor when rub adhesion is strong and sugar clumping is avoided. It’s not just seasoning-it’s structure. For long smoke sessions, choosing a balanced blend like those in top-rated smoker rubs can enhance bark development and flavor complexity.
Pick the Best Ribs for Grilling
Choosing the right cut sets the foundation for great ribs, and not all slabs are created equal. For your brown sugar-paprika rub to shine, rack selection is critical. You’ll want a full St. Louis-style or baby back rib-both handle dry rubs well and grill evenly. St. Louis cuts offer more uniform meat thickness, which means consistent cooking and better crust development. Look for racks with a meaty center and minimal bone exposure; this guarantees juiciness even over high heat. Avoid overly lean slabs-they’ll dry out fast. Instead, pick ribs with a balanced fat layer and pinkish-red meat, a sign of freshness. Good marbling supports flavor and moisture during grilling. Don’t ignore the membrane; leave it on to hold the slab together. A well-chosen rack responds better to seasoning and forms that perfect, caramelized crust you’re after. For party-sized portions, consider selecting racks from the top picks list to ensure both quality and quantity.
Set Up the Grill for Smoke and Caramelization
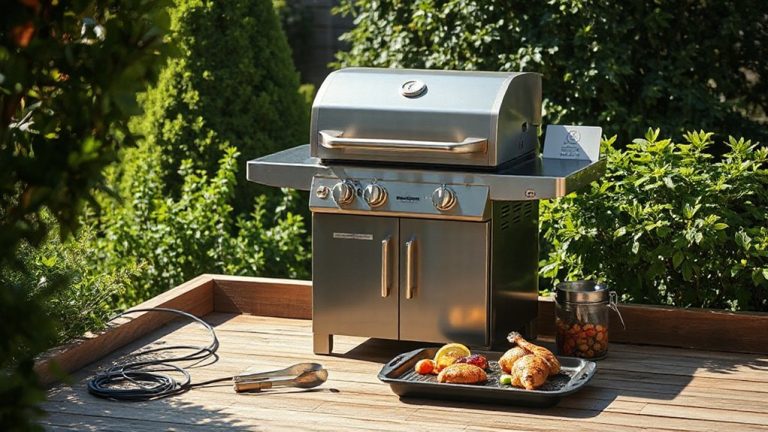
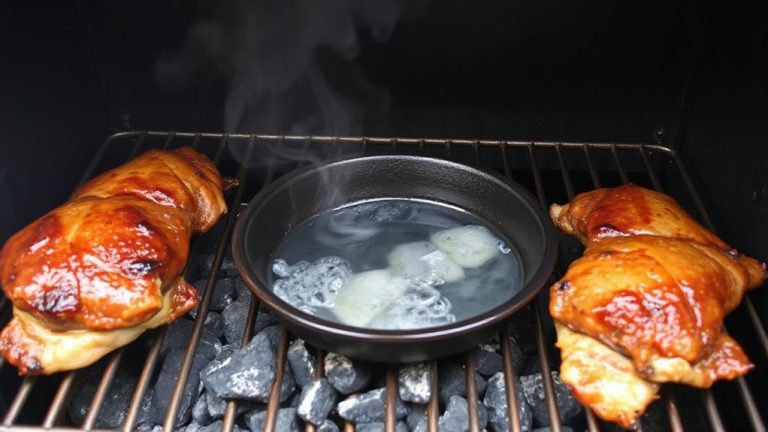
You’ll need a solid two-zone fire to nail both smoke flavor and caramelization on your ribs. Proper heat zones let you sear over direct heat while gently smoking over indirect, giving you control without sacrificing depth. Smoke management is key-use soaked wood chunks like hickory or apple, adding them early for steady, aromatic smoke without bitterness.
| Action | Purpose |
|---|---|
| Bank coals to one side | Creates distinct heat zones |
| Keep lid closed | Maintains smoke and temperature |
| Use a drip pan | Catches fat, prevents flare-ups |
| Monitor with a thermometer | Guarantees consistent smoke management |
Maintain 225–250°F on the indirect side, hotter on direct. This balance delivers flavor and crust, setting the stage for tender, juicy ribs without rushing the process.
Grill Ribs to Tender, Juicy Perfection
While the foundation of great ribs starts with a well-balanced dry rub and proper grill setup, achieving true tenderness hinges on consistent, controlled cooking. You don’t need ribs marinating in liquid for hours-dry rubs penetrate well when applied an hour or two ahead. What matters most is heat control. Maintain a steady 225°F to 250°F using indirect heat, whether on a charcoal or gas grill. This low-and-slow method breaks down collagen gradually, yielding juicy, pull-apart texture without drying out. Wrap the ribs halfway through if flare-ups occur, but monitor closely to preserve your crust. Internal temperature should reach about 190°F for ideal tenderness. Avoid frequent flipping or poking, which disrupts even cooking. With precise heat control and patience, your ribs develop deep flavor and succulence, proving that mastery lies not in complexity, but in disciplined execution.
Fix Common Dry Rub and Grilling Problems
Even with careful prep and steady heat, things can go sideways when applying a brown sugar–paprika dry rub or managing the grill. Dry rub clumping often happens if ribs are too cold or the rub contains moist spices-always pat ribs dry and sift your rub to prevent uneven coating. Clumps burn easily, ruining crust formation. For consistent results, apply the rub to room-temperature meat and press it in firmly. Uneven smoke absorption usually stems from inconsistent airflow or fuel placement. Maintain a clean smoker box and position ribs away from direct flames to avoid hot spots. Rotate them halfway through for balanced exposure. Using wood chunks instead of chips gives longer, steadier smoke, improving depth of flavor. Temperature swings disrupt both bark development and smoke adhesion, so monitor your grill closely. With minor tweaks, you’ll fix most issues and achieve that ideal balance of crisp crust, tender meat, and smoky richness every time.
On a final note
You’ve now mastered the balance of sweet and smoky with a brown sugar-paprika rub that caramelizes into a crisp crust. Grilling ribs successfully hinges on proper prep, consistent heat, and smoke control. This method delivers tender, flavorful meat with a professional-quality exterior. While minor flare-ups or dry spots can occur, attention to rack selection and grill setup greatly reduces risks. For reliable, delicious results every cookout, this technique stands among the most effective in backyard BBQ.