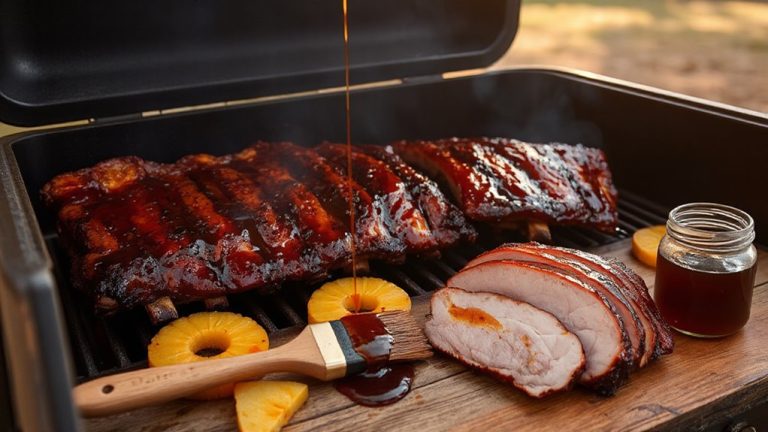
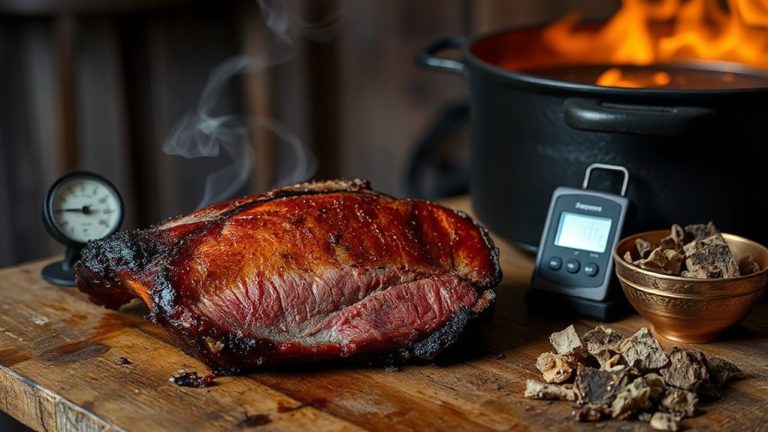
The Science Behind Proper Rub Application Techniques: From Brining to Smoking
You should start with salt-it draws out moisture, then pulls flavors deep into the meat while improving texture. Brining first helps, but pat the meat dry so the rub sticks. Sugar in your rub caramelizes around 320°F, adding color and complexity without burning if heat’s controlled. Apply dry rubs at least an hour ahead, preferably overnight, for better bark. Wet rubs cling faster and tenderize slightly. In the smoker, steady heat builds flavor layer by layer-discover how each step connects for maximum effect.
Notable Insights
- Salt in rubs draws out moisture, then reabsorbs it, carrying seasoning deeper and improving texture through protein stabilization.
- Brining enhances rub penetration but requires drying the surface to ensure adhesion and prevent steaming during cooking.
- Sugar caramelizes around 320°F, contributing to crust formation and aiding smoke adherence without burning when applied evenly.
- Applying rubs at least one hour before cooking allows flavor integration; overnight resting improves crust development, especially in large cuts.
- Dry rubs form a flavorful bark in low-and-slow smoking, while wet rubs offer quick adhesion and mild tenderizing for shorter cooks.
Why Salt Makes Better Rubs
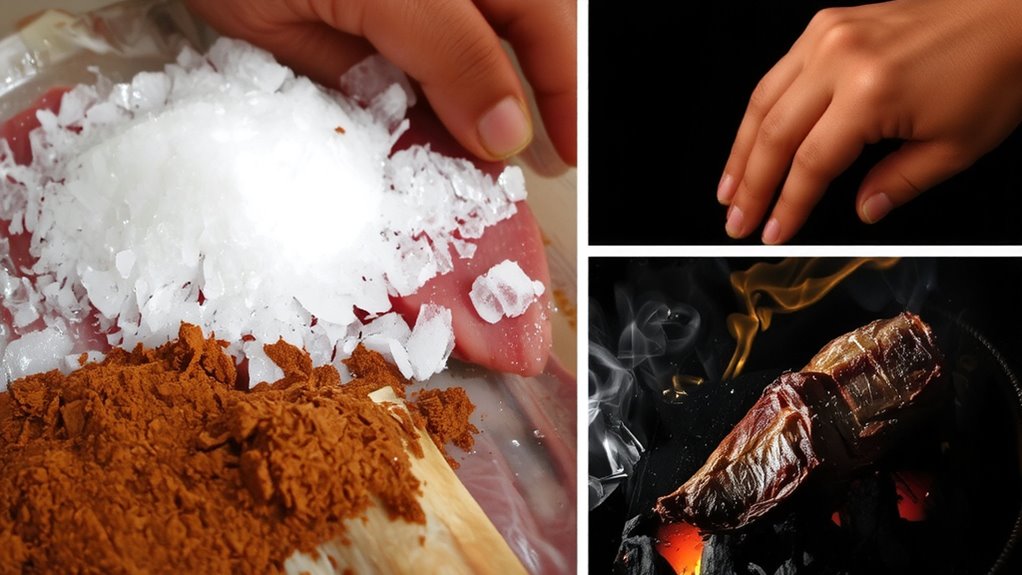
A well-balanced rub hinges on salt as the foundation, and you’ll find it does far more than just add flavor. Salt penetration begins immediately upon contact, drawing moisture to the surface and then reabsorbing it, carrying seasoning deeper into the meat. This process stabilizes proteins and improves texture over time. Without adequate salt, even the most complex rubs fall flat-lacking depth and cohesion. You’re not just seasoning; you’re building a flavor enhancement framework that amplifies every other ingredient. Coarse salts like kosher or sea salt adhere better and dissolve slowly, giving you more control. Too little salt? The rub won’t bind or penetrate effectively. Too much? It overwhelms. The key is balance-enough to enable moisture retention and taste development, but not so much that it masks the meat’s natural character. For consistent results, always measure rather than guess.
Should You Brine Before Applying a Rub?
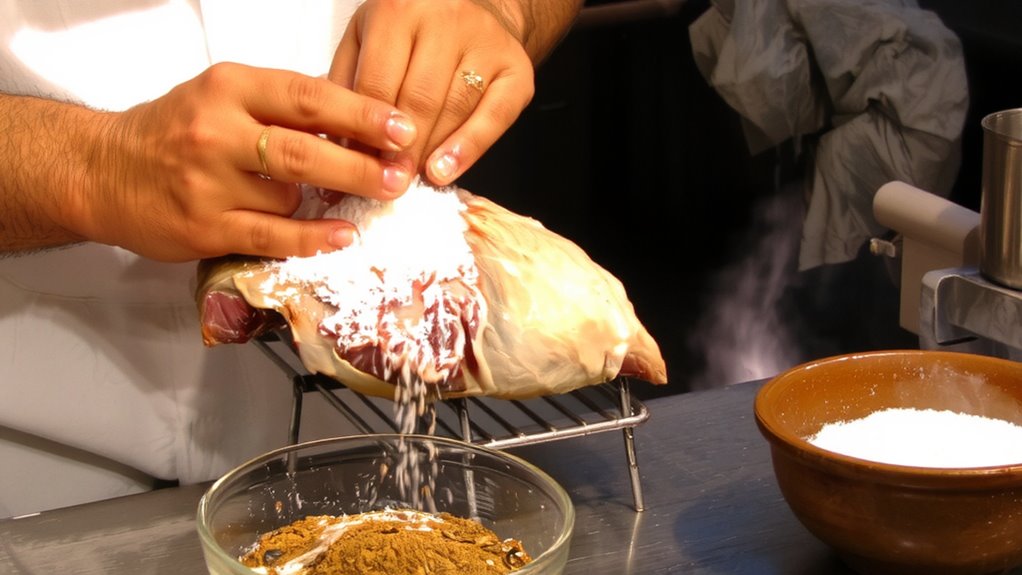
Your brining decision sets the stage for how well your rub performs, so it’s worth weighing the pros and cons before you begin. Brining adds moisture and seasons the meat internally, which can enhance flavor penetration and improve meat texture. However, if you brine too long-exceeding the ideal brine duration-your protein can become waterlogged and loose its firmness, negatively impacting texture and rub adhesion. For tougher cuts like brisket or pork shoulder, a short brine (12–24 hours) can be beneficial without going overboard. More delicate meats, like chicken or fish, need less time and often do just fine with a dry brine or no brine at all. If you do wet brine, always pat the meat dry before applying the rub to guarantee a proper crust forms during cooking.
How Sugar Caramelizes Without Burning
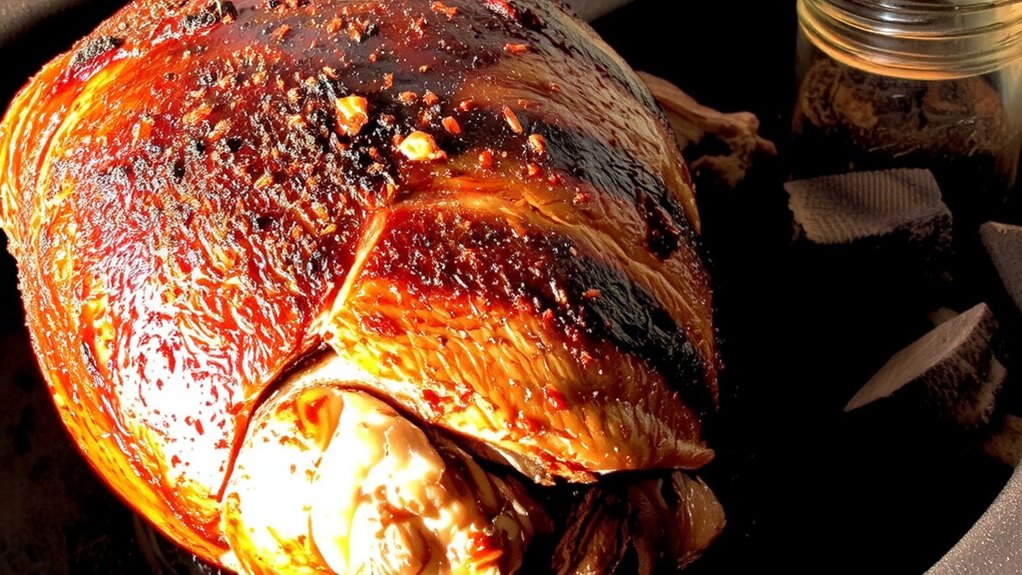
Getting the crust right on your brisket or pork shoulder means paying close attention to how sugars in your rub behave once they hit the heat, especially if you’ve brined and dried the surface properly. You want that sugar to caramelize, not burn, and the key lies in controlled, moderate heat. When sugar hits around 320°F, it melts and browns, adding depth and texture-critical for that desirable bark. But go too hot, and it scorches, turning bitter. This caramelization works alongside the Maillard reaction, where amino acids and sugars react under heat, building complex savory flavors. Together, they form a crust that enhances smoke penetration by creating a slightly textured, sticky surface. That texture helps smoke adhere and sink deeper into the meat. Apply sugar-containing rubs carefully-thin layers prevent clumping and burning. With steady temps and patience, you balance sweet, smoky, and savory without tipping into char.
When to Apply Rubs for Maximum Flavor
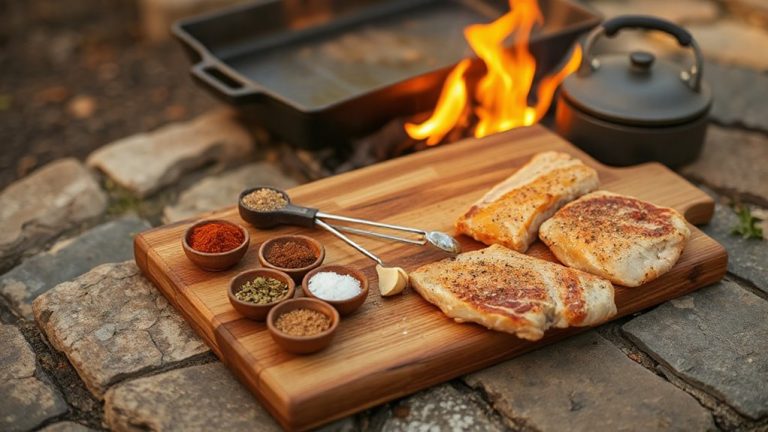
Though you might be tempted to slap the rub on right before cooking, letting it sit for at least an hour-preferably overnight-gives the seasonings time to bond with the meat’s surface, enhancing both flavor and crust development. Timing frequency matters: applying too early without proper storage risks moisture loss, while too late limits flavor penetration. For best results, use a dry application method, pressing the rub gently into the meat to guarantee even coverage and adhesion. This promotes consistent seasoning and helps form a robust bark during smoking. Larger cuts, like brisket or pork shoulder, benefit most from extended rest periods, while thinner meats need only a couple of hours. You’ll notice deeper, more integrated flavors when timing and application method align. Trust the process-patience here isn’t just encouraged, it’s essential for maximizing taste and texture in your final dish. For even greater depth of flavor, consider pairing your seasoning with one of the best roast beef rubs.
Dry Rub vs. Wet Rub: How They Bind to Meat
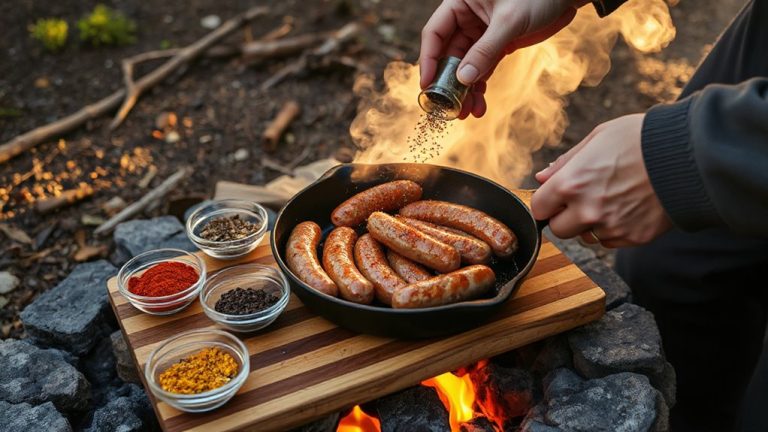
While both dry and wet rubs aim to enhance flavor and build a savory crust, they interact with meat in fundamentally different ways. You’ll notice dry rubs cling to the surface, drawing out moisture initially before forming a textured bark that preserves meat texture. This bark intensifies flavor but limits deep flavor penetration. Wet rubs-often a paste of oil, spices, and acids-stick more easily and begin breaking down surface fibers slightly, aiding shallow flavor penetration. Their moisture content slows dehydration but can soften the outer layer, altering the final meat texture. Though dry rubs typically create a more consistent crust, wet rubs offer quicker adhesion and subtle tenderizing effects. You’ll find dry versions better suited for long smokes, while wet rubs shine with quicker, high-heat sears. Choosing between them depends on your cooking method and desired balance between surface complexity and slight textural change. For best results, consider pairing your rub type with one of the best BBQ rubs recommended for specific meats and cooking styles.
How Heat Transforms Rubbed Meats in the Smoker
As the smoker ramps up and steady heat surrounds your rubbed meat, a series of essential transformations begin-each driven by temperature, time, and the interplay between your rub and the meat’s surface. You’ll notice the exterior drying slightly, creating ideal conditions for the Maillard reaction, where amino acids and sugars react to form that rich, savory crust prized in barbecue. This isn’t just flavor-it’s texture and color development at its most critical. Simultaneously, smoke penetration occurs gradually, with volatile phenols and carbonyls from the wood bonding to the meat’s surface, layering complexity. The rub acts as a flavor anchor, enhancing both processes without burning if applied correctly. Too much heat, though, and you risk charring instead of browning. Maintaining 225–250°F guarantees peak development-slow enough for deep smoke penetration, hot enough to trigger the Maillard reaction. Your patience here defines the final bite. Choosing the right best meat rubs for smoking ensures balanced flavor development and optimal crust formation throughout the cook.
On a final note
You’ve seen how salt enhances penetration and sugar aids caramelization, but timing matters just as much as technique. Applying rubs too early without brining can dry the surface, while improper heat control risks burning sugars. Dry rubs bond well with cured meat, whereas wet rubs add moisture but may inhibit bark formation. In the smoker, controlled low heat transforms rubs into a flavorful crust. For best results, balance science with practice-your brisket or ribs will reward the precision.