Purging Old Creosote Deposits Annually From Smoker Chimneys to Ensure Clean Burns
You should clean your smoker chimney annually to purge old creosote and guarantee clean, efficient burns. Regular use, especially with softwoods, demands more frequent attention to prevent dangerous buildup. A stiff chimney brush, proper safety gear, and top-down cleaning remove stubborn deposits effectively. Neglecting this task risks flare-ups and bitter, acrid flavors. Keeping vents clear boosts smoke quality and performance-there’s more to optimizing your smoker’s output and safety just ahead.
Notable Insights
- Clean smoker chimneys annually to remove creosote buildup and ensure safe, efficient burns.
- Use a properly sized chimney brush with stainless steel or brass bristles for effective cleaning.
- Inspect the chimney with a flashlight or borescope to assess creosote severity before cleaning.
- Always wear gloves, goggles, and a dust mask to protect against hazardous creosote particles.
- Clean from the top down to prevent soot and debris from contaminating the cooking chamber.
How Often to Clean Your Smoker Chimney
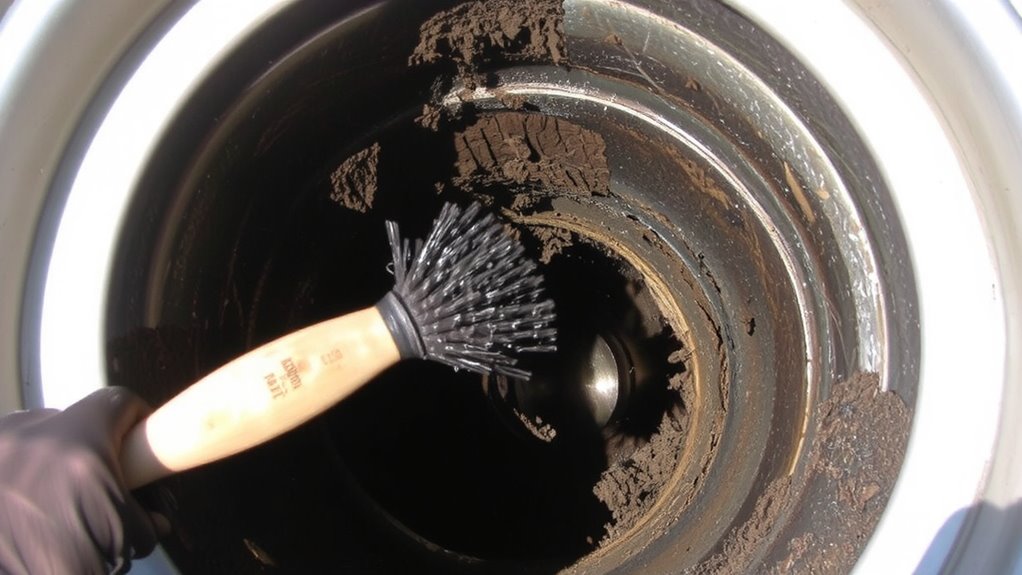
You’ll usually want to clean your smoker chimney every few months, though the exact frequency depends on how often you’re running fires and what type of wood you burn. If you smoke daily or use softwoods, creosote builds faster, so sticking to strict chimney inspection schedules is wise. Hardwoods like hickory or oak produce less residue, letting you stretch cleaning intervals slightly. For most users, aligning with seasonal maintenance timing makes sense-clean at the end of each grilling season and again mid-winter if you’re still cooking. Occasional users might get by with annual cleanings, but regular grillers risk smoke backflow and flare-ups without consistent upkeep. Monitoring buildup visually helps, but don’t wait until it’s thick. Proactive cleaning preserves flavor, efficiency, and safety. Think of it like tune-up intervals on equipment: neglect hurts performance.
Tools You Need to Remove Creosote
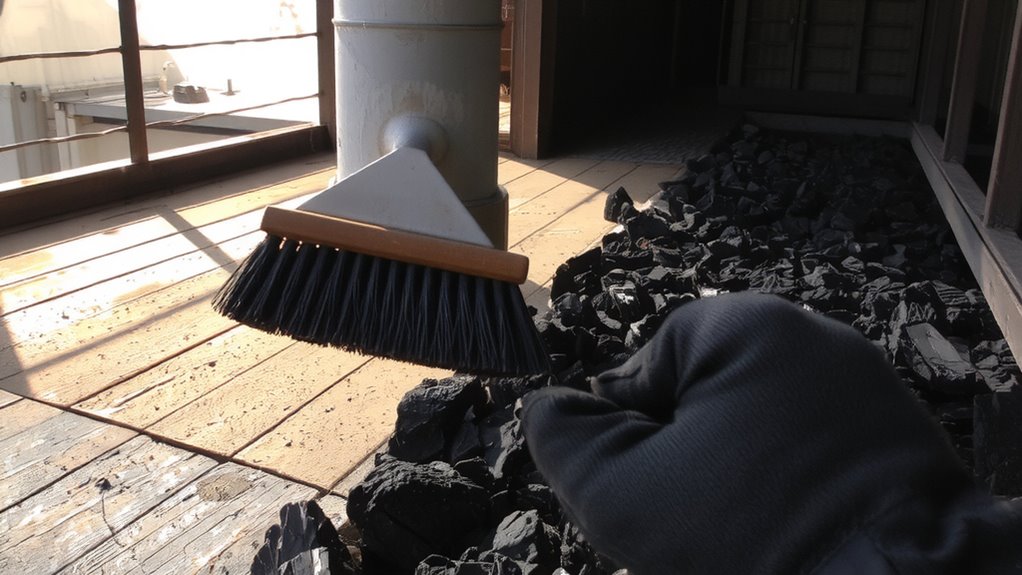
A well-equipped cleaning kit makes all the difference when tackling stubborn creosote, and having the right tools on hand guarantees the job’s done safely and thoroughly. You’ll need a sturdy chimney brush that matches your flue’s diameter-brass or stainless steel bristles work best for heavy buildup. Pair it with an extension rod to reach every section, especially in taller smoker chimneys. A creosote-removing cracker or rotary loop can help break down thick, glazed deposits. Don’t skip a flashlight or borescope for a proper chimney inspection-it lets you see deposits others miss. Safety gear like gloves, goggles, and a dust mask is non-negotiable since creosote particles are hazardous when inhaled. A drop cloth keeps your workspace clean. Investing in quality tools means faster cleanings and more consistent smoke quality. For best results, include a Top Meat Smoking Accessories set that’s designed specifically for deep cleaning and maintenance.
How to Remove Creosote (Step by Step)
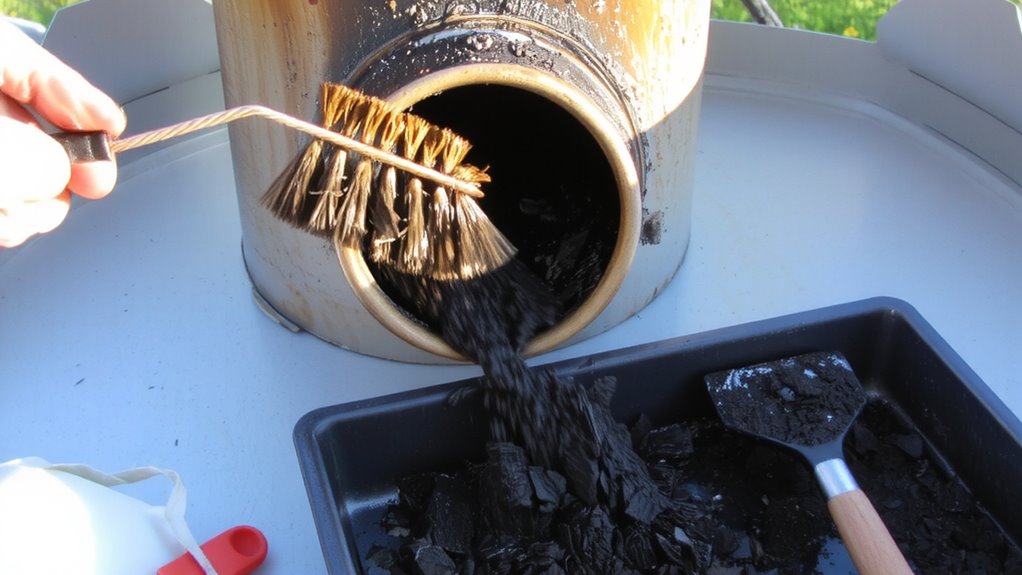
Typically, removing creosote from your smoker’s chimney begins with the smoker completely cooled-never attempt cleaning while components are warm, as residual heat can release toxic fumes or ignite loose deposits. Start by performing a chimney inspection to assess buildup severity; light residue may need only brushing, while flaky or tar-like layers require more thorough treatment. Wear gloves, eye protection, and a mask-these safety precautions prevent inhalation and skin contact with hazardous particles. Use a nylon or wire chimney brush fitted to your flue size, extending it from the top down in slow, deliberate strokes. Rotate the brush to guarantee full contact. For stubborn deposits, apply a creosote remover solution beforehand, letting it dwell as directed. After scrubbing, remove dislodged debris from the firebox and base. A final inspection confirms the flue’s clean, guaranteeing peak draft and safer, cleaner burns going forward.
Common Mistakes to Avoid When Cleaning
Skipping safety steps or rushing the cleaning process undermines chimney performance and long-term smoker reliability. You might be tempted to cut corners, but doing so risks both your safety and equipment integrity. Neglecting safety gear-like heat-resistant gloves, goggles, and masks-exposes you to harmful creosote particles and potential burns. Always gear up before starting. Using improper brush types compromises cleaning effectiveness; a wire brush meant for flue liners can damage softer metal chimneys, while a too-soft brush won’t dislodge stubborn buildup. Match your brush to your chimney’s material-stainless steel needs a sturdy nylon or brass option. You also risk spreading debris if you don’t work from the top down. Take your time, follow the right sequence, and maintain consistent pressure. Cleaning isn’t just about removing gunk-it’s about preserving the smoker’s efficiency and your own well-being. For optimal results, consider using one of the best grill brushes designed specifically for tough, baked-on residue.
What Clean Vents Do for Smoke Flavor
Why does your brisket sometimes carry a bitter edge despite perfect rub and ideal temps? It’s likely your vents aren’t clean. Clogged vents disrupt airflow, leading to poor smoke quality and uneven combustion. When smoke lingers or flows inconsistently, flavor consistency suffers-your meat absorbs harsh, stagnant smoke instead of clean, steady wisps. Clean vents promote proper draft, ensuring only fresh, thin smoke circulates. That’s where real BBQ magic happens. For added flavor control, consider using a high-quality smoker box to enhance smoke consistency without relying solely on wood chunks.
| Vent Condition | Smoke Flavor Result |
|---|---|
| Clean & clear | Clean, mild smoke |
| Slightly clogged | Slightly bitter |
| Moderately blocked | Inconsistent flavor |
| Fully obstructed | Acrid, unpleasant |
| Regularly maintained | High flavor consistency |
You’re in control-maintain those vents, and you’ll protect both smoke quality and flavor consistency every smoke.
Why Creosote Hurts Your Smoker
You’ve seen how clean vents keep smoke flavor balanced and your brisket tasting the way it should-without that sharp, bitter bite from poor airflow. Now envision creosote clogging those vents-sticky, tar-like deposits built up from incomplete combustion. That residue isn’t just unsightly; it promotes fire buildup, raising the risk of sudden, dangerous flare-ups. Worse, it leads to flavor contamination, imparting acrid, medicinal notes that ruin otherwise careful barbecue. Creosote forms when smoke cools too quickly in the chimney, especially during long, low burns. Over time, it restricts draft efficiency, forcing smoke back into the cooking chamber. You’re not just risking safety-you’re sabotaging taste. Annual cleaning prevents this. A well-maintained smoker runs cooler, cleaner, and more predictably. You get pure smoke, not chemical-laden vapors. In serious outdoor cooking, avoiding creosote isn’t optional-it’s essential for flavor integrity and operational control.
On a final note
You should purge old creosote annually to maintain clean burns and protect your smoker’s performance. Neglecting this invites fires and off-flavors. A clean chimney guarantees steady airflow, which means better temperature control and purer smoke flavor. Using the right tools-stiff brushes, gloves, and a vacuum-makes the job efficient. Regular maintenance isn’t just safety practice; it’s essential for consistent, high-quality BBQ. Skip it, and you risk both your equipment and your results.