A Step-by-Step Guide to Building Your Own Charcoal Grill Using DIY Techniques
Choose thick steel or cast iron scrap for better heat retention and durability, avoiding thin sheet metal that warps. Design a symmetrical frame with unobstructed airflow from bottom intake to top exhaust, then cut and weld steel tubing using basic tools for a sturdy build. Install an adjustable grate with multiple height settings for precise cooking control, and position vents to balance draft and temperature. Finish with high-heat paint and safety features like a spark screen-every detail sharpens performance and extends life, with more insights ready to go.
Notable Insights
- Choose thick steel or cast iron for the firebox to ensure durable heat retention and resistance to warping.
- Design a symmetrical body with proper airflow, aligning bottom intake and top exhaust vents for efficient combustion.
- Construct a sturdy frame using cut steel tubing or angle iron, ensuring right angles and welding joints for heat resistance.
- Install an adjustable cast iron or seasoned steel cooking grate with multiple height settings for precise heat control.
- Apply high-temperature paint and add safety features like a spark screen, insulated handle, and non-flammable base.
Pick the Best Scrap Metal for Your DIY Charcoal Grill
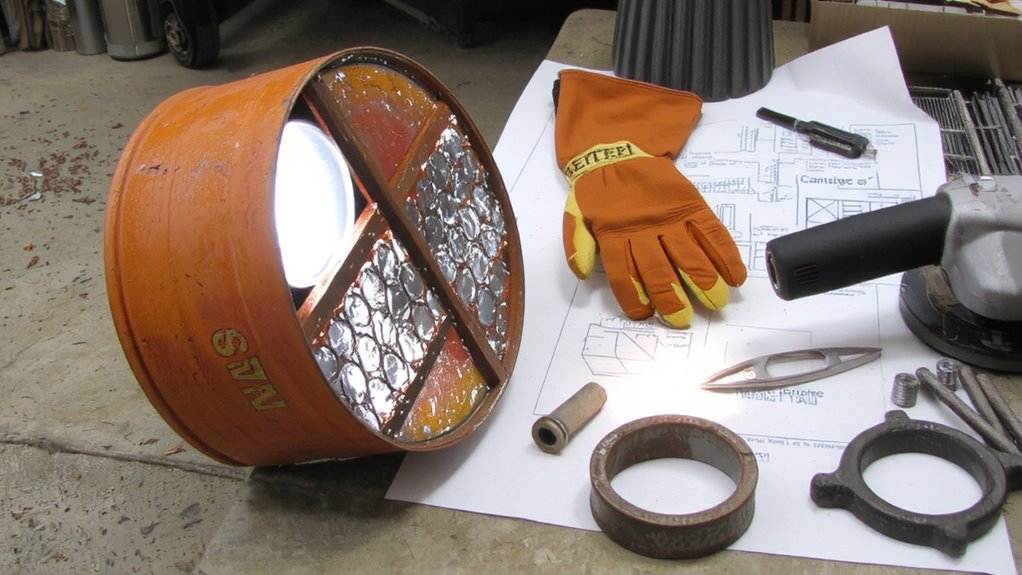
When it comes to building your own charcoal grill, the metal you choose shapes everything from heat retention to durability. You’ll want thick steel or cast iron for strong material durability, as these hold and radiate heat effectively during long cooks. Thin sheet metal heats quickly but warps over time, so it’s less reliable. For rust resistance, go with weather-resistant alloys or apply high-temperature paint-especially if you’re using reclaimed material. Mild steel is common and affordable, but it corrodes faster unless maintained. Stainless steel offers superior rust resistance and longevity, though it’s pricier and harder to weld. Your choice affects not only performance but also how often you’ll need repairs or replacements. A well-chosen metal supports consistent searing and even cooking, essential for great BBQ. Think long-term: investing in better material upfront saves hassle later.
Plan Your Grill’s Shape for Airflow and Access
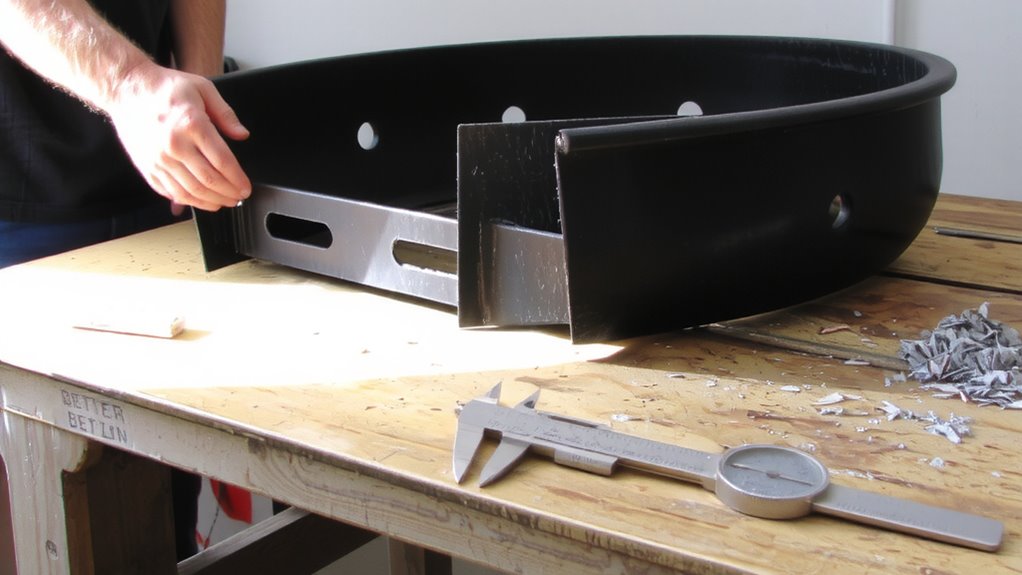
Though you might be tempted to prioritize aesthetics, shaping your grill with airflow and access in mind will have a far greater impact on cooking performance. Proper grill symmetry guarantees even heat distribution, preventing hot spots and allowing consistent cooking across the surface. You’ll want to design the body so air can move freely from intake near the charcoal to the exhaust at the top-this draft keeps temperatures stable. Pay close attention to opening alignment: both the firebox door and cooking chamber lid should open smoothly and line up precisely, minimizing smoke leaks and maximizing heat retention. Misaligned openings not only hinder access but disrupt airflow, making temperature control harder. A well-proportioned shape improves burning efficiency and makes loading charcoal or adjusting grates easier. Ultimately, function should lead form-your cooking results will clearly reflect that choice during every barbecue session.
Cut and Assemble the Frame With Basic Tools
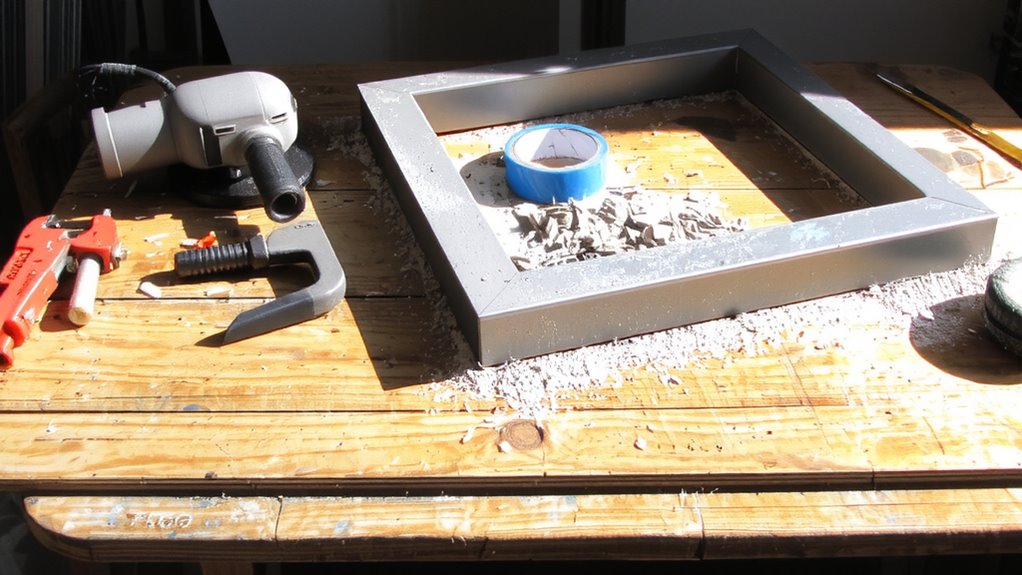
A sturdy frame sets the foundation for a reliable charcoal grill, and you can build one using little more than a tape measure, hacksaw, welder or bolts, and a square. Start by cutting steel tubing or angle iron to your planned dimensions, checking each piece with a square to guarantee clean right angles. If you’re welding, use consistent welding techniques to join corners securely-this boosts structural integrity and heat resistance. Bolts work fine for beginners, though they may loosen over time. Always file sharp edges after cutting; smooth joints matter for both safety and metal finishing. A clean grind and wire-brushed surface preps the frame for paint or high-temp coating, preventing rust. This isn’t just about looks-proper metal finishing extends your grill’s life, especially in damp climates. While fabrication takes patience, a well-built frame supports steady airflow, even cooking, and years of backyard use.
Install an Adjustable Cooking Grate
With the frame solidly built and smoothed for durability, you can now focus on what directly affects your cooking: the adjustable cooking grate. Proper grill stability starts here-this component must support weight and endure high heat without warping. Use sturdy grate materials like seasoned steel or cast iron, which retain heat well and offer even cooking. Position adjustable notches at three heights: high for searing, middle for grilling, and low for indirect heat. This flexibility gives you control, improving results across different foods and techniques. For optimal performance and longevity, consider pairing your DIY grate with one of the top-rated grill grates available on the market.
| Setting | Control Level | Emotional Payoff |
|---|---|---|
| High | Low heat | Gentle warmth for delicate foods |
| Mid | Medium | Confidence in browning |
| Low | High | Sizzling satisfaction |
| Custom | Full | Mastery over flame and flavor |
Place Vents for Better Airflow and Heat Control
Every well-designed charcoal grill depends on airflow to maintain consistent heat, and placing vents strategically is key to mastering temperature control. Your vent placement directly affects how oxygen reaches the coals, influencing both ignition speed and steady burn. Put intake vents near the bottom-this encourages proper draft, pulling air upward through the fuel. Exhaust vents should sit at the top to let smoke and hot air escape, creating a convection current. This setup guarantees an airflow balance, letting you fine-tune temperatures by adjusting open and closed positions. Too little airflow stalls combustion; too much cools the chamber or risks flare-ups. With correct vent placement, you gain responsive heat control for searing or slow smoking. Practical tests show grills with balanced venting heat faster, burn fuel more efficiently, and maintain target temps with fewer adjustments. It’s a small detail that makes a substantial difference in performance. The best charcoal grill smokers combine this airflow design with durable materials and precise engineering for optimal results.
Apply High-Temp Paint and Safety Upgrades
Since your grill’s structure and airflow are set, now’s the time to protect it with high-temp paint and essential safety upgrades-both practical moves that extend lifespan and improve performance. High-temp paint provides vital heat resistance, preventing rust and structural fatigue from repeated exposure to intense heat. You’ll want to apply at least two even coats, letting each dry fully. For fire safety, install a spark screen if grilling under cover or near flammables, and place your grill on a non-combustible surface. A sturdy handle wrap reduces burn risk during use. These upgrades aren’t just cosmetic-they directly affect durability and safe operation. Choosing the right materials can make your build as effective as the best charcoal grills on the market.
| Upgrade | Benefit |
|---|---|
| High-temp paint | Enhances heat resistance and corrosion protection |
| Spark screen | Improves fire safety in outdoor settings |
| Heat-resistant handle wrap | Prevents burns during operation |
| Level, non-flammable base | Guarantees stability and reduces fire risk |
Test and Tune Your DIY Charcoal Grill
Though your build looks solid on paper, you won’t really know how well it performs until you fire it up and see how it handles real grilling conditions-temperature control, heat distribution, and airflow response are all revealed only in practice. Start by using reliable grill thermometers to monitor the cooking surface and internal chamber; accurate readings help you adjust dampers and manage heat zones effectively. Test different fuel types, like lump charcoal and briquettes, to compare burn times, heat output, and flavor profiles. You’ll likely find lump heats faster but burns hotter, while briquettes offer steady, longer burns. Observe how airflow changes affect temperature stability-small tweaks matter. If hot spots emerge, adjust grate placement or fuel layout. Tuning your grill isn’t a one-time task-it’s ongoing refinement that enhances control, consistency, and ultimately, your barbecue’s quality.
On a final note
You’ve built a functional, durable charcoal grill using smart design and basic tools. Proper airflow, heat control, and material choice directly impact cooking performance. A well-placed vent system and adjustable grate give you precision over searing and slow-roasting. High-temp paint extends life by resisting rust. With routine cleaning and storage, your DIY grill delivers consistent results, matching store-bought models. It’s cost-effective, customizable, and built to last.