A Comprehensive Guide to Properly Setting Up an Infrared Gas Grill for Optimal Cooking Results
Pick a flat, stable spot with at least 10 feet from structures and good airflow-never enclose it. Connect a UL-listed gas hose, then check for leaks with soapy water, never flame. Inspect the ceramic or metal burner for cracks or misalignment, since even small flaws cause hot spots. Season grates with high-smoke-point oil to build a non-stick layer, then preheat 10–15 minutes with the lid closed. Test heat zones from searing (700–900°F) to indirect, and run a trial cook to gauge performance-adjustments now prevent frustration later, and there’s more to get right for consistent results.
Notable Insights
- Place the grill on a level, non-flammable surface with at least 10 feet clearance from structures and vegetation.
- Connect the gas line using a UL-listed hose and regulator, then perform a leak test with soapy water.
- Inspect the infrared burner, emitter, and ignition system for damage, misalignment, or corrosion before use.
- Season the grates with high-smoke-point oil to create a non-stick surface and improve food safety.
- Preheat the grill for 10–15 minutes with the lid closed to achieve optimal searing temperatures and thermal consistency.
Choose the Right Spot for Your Infrared Grill
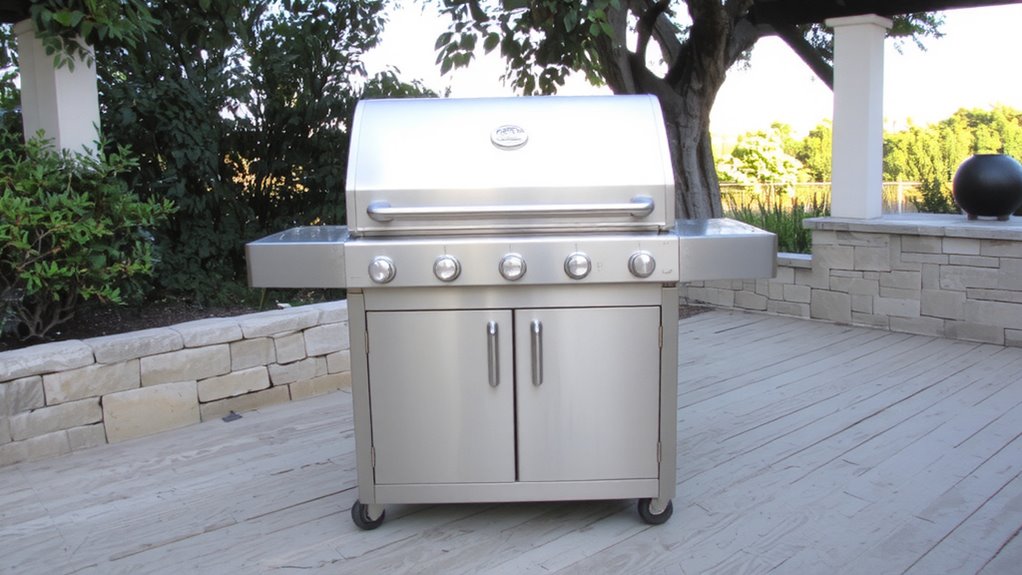
Where should you set up your infrared grill for the best performance and convenience? You’ll want a flat, non-flammable surface that guarantees solid grill stability-wobbling can damage components and affect heat distribution. Keep it at least 10 feet from structures, trees, or shrubs to reduce fire risks. Ventilation clearance is essential; manufacturers typically require 12 inches on all sides and 36 inches above to prevent heat and gas buildup. Avoid enclosing it in tight spaces like covered patios without proper airflow, as this compromises performance and safety. A level concrete or paver stone patio works best, resisting vibration and heat warping. While portability might tempt you to place it on wooden decks, verify the manufacturer’s clearance and stability guidelines first-many recommend using a fire-resistant mat. Proper placement directly affects cooking consistency, longevity, and safe operation.
Connect Your Gas Line Safely
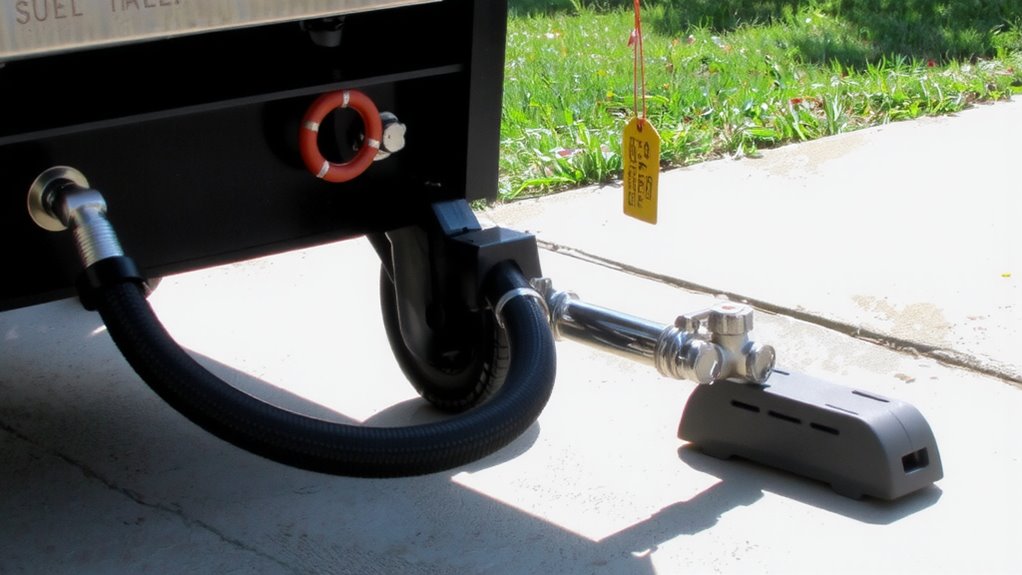
Once you’ve positioned your infrared grill correctly, connecting the gas line becomes the next critical step-do it right, and you’ll guarantee steady fuel flow, maximum heat output, and long-term safety. Always use a UL-listed hose and regulator designed specifically for propane or natural gas, depending on your setup. Proper gas pressure is essential; too high can damage components, too low leads to weak flames and uneven heating. After connecting, perform immediate leak detection: apply a soapy water solution to all joints and watch for bubbles. If you spot any, tighten fittings or replace damaged parts before igniting. Never use a flame to check for leaks-it’s dangerous and unnecessary. A secure, leak-free connection guarantees your system delivers consistent performance, protects your investment, and prevents hazardous buildup. Over time, periodic pressure checks and routine leak detection keep operation safe and efficient.
Inspect the Infrared Burner and Components
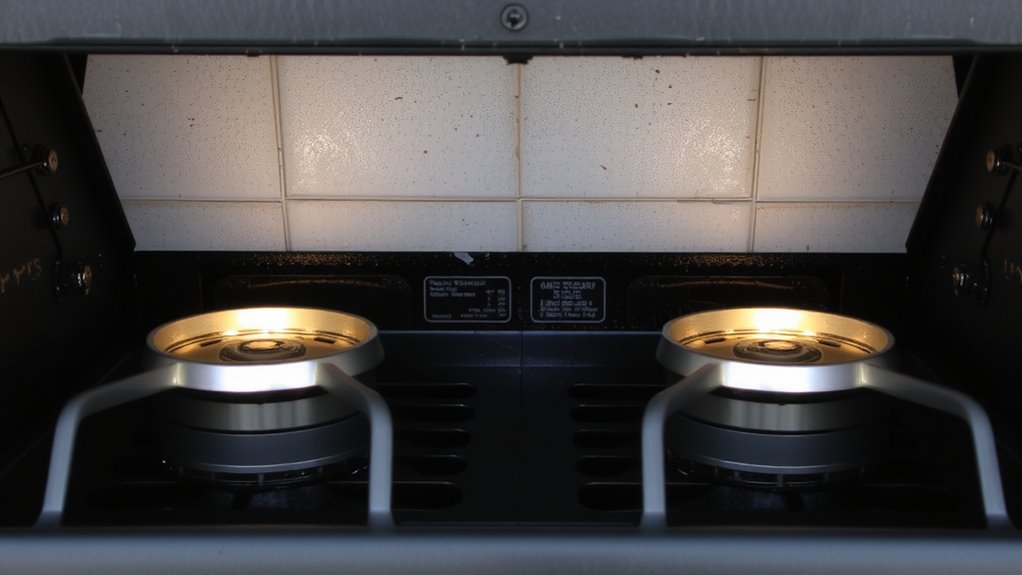
A quick look at your infrared burner tells you a lot about your grill’s performance potential-clean, undamaged ceramic or metal elements heat evenly and respond fast, while cracks or warping mess with efficiency and control. You should check for proper burner alignment, as even slight misplacement disrupts heat distribution and can create hot spots or flare-ups. Misaligned burners also strain the system, reducing component durability over time. Examine all parts closely: the emitter surface, support brackets, and ignition system. Look for corrosion, warping, or buildup that could interfere with operation. Ceramic tiles, common in many models, are efficient but brittle, so handle them carefully. Stainless steel variants offer better impact resistance and longer-lasting component durability. Proper burner alignment isn’t just about setup-it’s essential for consistent performance and safety. Regular inspection helps maintain peak efficiency, prevents unnecessary repairs, and extends the life of your grill. Don’t skip this step; it directly impacts how well your infrared grill performs every time you fire it up.
Season the Grates on Your Infrared Grill
Think of seasoning your grates as laying the foundation for every great sear you’ll pull off on your infrared grill-skip it, and you’re asking for stuck food, uneven cooking, and a shorter lifespan for your grill’s most critical surface. You’re not just preventing rust; you’re building a non-stick layer that improves over time with proper grill maintenance. Start by cleaning the grates thoroughly, then coat them with a high-smoke-point oil like canola or grapeseed. Heat them slowly to polymerize the oil, creating a natural barrier. This process isn’t just about performance-it supports food safety by reducing residue buildup that could harbor bacteria. Re-season periodically, especially after deep cleans, to keep the surface protected. Unlike conventional grills, infrared units run hotter, so a well-seasoned grate handles thermal stress better. It’s a small step with measurable impact on both cooking results and long-term durability. For best results, choose one of the top picks for grill oils known for their high smoke points and durability under intense heat.
Preheat for Maximum Searing Heat
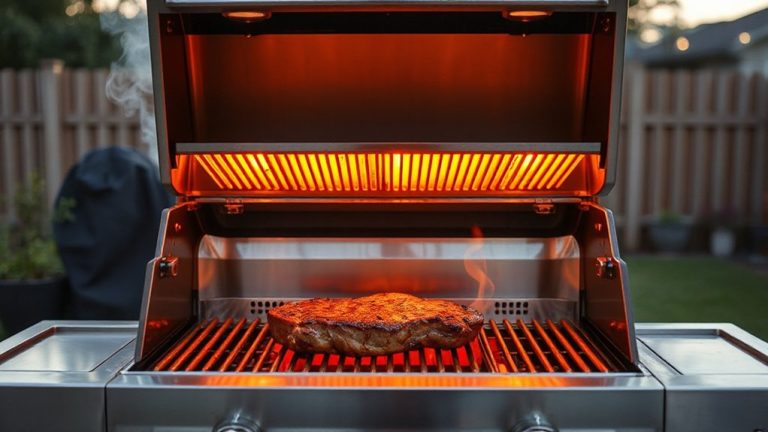
Because infrared grills transfer heat through radiant energy rather than convection, you’ll need to preheat longer than you might on a traditional grill-typically 10 to 15 minutes with the lid closed to guarantee the heating element and grates reach ideal temperature. This extended preheat ensures proper infrared calibration, allowing the burner to stabilize and deliver consistent, intense heat. Unlike conventional models, infrared grills excel in thermal retention, meaning they hold high temperatures efficiently once heated. That’s essential for achieving a tight sear without overcooking the interior. Skipping or shortening preheat time risks uneven results and diminishes the grill’s performance advantages. You’ll notice better browning, reduced sticking, and improved flavor development when you let the system fully ramp up. Proper preheating isn’t just routine-it’s foundational to accessing your grill’s searing power and maintaining long-term cooking precision.
Map Heat Zones on Your Infrared Grill
While your infrared grill delivers intense, concentrated heat, you’ll still need to map out distinct cooking zones to manage different food types and don’t want to rely solely on raw power. Proper heat distribution guarantees delicate items don’t burn while allowing steaks to se were effectively. Establish zones by adjusting burner settings or using deflector plates to create variation across the grilling surface for better control and flavor enhancement. Use this guide to identify zones based on temperature and function:
| Zone Type | Temperature Range (°F) |
|---|---|
| Sear Zone | 700–900 |
| Primary Cooking | 450–600 |
| Warm/Keep-Hot | 300–400 |
| Indirect Area 250–350 | |
| Cool Zone | <250 |
Mapping these areas improves precision, promotes even cooking, and supports techniques like resting or finishing sauces without flare-ups.
Run a Test Cook to Check Performance
Once you’ve mapped your heat zones, it’s time to verify that your infrared grill performs as expected under real cooking conditions, and a test cook is the most reliable way to do it. Set up for grill calibration by preheating fully-typically 10 to 15 minutes on high-then run a simple performance evaluation using steak or chicken breasts. Aim for even searing without hot spots or flare-ups. You’ll notice infrared grills deliver intense, direct heat, so monitor closely. If food chars too quickly or cooks unevenly, recheck burner alignment or reflector plates. This evaluation helps confirm efficiency, response time, and thermal consistency. A successful test cook means your setup supports both high-heat searing and controlled finishing. Don’t skip this step-grill calibration guarantees reliability for future BBQs. Proper performance evaluation now prevents frustration later, especially when entertaining or cooking delicate items. You’re not just testing hardware-you’re confirming readiness.
On a final note
You’ve set up your infrared grill correctly, and now it delivers intense, even heat perfect for searing steaks or cooking delicate seafood. Proper placement, gas safety, and seasoning guarantee longevity and performance. Infrared grills heat faster and maintain higher temperatures than conventional models, making them ideal for quick, efficient outdoor cooking. With mapped heat zones and routine checks, you maximize control and results. This method isn’t just effective-it’s a smarter, more precise way to barbecue.