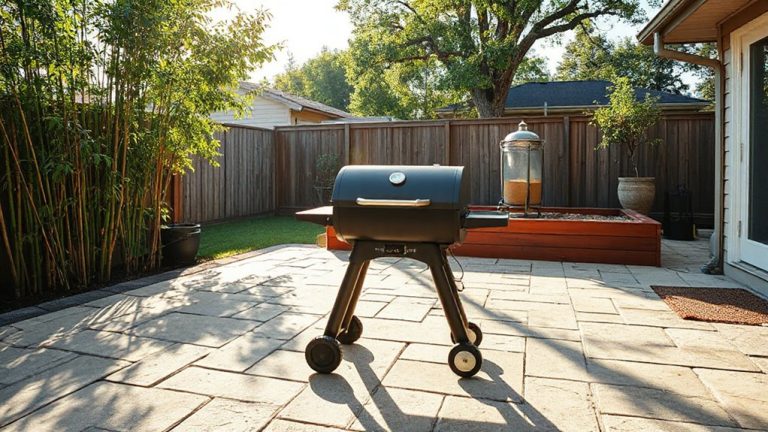
A Step-by-Step Guide to Assembling and Setting Up a New Charcoal Grill
Start by unboxing your grill and checking all parts against the manual, using the warranty for any defects. Assemble the base and attach legs securely, ensuring they’re level to prevent wobbling. Center the charcoal bowl and set the cooking grate evenly to promote consistent heat. Add side shelves, lighting, and the ash tray for functionality. Season grates with oil and run a 30–45 minute test burn to cure the grill and burn off residues-your first cook is closer than you think.
Notable Insights
- Unbox all components and check for completeness, damage, or defects using the manual and warranty.
- Assemble the base and securely attach legs, ensuring alignment and stability with a level surface.
- Place the charcoal bowl centered and level in the base, then install the cooking grate evenly above it.
- Mount side shelves, ash tray, damper, lighting, and cover hook to complete accessory installation.
- Season the grill by oiling grates and performing a 30–45 minute high-heat burn to cure the interior.
Unbox and Check All Charcoal Grill Parts
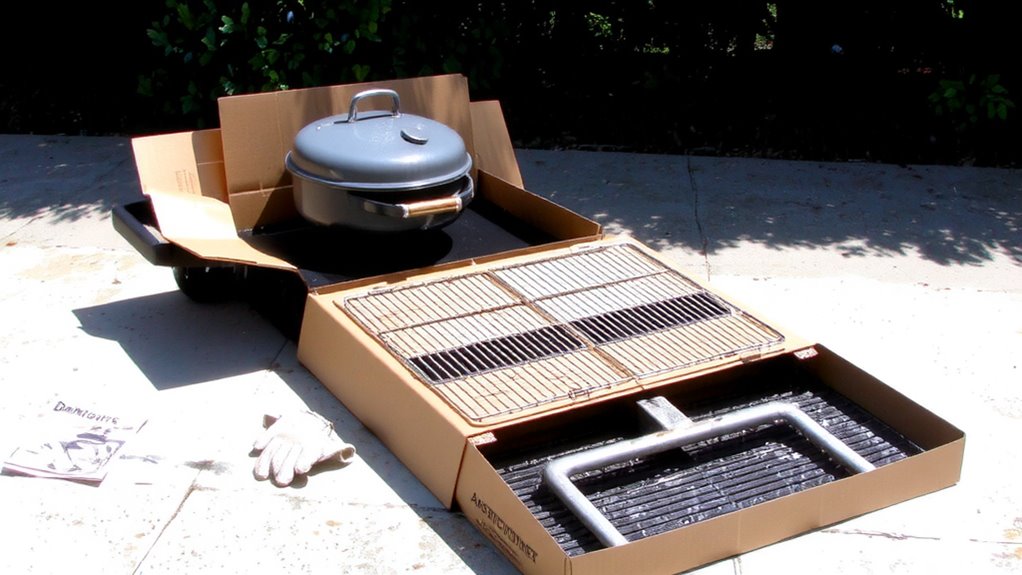
A charcoal grill’s performance starts long before the first flame-it begins with the box on your doorstep. You’ll want to inspect every part carefully once you unbox it. Check the manual against the pieces; missing hardware or warped components aren’t uncommon. This is where a solid grill warranty matters-many brands cover missing or defective parts, saving you time and hassle. If something’s off, don’t guess. Reach out to customer support right away; responsive teams can confirm part numbers and ship replacements quickly. A well-documented warranty also signals a company confident in its build quality. While sorting bolts and brackets, note how components fit together-clean edges and precise cuts suggest better manufacturing. Poor finishes might lead to rust or instability later. Ensuring everything’s present and correct now prevents frustration during assembly and improves long-term durability. Good prep here sets the foundation-for both your grill and your BBQ success. Choosing from the best charcoal grills can make this process smoother, as top-rated models often feature better build quality and customer support.
Build the Base and Attach the Legs
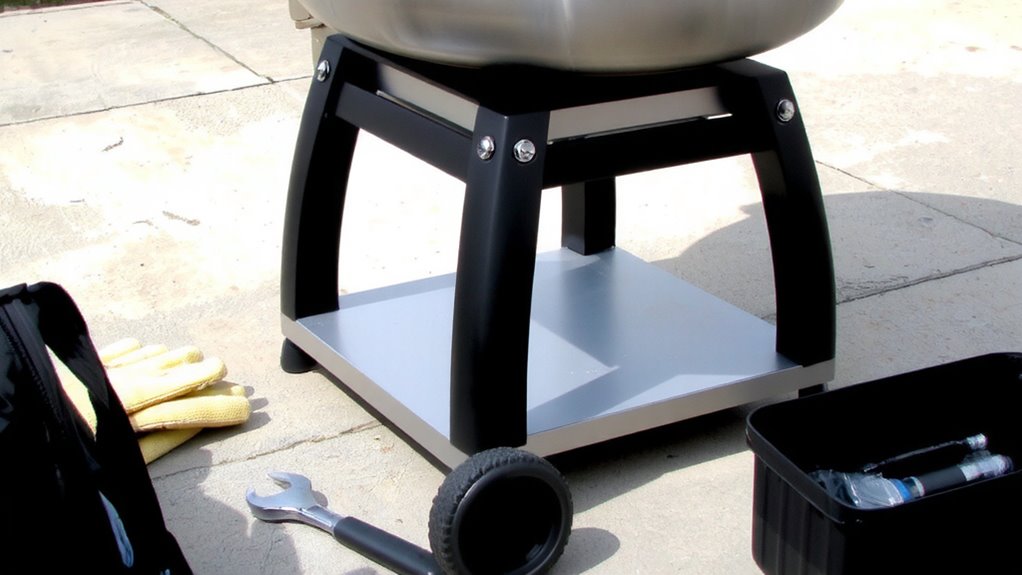
Now that all your grill parts are accounted for and sorted, it’s time to start constructing the foundation-literally. Begin by assembling the base frame according to the manual, ensuring all bolts are tightened securely. Proper leg alignment is essential here-misaligned legs can lead to uneven weight distribution and compromise grill stability on uneven ground. Most models use pre-drilled holes or brackets to guide you, making alignment straightforward. Once attached, check that each leg sits flush and bears equal pressure. A wobbly base isn’t just annoying-it can be unsafe when the grill is in use. For long-term durability, confirm all joints are tight and consider using a level to verify evenness. Good grill stability starts with a solid, well-assembled base because no amount of precise cooking matters if your setup feels shaky. Take your time; this step anchors everything that follows.
Set Up the Charcoal Bowl and Cooking Grate
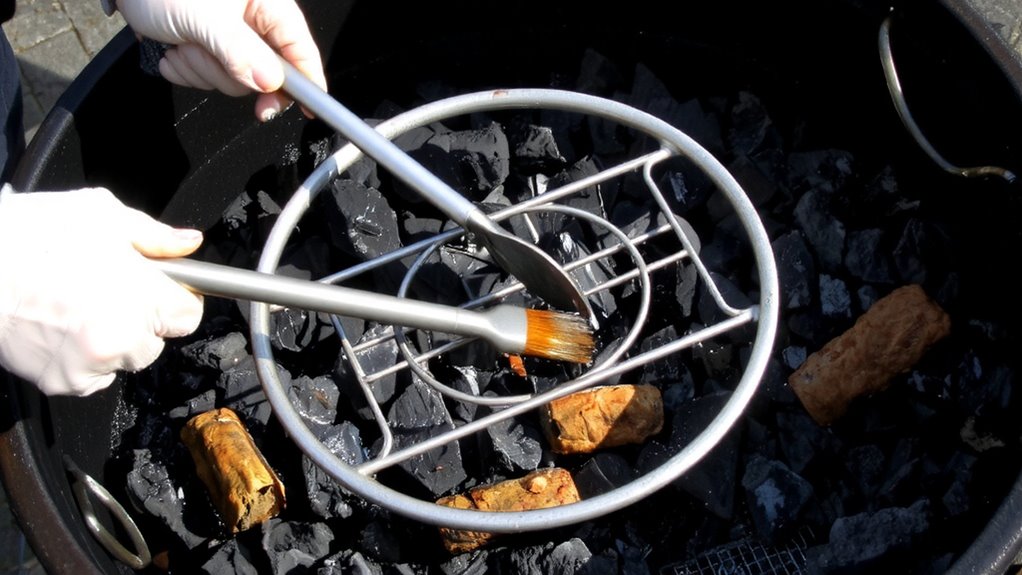
The charcoal bowl’s placement marks the heart of your grill’s heat management system, and getting it right sets the tone for consistent results every time you fire it up. You’ll want to center the bowl securely in the base, ensuring it sits level to promote even charcoal placement and steady airflow. Proper grate alignment is critical-position the cooking grate so it’s stable and evenly spaced above the bowl, allowing heat to circulate without hot spots. This setup supports both direct and indirect grilling techniques, giving you flexibility. A well-aligned grate also makes flipping and moving food safer and easier. Uneven positioning can lead to flare-ups or undercooked areas, undermining your control. Take a moment to check that all edges are seated correctly and that the grate doesn’t wobble. Doing this now prevents frustration later and enhances both cooking precision and cleanup. For optimal performance, consider models highlighted in the Best Charcoal Grills list to ensure durability and efficient heat distribution.
Add Side Shelves and Included Accessories
While the grill’s core components handle heat and cooking performance, attaching the side shelves and included accessories enhances both functionality and convenience during use. Side shelves give you space for tools and调料 while improving workflow. Many models include features like built-in grill lighting and adjustable heat control dampers, which greatly improve usability after dark and precision during long cooks. Always check your manual-some accessories integrate directly with these systems. Choosing the right model can make a significant difference, so consider reviews and recommendations when selecting your best charcoal grill smokers.
| Accessory | Purpose |
|---|---|
| Side shelf | Prep and tool placement |
| Grill lighting | Visibility in low light |
| Ash tray | Eases cleanup |
| Heat control damper | Regulates airflow and temperature |
| Cover hook | Secures cover when not in use |
These additions don’t just offer convenience-they support better technique, especially during extended grilling sessions.
Season the Grill and Run a Test Burn
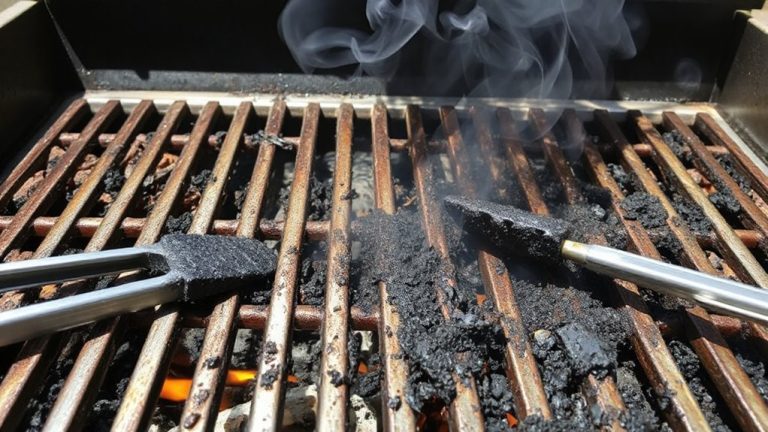
Once you’ve assembled all the components, it’s time to season the grill and run a test burn-two critical steps that prepare the cooking surfaces and verify the grill’s performance before the first real cook. Start with grill seasoning: coat the grates and interior with a high-smoke-point oil like canola or grapeseed to prevent rust and create a nonstick surface. Heat the grill on high for 30–45 minutes to burn off any manufacturing residues. This process, known as test burning, also confirms airflow function and heat retention. You’ll notice smoke at first-that’s normal as the oil polymerizes and the enamel cures. After cooling, wipe the grates gently. This routine enhances durability and performance, ensuring better searing and easier cleanup. Grill seasoning isn’t optional; it’s foundational. Test burning, meanwhile, gives you confidence the system works as intended. Both steps prolong your grill’s life and improve cooking results from day one.
On a final note
You’ve assembled your grill correctly, and now it’s ready for use. Proper setup guarantees even heat distribution and better control during cooking. Charcoal grills offer superior searing and smoky flavor compared to gas models, especially when maintained well. With the right technique, you’ll achieve restaurant-quality results. Regular cleaning and storage extend its lifespan, making it a worthwhile investment for serious outdoor cooking.