The Complete Guide to Cleaning Your Smoker After Each Use
Let your smoker cool below 100°F before cleaning to avoid warping and burns-thermal contraction helps lift residue. Empty the ash pan only when cold, using gloves and a metal container for safe disposal. Clean the drip tray regularly to prevent flare-ups, and scrub interior walls with a brass brush to remove grease that affects flavor and safety. Clean grates while warm, re-season them, and clear vents to maintain airflow; keeping components tidy guarantees reliable performance every time. You’ll find consistent results depend on these key steps.
Notable Insights
- Let the smoker cool completely below 100°F before cleaning to prevent burns and avoid thermal damage.
- Remove the ash pan only when the smoker is cold, using heat-resistant gloves and a lidded metal container for safe disposal.
- Empty and clean the drip tray regularly to prevent grease buildup and reduce the risk of dangerous flare-ups.
- Scrub interior walls with a brass-bristle brush and mild soapy water to remove grease and prevent off-flavors.
- Clean grates with a wire brush, soak for deep cleaning, re-season, and clear vents to maintain airflow and prevent blockages.
Let the Smoker Cool Completely
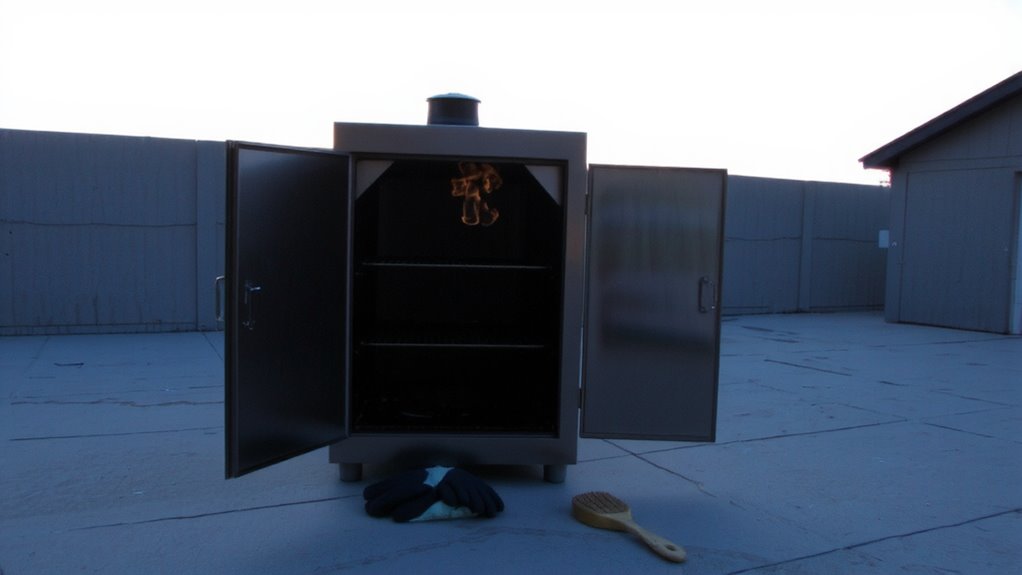
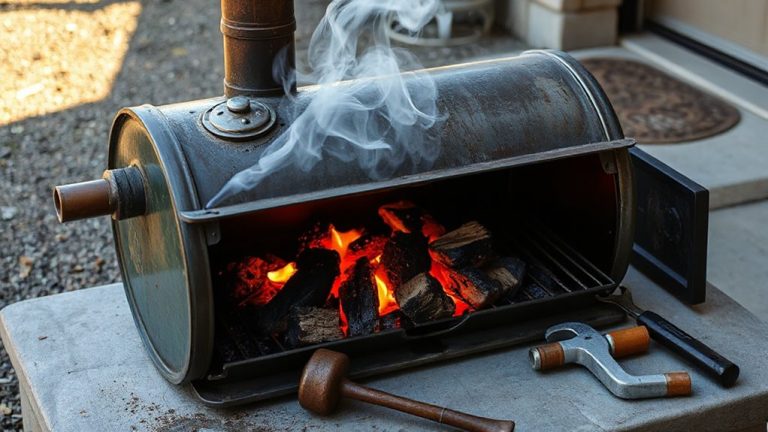
Once the lid’s closed and the cooking’s done, it’s a good idea to let your smoker cool completely before starting any cleanup. Rushing this step risks burns and can warp components, especially if water or cold air hits hot metal. As the smoker cools, hardened smoke residue becomes easier to identify and remove, particularly on grates and interior walls. The cooling rack, often overlooked, should also be inspected-grease and tar buildup there can ignite during future use if not addressed. Letting the unit cool guarantees safer handling and more effective cleaning. It’s not just about comfort; it’s about function. Thermal contraction after cooling helps loosen stubborn deposits, making scrubbing less labor-intensive. Most manufacturers recommend waiting until the smoker is below 100°F. Patience here sets the foundation for longevity and consistent performance, keeping your smoker in top shape for the next cook.
Empty the Ash Pan Safely
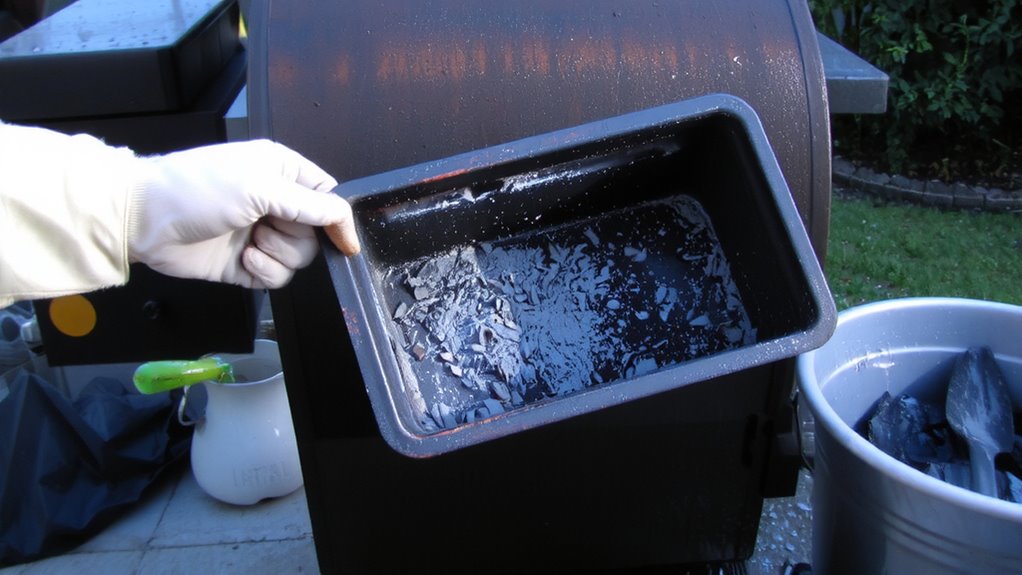
Your smoker’s ash pan plays a critical role in maintaining clean combustion and reducing flare-ups, so clearing it after each cook keeps things running efficiently. Never ignore ash disposal-even cooled ashes can reignite, posing serious fire hazards if not handled properly. Always wait until the smoker’s completely cool, then remove the pan slowly to avoid stirring up fine particles. Use a metal container with a lid for disposal, and skip plastic bins or paper bags. Below are best practices for safe ash management:
| Step | Action |
|---|---|
| 1 | Confirm smoker is cold |
| 2 | Wear heat-resistant gloves |
| 3 | Remove ash pan slowly |
| 4 | Transfer ashes to metal container |
| 游戏副本 | Store container away from combustibles |
Proper ash disposal isn’t just clean-it’s a vital safety habit.
Clean the Drip Tray to Prevent Flare-Ups
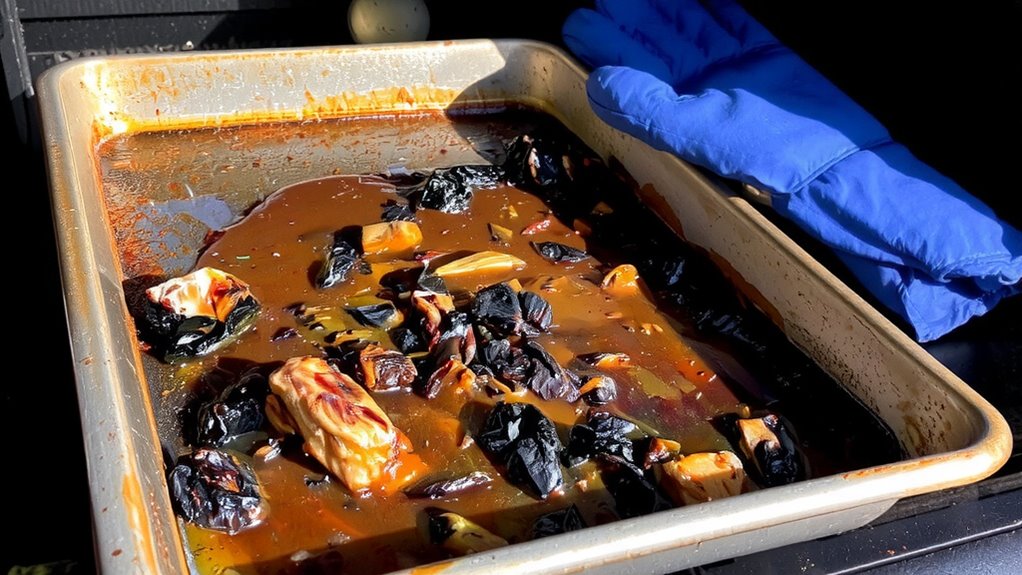
After handling the ash pan with care, it’s smart to turn attention to another key component that affects both safety and performance-the drip tray. Grease and leftover debris accumulate here after every cook, creating a serious fire hazard if ignored. Performing a thorough drip tray inspection guarantees built-up fats and food particles don’t ignite during your next session. A clogged tray restricts proper drainage, increasing the risk of flare ups that can ruin your food and damage the smoker. Most manufacturers design drip trays for easy removal, making cleaning straightforward. Slide it out, scrape off the residue, and wash it with warm, soapy water. For tougher buildup, a degreaser helps. Regular maintenance not only supports effective flare up prevention but also extends your smoker’s lifespan. Don’t skip this step-consistency here keeps your BBQ safe, clean, and ready for peak performance. A high-quality BBQ grill cleaner can make removing stubborn grease far more effective.
Scrub Grease From Interior Walls
While grease buildup on the interior walls might seem harmless at first, letting it accumulate can compromise both flavor and safety over time. That stubborn interior residue traps smoke particles and old fats, which can reabsorb into future dishes, creating off-flavors and inconsistent results. More critically, excessive grease buildup becomes a fire hazard, especially during high-heat sessions. After the smoker cools, use a stiff brass-bristle brush or a non-abrasive scrub pad to loosen charred deposits-avoid steel wool, as it can damage enamel or leave behind particles that rust. For stubborn spots, a mix of warm water and mild dish soap applied with a sponge helps break down residue without harming surfaces. Wipe thoroughly with a damp cloth afterward to remove any cleaning agent. Regularly addressing interior residue isn’t just about cleanliness; it’s essential for peak performance, flavor purity, and long-term appliance safety.
Clean Smoker Grates for Better Flavor
Consistency in smoke flavor begins with attention to detail, and few areas demand it more than the grates of your smoker. Grate maintenance isn’t just about cleanliness-it directly impacts flavor preservation. Residue buildup from grease, char, and old seasoning interferes with heat distribution and introduces off-notes to your food. You’ll notice bitter undertones in meats if grates aren’t cleaned properly after each use. A stiff wire brush works best while the grates are still warm, dislodging carbonized material without damaging the metal. For deep cleaning, remove the grates and soak them in a vinegar-and-baking-soda solution to lift stubborn gunk. Re-season with a thin coat of high-smoke-point oil afterward. This routine guarantees even cooking and prevents cross-contamination between flavors. Neglecting this step risks tainting your next cook, no matter how well you manage temperature or wood choice. Grate maintenance is a small effort with significant returns in taste and performance. Choosing the right replacement when needed can make a big difference-consider durable options like cast iron grates for superior heat retention and flavor enhancement.
Clear Ash From Vents and Smokestack
Why does your smoker sometimes struggle to maintain proper airflow, even when the fire seems strong? Chances are, ash buildup is clogging the vents or smokestack. Proper airflow optimization starts with clearing these pathways after every cook. Ash blocks airflow, reduces combustion efficiency, and can cause temperature swings. Use a wire brush or ash tool to clean out the lower vents-don’t just knock loose debris, fully clear the openings. Then, check the smokestack: a blocked chimney restricts exhaust, suffocating the fire. Perform a quick chimney inspection by peering through the top or using a flashlight to spot obstructions. Over time, creosote and debris accumulate, increasing fire risk and reducing smoke exit efficiency. Regular clearing guarantees consistent draw and stable heat. It’s a small step with major impact on your smoker’s performance. Skip it, and you’ll notice sluggish burns and uneven results. Maintaining clean airflow is just as crucial when using outdoor pizza ovens for achieving optimal cooking results.
Wipe and Inspect the Exterior
A clean exterior isn’t just about appearances-it’s a key part of smoker maintenance that helps you catch issues before they derail your next cook. After each use, grab a damp microfiber cloth and wipe down the entire outer surface to preserve that exterior shine and prevent grease or residue buildup. Pay close attention to handles, hinges, and control panels-these high-touch areas often hide grime and early signs of wear. Make this part of your regular inspection routine: check for rust spots, loose fasteners, or warped metal that could compromise performance. Stainless steel holds up well but still benefits from consistent care, while painted surfaces may chip over time if neglected. Catches early corrosion or insulation gaps now, and you’ll avoid bigger problems later. This simple step guarantees durability, maintains heat efficiency, and keeps your smoker looking as solid as it performs.
On a final note
You’ve maintained your smoker properly-cooling it fully, clearing ash and grease, and scrubbing grates to preserve flavor. Regular cleaning prevents flare-ups, guarantees even heat distribution, and extends equipment life. A well-kept smoker performs reliably, delivering consistent results over time. Neglecting upkeep risks rust, blockages, and off-tasting food. This simple routine supports better BBQ, protecting your investment and enhancing each cook. Good maintenance isn’t just care-it’s part of the craft.