Creating a Balanced Heat Zone by Arranging Coals Around the Dutch Oven Rim
You get even cooking by placing coals around the Dutch oven rim to create radiant top heat, just like an outdoor oven. Spread them evenly-one per inch of diameter-so heat circulates without scorching. Pair that with coals beneath the base for full coverage, and rotate the lid midway to fix any hot spots. This setup keeps temperatures stable, especially when you adjust for wind or terrain. Proper coal placement isn’t just effective-it’s essential for consistent results every time you cook. You’ll see how small tweaks transform your outcomes.
Notable Insights
- Place coals evenly around the Dutch oven lid rim to create uniform top heat and prevent scorching.
- Use one coal per inch of oven diameter on the lid for balanced radiant heat distribution.
- Avoid clustering coals on the rim, as uneven placement causes hot spots and inconsistent browning.
- Rotate the lid 180° halfway through cooking to correct uneven heat exposure and improve results.
- Maintain steady airflow and use flat, stable ground to support consistent coal combustion and heat retention.
Position Coals Under Your Dutch Oven for Even Heat
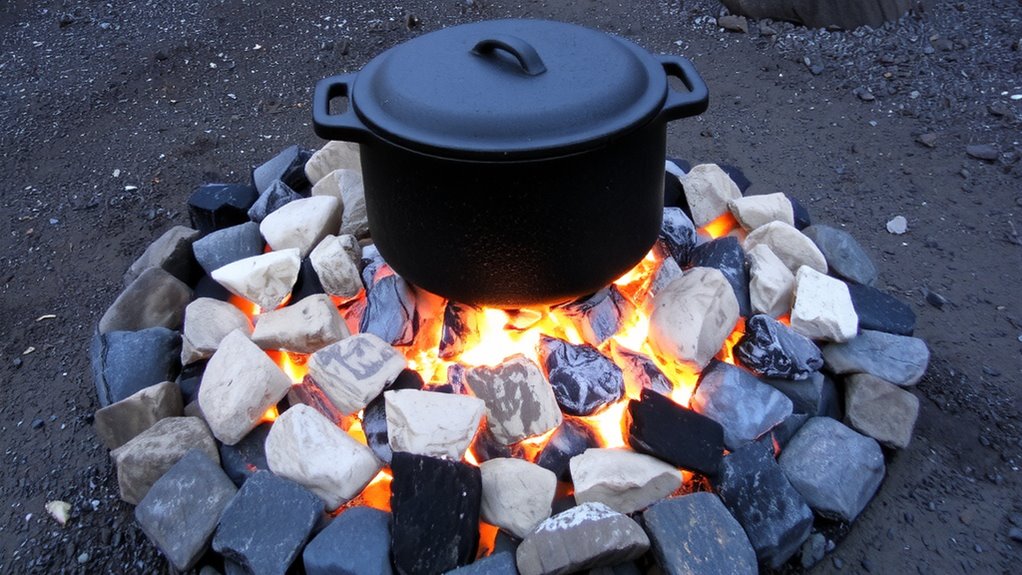
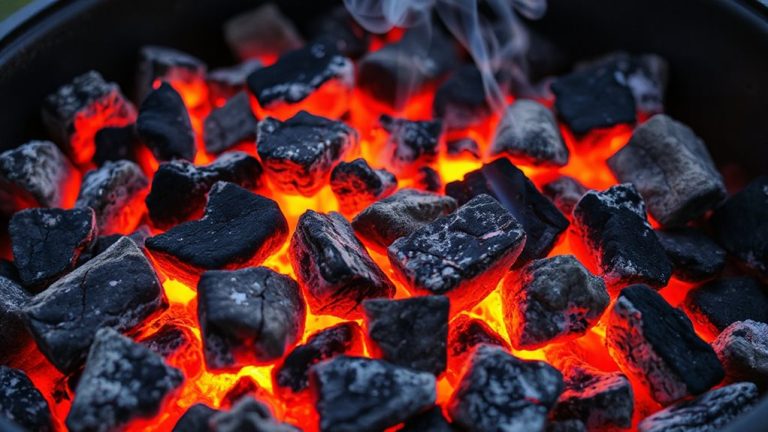
While heat control is critical for successful Dutch oven cooking, positioning coals underneath the pot is one of the most effective ways to guarantee even heating across the base. You’ll want to focus on proper coal distribution-spacing lit coals evenly in a single layer beneath the oven ensures consistent contact with the bottom surface. Too few coals lead to cold spots; too many cause scorching. A well-balanced setup promotes steady heat reflection off the cast iron, enhancing thermal efficiency. You’re not just heating food-you’re managing a responsive cooking surface that amplifies even minor adjustments. This method works especially well on flat, stable ground where airflow remains unrestricted. Observing how the oven responds within the first 10–15 minutes helps you fine-tune placement. For most dishes, from stews to cornbread, consistent bottom heat is essential. Mastering this foundational technique gives you control, predictability, and better results every time you cook outdoors.
Add Coals to the Lid Rim for Balanced Top Heat
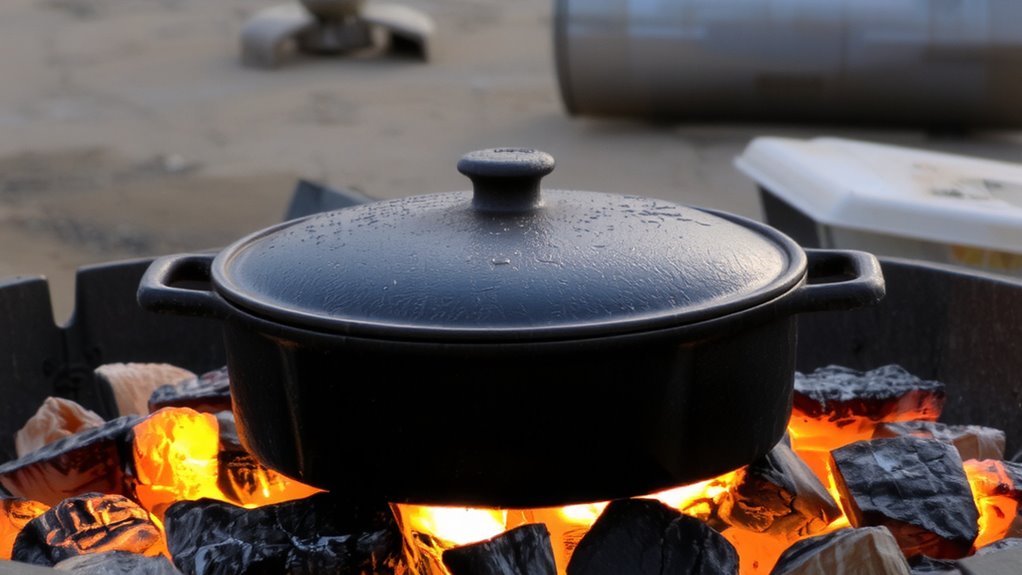
Once you’ve got the base heat under control, it’s time to think about the top-adding coals to the lid rim is key for achieving balanced, all-around heat when cooking with a Dutch oven. Proper lid placement guarantees that radiant heat is distributed evenly, preventing hot spots and undercooked areas. The coals on the rim enhance heat reflection downward, mimicking an oven’s broiler and trapping warmth efficiently. This method improves cooking consistency, especially for dishes needing browning or crust development.
| Coal Position | Effect on Cooking |
|---|---|
| Lid rim only | Moderate top heat, good for simmering |
| Evenly spaced | Uniform browning, balanced warmth |
| Clustered | Risk of scorching, uneven results |
| None | Poor heat reflection, underdone tops |
Strategic lid placement with rim coals gives you superior control-don’t overlook this critical step.
Use the Right Number of Coals for Your Oven Size
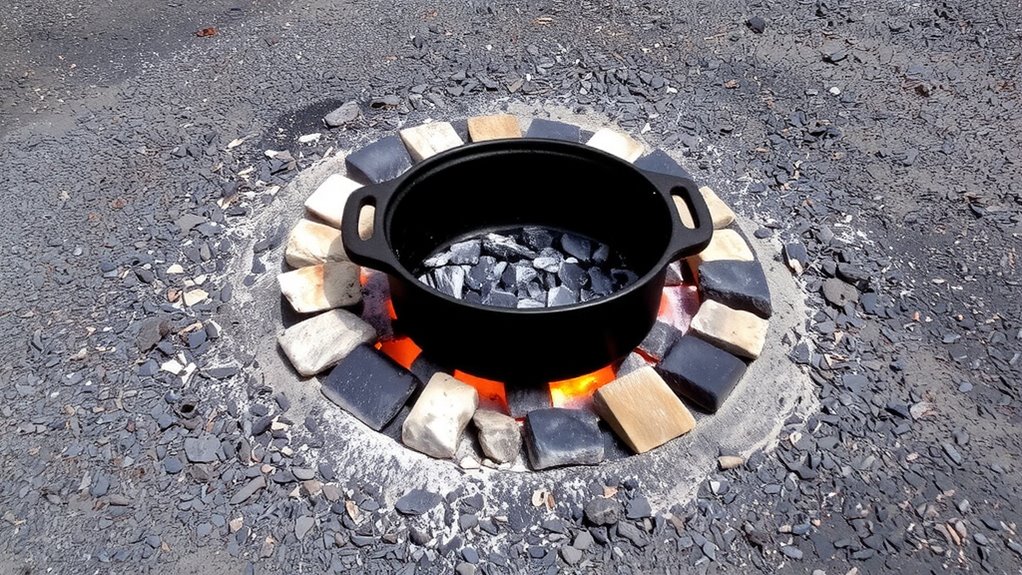
Getting the coal count right starts with knowing your Dutch oven’s diameter-using too few coals means sluggish heat, while too many can torch your meal. The ideal coal quantity depends directly on your oven diameter: a common rule is one coal per inch for the lid and base. So, for a 12-inch oven, you’d use 12 coals on top and 6 underneath. This ratio maintains steady, enveloping heat without scorching. Experienced camp cooks find this method reliable across most recipes, from stews to cobblers. While wind or cold may require slight adjustments, starting with this standard gives consistent results. Ignoring your oven diameter leads to uneven cooking, no matter how well you arrange coals. Mastering coal quantity isn’t guesswork-it’s foundational. Proper balance guarantees food cooks evenly, retains moisture, and develops rich flavor. It’s the difference between a well-browned roast and a charred disappointment.
Fix Hot Spots: Why One Side Burns and How to Stop It
Heat inconsistencies in Dutch oven cooking often trace back to hot spots-uneven areas of intense heat that cause one side of your food to burn while the other undercooks. These usually stem from poor coal distribution or wind exposure. You can fix this by checking how coals sit around the rim and adjusting for balance. Proper coal distribution guarantees even radiant heat, while heat shielding-like repositioning your oven or using a wind guard-minimizes external disruption. Rotate the oven lid occasionally to equalize heat exposure from above.
| Issue | Cause | Solution |
|---|---|---|
| One side burnt | Uneven coal placement | Adjust coal distribution |
| Browning on edge | Wind pushing heat | Use heat shielding |
| Crispy corner | Coal clumping | Spread coals evenly |
| Streaky crust | Lid not rotated | Turn lid 180° midway |
| Splotchy bake | Damaged oven base | Inspect for warping |
Maintain Steady Heat With Mid-Cook Coal Adjustments
You’ve balanced your coals and shielded the oven from wind, but temperature control doesn’t end at setup-keeping a steady baking environment means staying active after the lid goes on. Heat monitoring every 15 to 20 minutes helps catch fluctuations before they ruin your meal. If the top browns too fast, reduce lid coals; if cooking lags, add a few more to the pile. Don’t just watch-adjust. Coal rotation prevents dead zones by replacing spent coals with active ones, maintaining consistent output. This isn’t babysitting-it’s smart management. Experienced camp chefs know that even a well-set layout fades as coals cool. Swapping out outer coals with fresh ones from your charcoal bed preserves the heat ring’s integrity. You’re not restarting; you’re revitalizing the system. With steady heat monitoring and timely coal rotation, your Dutch oven delivers reliable results, whether baking cornbread or stewing ribs. Attention to detail separates good cooks from great ones. For optimal performance, consider using high-quality charcoal deals that ensure longer burn times and consistent heat output.
Dutch Oven Pro Tip: Rotate for Perfectly Even Cooking
A simple yet often overlooked technique can make the difference between uneven, spotty results and evenly cooked, restaurant-quality meals: rotating your Dutch oven. You’ve arranged your coal distribution carefully-coals spaced evenly around the rim, top and bottom-but without heat rotation, that effort can be wasted. Hot spots develop, especially in windy conditions or over uneven ground, leading to scorched edges and underdone centers. By turning your Dutch oven 180 degrees every 20 to 30 minutes, you compensate for inconsistencies in your fire’s shape and airflow. This small action guarantees each section of your dish receives equal exposure, improving browning and texture. Experienced camp chefs swear by this method, noting how it enhances consistency, particularly during long simmers or baking. Combined with proper coal distribution, regular heat rotation isn’t just helpful-it’s essential for precise, predictable results in outdoor cooking. Using a sturdy open fire grill can further stabilize temperature and improve coal placement accuracy.
On a final note
You’ve set the coals right-under and around the rim-for steady, even heat. This setup balances temperature, reduces hot spots, and improves cooking control. Rotating the oven mid-cook enhances results. Proper coal placement isn’t just technique; it’s key to outdoor cooking success. Your dutch oven now performs like an oven at home, just with more flavor and fire.