Prevent Burning in a Dutch Oven: 5 Rules for Long Simmers
Keep your flame low to prevent scorching, especially with bold spices that burn easily. Use just enough liquid-about two-thirds coverage-to concentrate flavor without diluting it. Stir every 15–20 minutes to stop sticking and redistribute heat, essential over uneven camp stoves. Sear meat first to build a protective crust and deglaze the fond for depth. Layer veggies wisely and use a heat diffuser for a gentle, even simmer. You’ll discover even better results with a few strategic tweaks.
Notable Insights
- Use low heat to prevent scorching, especially with bold seasonings and at high altitudes.
- Maintain proper liquid levels, aiming for two-thirds ingredient coverage to concentrate flavor without burning.
- Stir every 15–20 minutes to prevent sticking and evenly distribute heat and moisture.
- Sear meat first to create a protective layer and build a flavorful fond for deglazing.
- Layer ingredients with slow-cookers on the bottom and use a heat diffuser for even temperature control.
Use Low Heat to Prevent Scorching
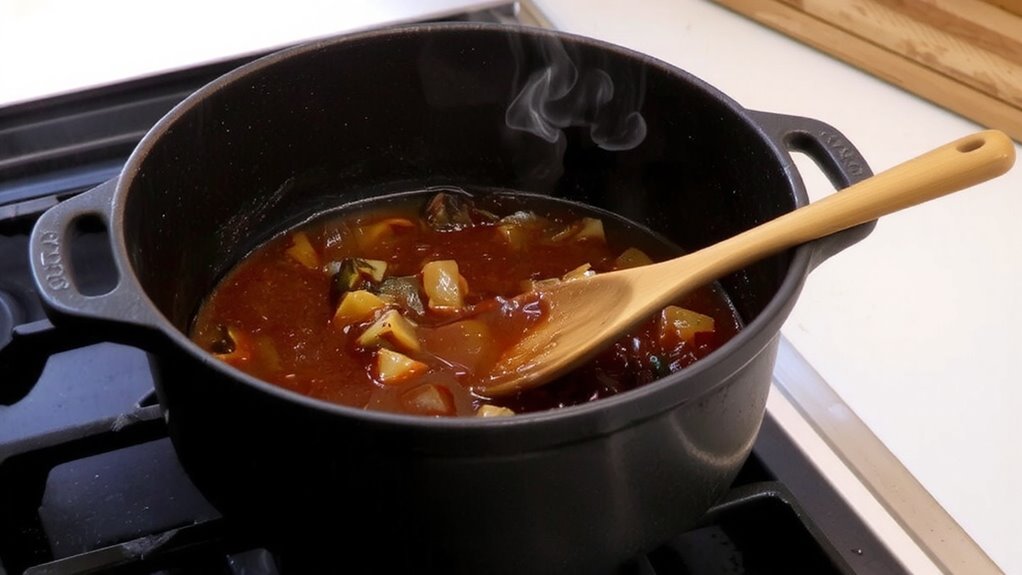
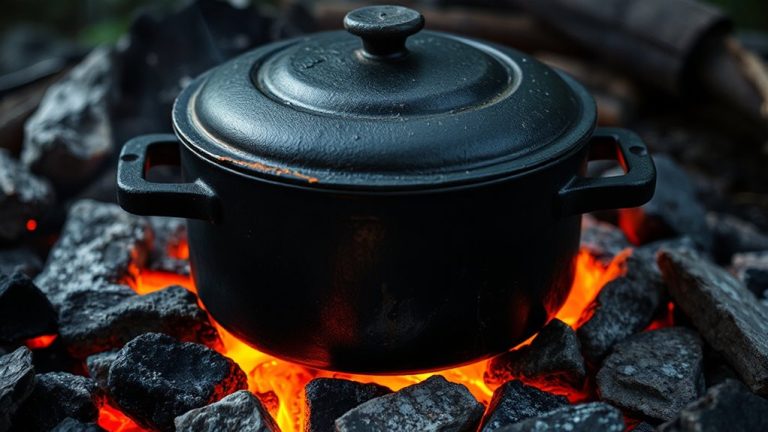
While it might be tempting to crank up the heat to speed things along, keeping the flame low when using a Dutch oven is one of the most effective ways to avoid scorching your food. You’re better off letting heat distribute evenly through the heavy cast iron, especially when simmering dishes with bold, spicy seasoning that can easily burn at high temps. At high altitude, where boiling points drop and liquids evaporate faster, low heat becomes even more essential-it helps maintain consistent temperatures without drying out the contents. You’ll notice fewer hot spots and better control, whether you’re over coals or a camp stove. Cranking it up might seem efficient, but it risks sticking, charring, and uneven cooking. A gentle simmer preserves texture, develops flavor safely, and protects your investment in quality cookware. For outdoor cooking, where conditions vary, patience pays off. You want results that taste intentional, not ruined by haste.
Balance Liquid to Deepen Flavor Without Diluting
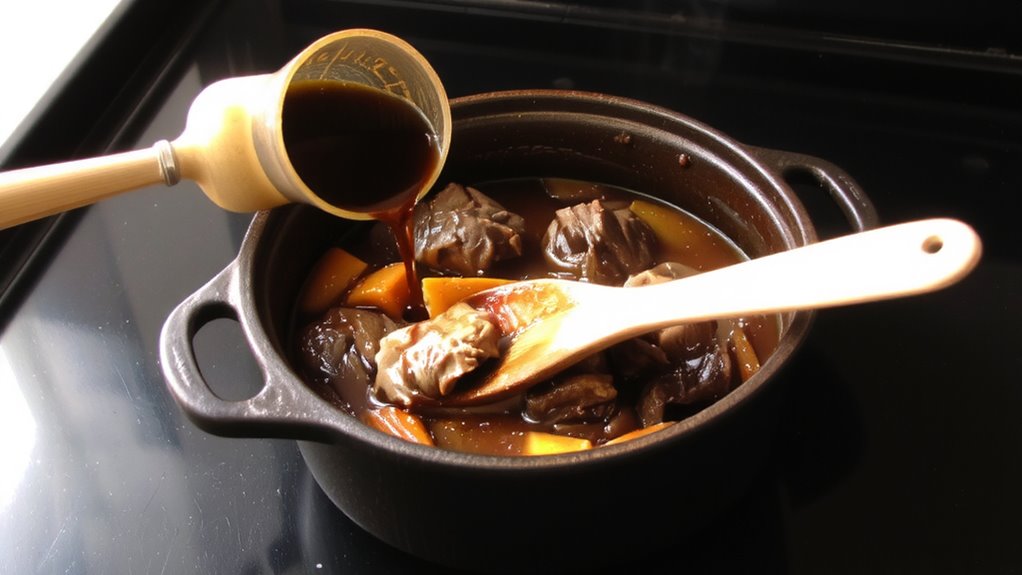
Because flavor development in a Dutch oven relies heavily on the interplay between moisture and heat, getting the liquid ratio right means you’re not just preventing dry, burnt dishes-you’re actively building depth. You want enough liquid to promote ingredient synergy but not so much that it dilutes the natural essences released during simmering. Think of it as guiding the cooking process: a well-balanced base allows for steady flavor concentration as water evaporates slowly, leaving behind rich, intensified taste. Too much broth or water overwhelms delicate interactions between herbs, meat, and vegetables, weakening the dish’s character. You’re aiming for coverage of about two-thirds of the ingredients, letting steam and circulation do the work without submerging them. This method supports even cooking while preserving body and aroma. With careful measurement, you enhance complexity without sacrificing intensity-critical when slow-cooking outdoors, where temperature control is limited and results depend heavily on preparation.
Stir at Key Moments to Prevent Sticking
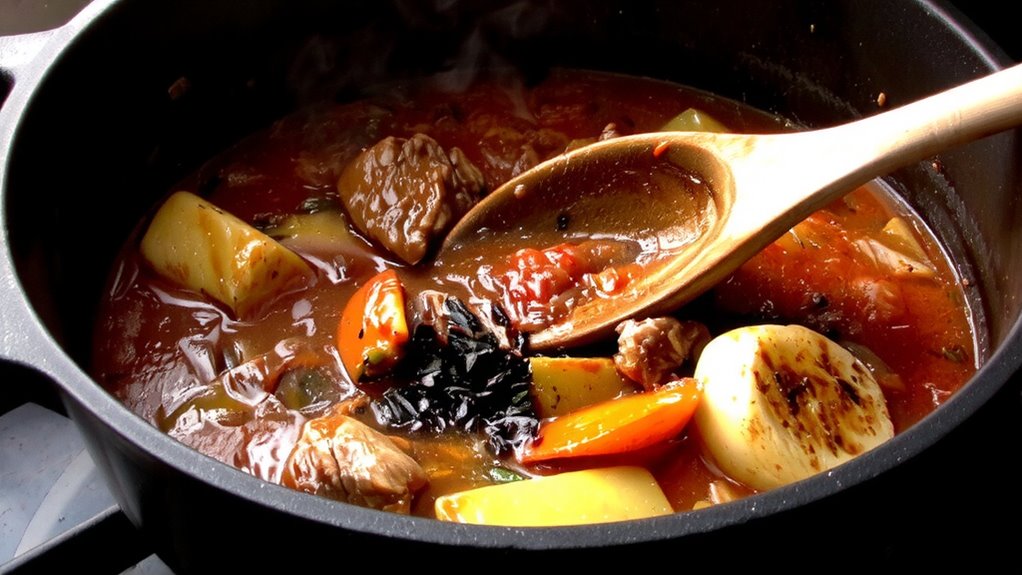
When cooking in a Dutch oven over uneven outdoor heat, stirring at key intervals keeps food from sticking and guarantees consistent texture throughout the dish. Frequent stirring is essential, especially during the first stages when ingredients settle and crusts begin to form. You’ll notice that without intervention, heavier components like beans or diced vegetables sink and scorch along the bottom. By stirring every 15–20 minutes, you redistribute heat and moisture, preventing hotspots. Don’t just swirl the center-make sure to scrape sides and corners where residue builds up quickly. Scraping sides recovers flavorful bits and avoids uneven cooking. While constant agitation isn’t necessary, strategic attention prevents gumminess or burnt layers. Unlike indoor stoves, open flames create unpredictable convection, making manual correction unavoidable. Proper technique doesn’t interrupt simmering-it enhances control. With consistent stirring and conscientious scraping, your dish stays cohesive, rich, and burn-free from start to finish.
Sear Meat First for Better Protection
You’ve already learned how regular stirring protects your dish from sticking and burning in a Dutch oven over erratic outdoor heat, but there’s another frontline defense that starts right at the beginning: searing your meat. Proper searing builds flavor and creates a barrier against scorching during long simmers. Two critical factors-caramelization control and fond development-determine success.
| Step | Purpose |
|---|---|
| Dry meat thoroughly | Guarantees even browning |
| Heat oil until shimmery | Prevents sticking |
| Sear in batches | Avoids steaming |
| Leave brown bits (fond) | Enhances flavor base |
| Deglaze carefully | Lifts fond without burning |
You’ll gain better caramelization control by avoiding overcrowding, which lowers pan temperature. The fond development isn’t just flavor-it’s a protective foundation that distributes heat more evenly. Searing isn’t optional; it’s essential technique. It stabilizes the cooking surface, making the entire simmering process less prone to hot spots and burning, especially over unpredictable coals.
Layer Ingredients to Promote Even Cooking
Think of your Dutch oven as a flavor engine-what goes in matters as much as how it’s heated. You can prevent burning during long simmers by practicing smart ingredient stacking. Start with denser, slower-cooking items like root vegetables on the bottom, where they shield the base and absorb heat evenly. Place proteins and quicker-cooking vegetables higher up, where they benefit from steady steam and indirect contact. This layering improves heat distribution, reducing hot spots that lead to scorching. Unlike haphazard dumping, intentional stacking guarantees each component cooks at the right pace. It’s not just about order-it’s about thermal strategy. You’ll notice better texture control and consistent doneness, especially in complex stews. Proper layering also minimizes stirring, preserving delicate meat fibers and retaining moisture. For outdoor cooks battling fluctuating fire temps, this method adds reliability. It’s a small step with big payoff: even cooking, fewer burnt bits, and dishes that taste thoughtfully crafted.
Adjust Heat and Liquid as Stew Thickens
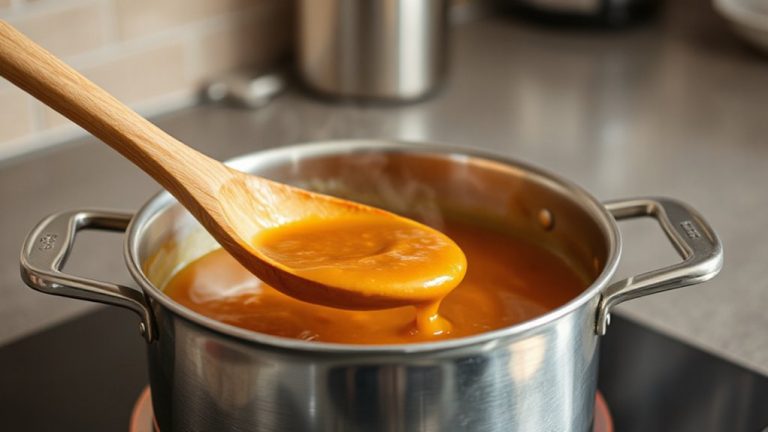
As the stew simmers and its flavors deepen, the liquid naturally reduces, thickening the consistency and concentrating taste-but this process demands attention. You’ll need to monitor consistency closely, especially in the later stages, since Dutch ovens retain heat well and can accelerate evaporation. If the stew starts to thicken too quickly, lower the heat slightly and consider adding a splash of broth or water to maintain the right texture. As you adjust seasoning, remember that flavors intensify as liquid reduces, so taste carefully before adding more salt. A well-balanced stew shouldn’t turn into a gluelike mass or dry out along the edges. Stir occasionally to check for sticking, particularly once the liquid level drops. Properly adjusting heat and liquid guarantees even development without scorching. Ultimately, attentive monitoring makes the difference between a rich, cohesive dish and an overcooked disappointment.
Use a Heat Diffuser for Truly Gentle Simmering
While high heat retention makes Dutch ovens ideal for deep, slow cooking, maintaining a truly gentle simmer-especially on open flames or uneven burners-can be tricky without additional tools. That’s where a heat diffuser comes in. Placed between the flame and your pot, it improves heat distribution by spreading intense direct heat into a more even ring, preventing hot spots that lead to scorching. You’ll notice better temperature control, especially during long simmers when dishes risk burning at the base. Heat diffusers are lightweight, durable, and particularly useful on camp stoves or grills, where flames are less regulated. Though they slightly extend preheat time, the trade-off in cooking precision is worth it. For outdoor cooking enthusiasts, a diffuser isn’t just an accessory-it’s a practical upgrade for consistent, reliable results when you can’t afford flare-ups or guesswork.
On a final note
You’ve got the tools to keep your Dutch oven meals from burning during long simmers. Low heat, proper layering, and timely stirring make all the difference. A heat diffuser guarantees even temperature, while searing meat first builds flavor and protects the base. Adjust liquid as it reduces, and you’ll avoid scorching without sacrificing richness. These methods aren’t just effective-they’re essential for reliable, high-quality results in outdoor cooking.