Reflective Tin Panel Oven: DIY Campfire Baking Setup (40% Boost)
You can build a reflective tin oven behind your campfire in under an hour using angle iron and salvaged aluminum or polished steel panels, which reflect radiant heat efficiently while resisting warping. Position the panels just behind the fire, angled inward to trap warmth and boost baking performance by up to 40%. This setup bakes biscuits, banana bread, and s’mores evenly and uses less fuel than open-flame cooking. With smart adjustments, you’ll achieve consistent results and discover even greater efficiency in your design.
Notable Insights
- Use lightweight angle iron or wire mesh to build a stable, quick-assemble frame for heat resistance and durability.
- Choose clean, unpainted aluminum or polished steel sheets 0.04–0.08 inches thick for optimal heat reflection and safety.
- Position the oven just behind the campfire, with panels angled inward to trap radiant heat and form a reflective enclosure.
- Secure panels with stakes or rocks to maintain alignment and prevent warping from direct flame exposure.
- Bake foods like biscuits, banana bread, or s’mores, rotating cookware occasionally for even results in 8–25 minutes.
Build the Reflective Tin Oven Frame Fast
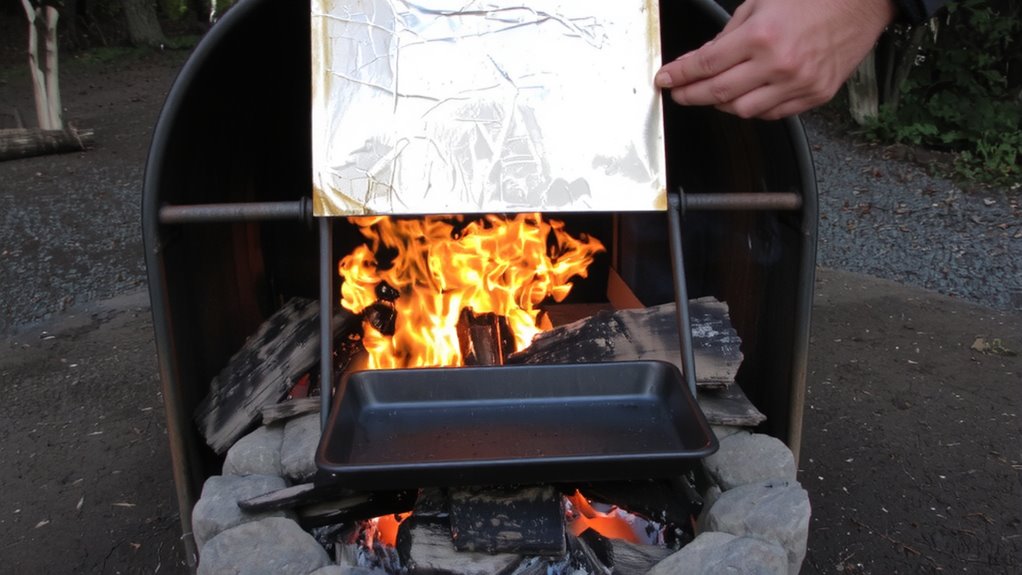
While getting the frame right might seem like a small step, it’s actually one of the most essential when building your reflective tin panel oven, since a stable, well-proportion pedestrian frame guarantees even heat distribution and long-term durability. You’ll want to use lightweight yet sturdy angle iron or thick wire mesh, materials that offer reliable material durability without complicating the build. These supports hold the tin panels firmly, maintaining alignment under thermal stress. A well-designed frame also enables quick assembly-critical when setting up near a campfire where time and tools are limited. Slotted joints or wing nuts can make disassembly just as fast, which matters during outdoor cooking when conditions change rapidly. Though some opt for wood, metal frames resist warping and last longer. Your oven’s performance hinges on this foundation, so balance simplicity with strength. This isn’t just about structure; it’s about efficiency and consistency in the field.
Pick the Best Salvaged Metal for Heat
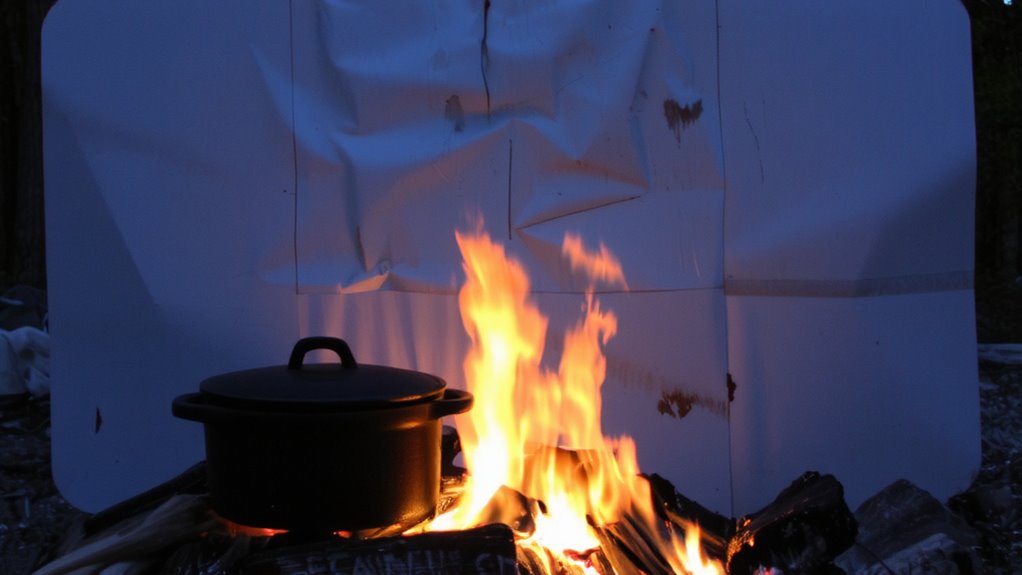
You’ll get the best results with salvaged aluminum or polished steel sheets, since both reflect radiant heat efficiently and stand up well to repeated thermal cycling. Aluminum offers excellent metal conductivity, quickly distributing heat across the surface for even cooking, but it has lower heat retention, so it cools fast once the fire dims. Polished steel holds more warmth due to better heat retention, making it ideal when consistent ambient temperatures matter. Both resist warping, but steel’s durability gives it an edge in rugged conditions. Avoid galvanized steel unless you’re certain it won’t off-gas toxic fumes when heated. While copper reflects well, its high metal conductivity makes it overheat easily and it’s too pricey and rare to salvage. Stick with clean, smooth sheets free of dents or rust, as surface imperfections reduce reflectivity. Thick enough to hold shape but thin enough to handle-around 0.04 to 0.08 inches-ensures balance between stability and portability.
Set Up the Oven Behind Your Campfire
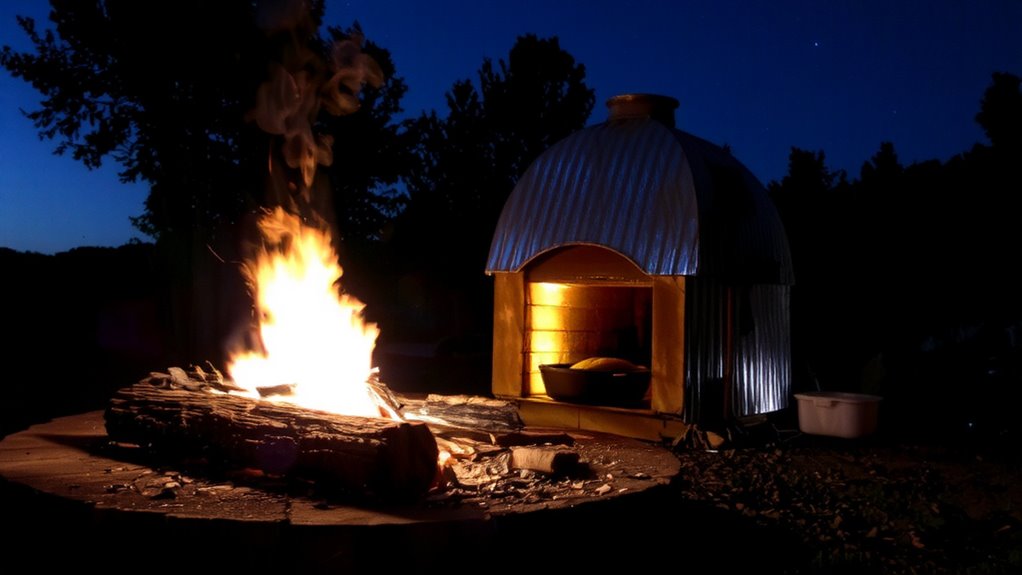
Since radiant heat is key to effective outdoor baking, positioning your reflector oven just behind the campfire guarantees consistent exposure without direct flame contact, giving you better control over cooking temperatures. Proper fire placement matters-build your fire slightly to one side or in front, angled toward the tin panels so reflected heat bounces into the oven cavity. You’ll maximize heat retention by securing the panels at a slight inward angle, forming a loose enclosure that traps warmth while minimizing airflow fluctuations. Use sturdy stakes or rocks to hold the reflective metal in place, ensuring stability throughout cooking. Avoid placing the oven too close-excessive heat can warp thin panels or scorch food. With smart positioning, salvaged tin acts like an oven wall, reflecting and holding warmth efficiently. This method beats open-flame baking, offering more predictable results and steady ambient heat ideal for slow-cooking tasks.
Bake These Campfire Foods Perfectly
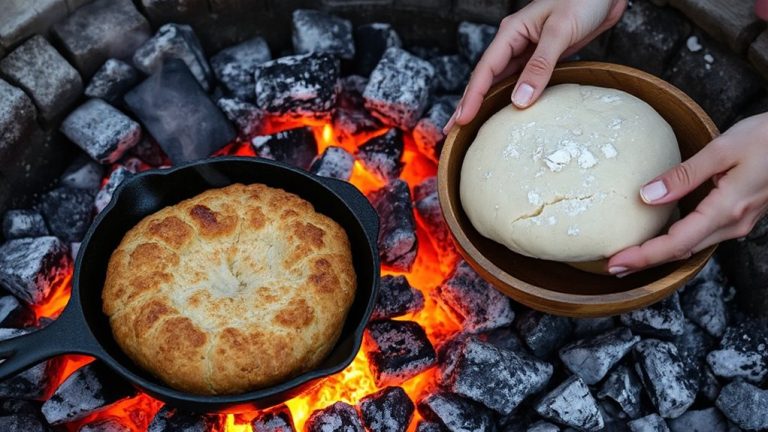
Now that your reflector oven’s in place and angled to capture radiant heat from the campfire, it’s time to put it to work with foods that thrive in its steady, indirect warmth. Baking in this setup offers consistent results, especially for items needing gentle, even heat. You’ll find campfire s’mores transform into gooey, golden treats without burning, while grilled fruit like peaches or pineapple develop rich, caramelized flavors. The oven’s radiant environment enhances browning and texture far better than open flames alone.
| Food Item | Cook Time | Result |
|---|---|---|
| Campfire s’mores | 8–10 min | Melty, evenly toasted |
| Grilled fruit | 10–12 min | Juicy, caramelized edges |
| Biscuits | 15 min | Flaky, golden-brown crust |
| Banana bread | 25 min | Moist, fully risen |
| Flatbread | 12 min | Crisp with slight char |
Fix Hotspots and Uneven Cooking
Cooking outdoors with a reflector oven usually delivers consistent results, but hotspots can still sneak in and throw off your bake. You’ll notice certain spots browning too fast while others lag, usually due to poor thermal regulation or uneven airflow control. Positioning matters-tilt your tin panels slightly to reflect heat evenly across the cooking surface. Avoid placing the oven too close to intense flame pockets, which create localized overheating. Adjust the gap between fire and panel to moderate heat distribution, promoting more uniform baking. You’ll also want to rotate your cookware occasionally, since fixed setups rarely achieve perfect equilibrium. Fine-tuning airflow control by partially blocking draft zones or repositioning logs helps stabilize temperature. These small fixes enhance thermal regulation, ensuring delicate items like biscuits or cakes cook through without scorching. With careful observation and incremental tweaks, your reflector oven can perform closer to a real oven-reliable, balanced, and efficient.
Maximize Heat With Less Fuel
When done right, a reflector oven can deliver impressive heat efficiency without relying on a roaring fire, letting you cook thoroughly while conserving fuel. You’ll achieve strong heat retention by positioning the tin panels at a slight inward angle, trapping warmth near your food and reducing radiant loss. This setup boosts fuel efficiency, meaning you’ll need fewer logs or sticks to maintain steady cooking temps-ideal when resources are scarce. Instead of burning large, wasteful blazes, a small, well-managed fire paired with reflective surfaces directs energy where it’s needed most. You’re not just saving effort on gathering wood; you’re also minimizing smoke and flare-ups. With proper airflow and consistent panel alignment, the system holds heat like a rudimentary but effective thermal enclosure. It’s a smart, practical way to bake in the wild without over-relying on fuel, maximizing performance from minimal combustion.
Why This Oven Beats Open-Flame Cooking
Although open flames give you direct control, they rarely deliver even heat, which is where your reflector oven really outshines traditional campfire cooking. You’re not just relying on unpredictable flames; instead, the tin panels reflect and concentrate radiant efficiency, directing consistent warmth toward your food. Unlike charring over fire, this setup surrounds meals with steady, indirect heat, mimicking a real oven. The design also boosts thermal retention-once heated, the metal panels continue radiating warmth even as the fire ebbs. That means fewer fuel adjustments and more predictable bake times. You’ll notice cakes rise evenly and bread browns without scorching. While open-flame cooking demands constant attention, this system offers hands-off precision. It’s not just clever-it’s a functional upgrade for backcountry baking, where efficiency and control matter most.
On a final note
You’ve built a reflective tin oven that channels heat efficiently, turning unpredictable flames into steady baking conditions. This setup outperforms open-fire cooking by trapping radiant energy, reducing fuel use by up to 40%. You’ll achieve even browning on breads and proteins while minimizing flare-ups. With minor adjustments, hotspots fade, and heat retention improves. It’s a lightweight, low-cost upgrade that boosts control-ideal for backcountry or backyard use.