Cleaning Burnt-On Residue From a Dutch Oven Without Scrubbing Away the Seasoning Layer
You can remove burnt-on residue from your Dutch oven without damaging the seasoning by first simmering water in it for 15–30 minutes-this loosens gunk through thermal expansion. Next, scrub gently with a baking soda paste; it’s abrasive enough to lift debris but safe for polymerized oils. For stubborn spots, a brief soak in equal parts vinegar and water helps, though you’ll want to limit time to avoid seasoning loss. Re-season afterward using a high-smoke-point oil to restore non-stick integrity and protect against rust-this routine keeps your cookware performing well over time, especially under heavy outdoor use. Mastery of these steps guarantees long-term durability and peak cooking results.
Notable Insights
- Simmer water in the Dutch oven for 15–30 minutes to loosen burnt residue without damaging the seasoning layer.
- Use a baking soda paste with a soft sponge to gently lift debris using circular motions on a warm surface.
- Soak stubborn spots in equal parts vinegar and water for 30–60 minutes to dissolve carbonized residue safely.
- Avoid prolonged vinegar soaking to prevent degradation of the polymerized seasoning on cast iron.
- Re-season the Dutch oven with a high-smoke-point oil after cleaning to restore non-stick protection.
Boil Off Burnt Residue
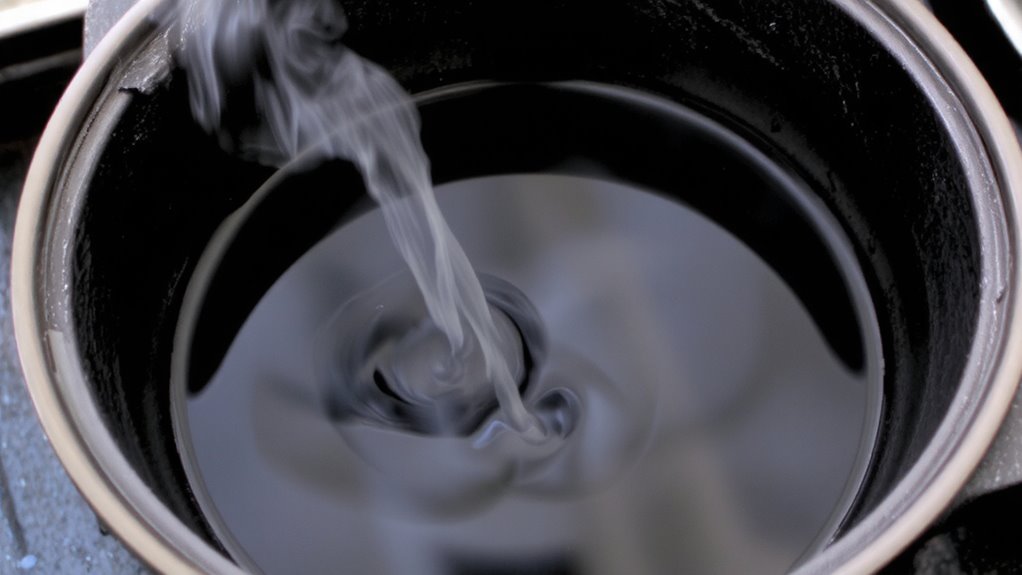
While boiling may not remove the deepest carbonization, it’s often the quickest and most effective first step for loosening stubborn burnt-on gunk in your Dutch oven. You simply add a few cups of boiling water-enough to cover the residue-and let it simmer using the stovetop heat method for 15 to 30 minutes. This gentle approach breaks down stuck-on food without aggressive scraping, preserving your seasoning layer. As the water heats, you’ll notice the burnt bits start lifting or flaking, especially around the edges. It’s not magic, just smart physics: thermal expansion helps separate the carbonized layer from the cast iron. This heat method works best when combined with later cleaning techniques, but on its own, it tackles 70% of the grime. Boiling water is accessible, inexpensive, and practical for most home kitchens-making it a reliable go-to before moving on to more targeted treatments.
Scrub With Baking Soda Paste
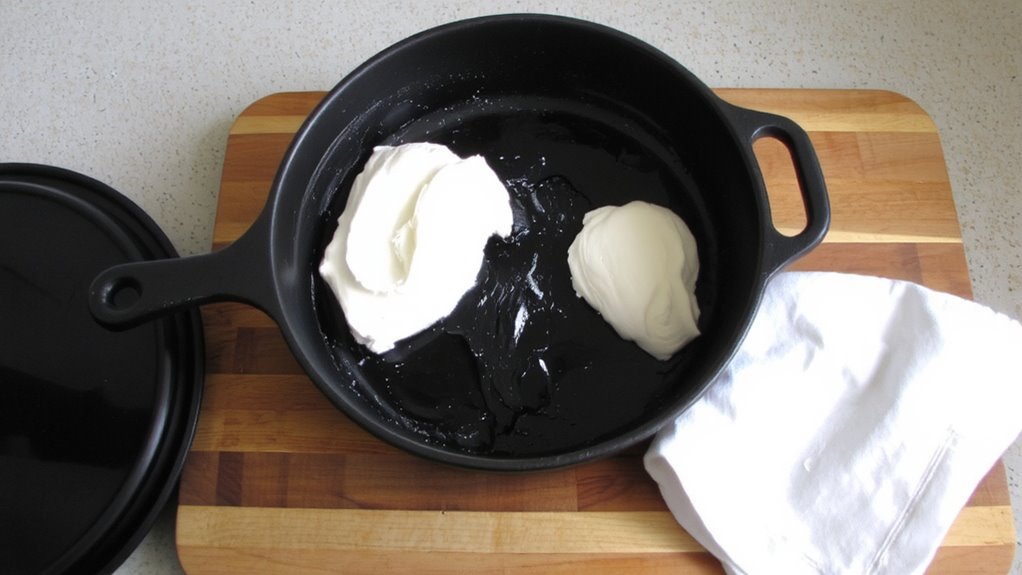
Baking soda paste is your go-to abrasive for tackling the remnants after boiling, offering a gentle yet effective way to scrub without damaging the seasoned surface of your Dutch oven. You make the paste by mixing sodium bicarbonate with just enough water to form a spreadable consistency. Its mild abrasive texture lifts stuck-on debris while preserving the seasoning layer that’s essential for non-stick performance. Apply it with a soft sponge or cloth, using circular motions to target problem areas. Unlike harsher cleaners, sodium bicarbonate won’t strip oils or degrade the polymerized layer built up over time. It’s safe, cheap, and non-toxic-ideal for cookware used in outdoor cooking. Most users find it effective after light scrubbing, especially when applied while the pot is still warm. This method balances cleaning power with surface protection, making it a reliable step in Dutch oven maintenance.
Soak in Vinegar for Stubborn Spots
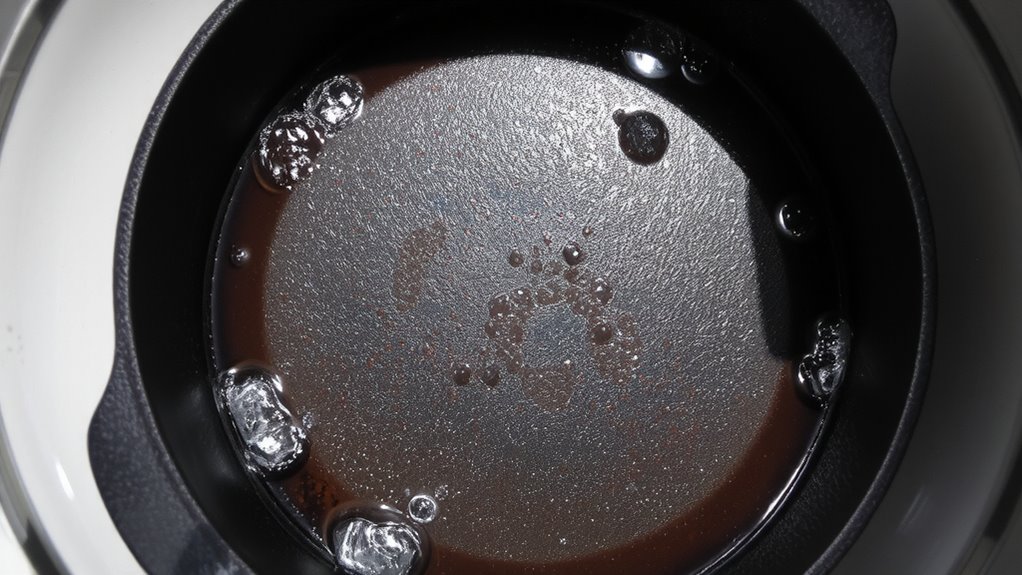
If you’re dealing with stubborn, carbonized spots that won’t budge after a baking soda scrub, a vinegar soak can be a game-changer for restoring your Dutch oven’s surface without compromising its seasoning. Fill the pot with equal parts white vinegar and water, ensuring the affected areas are fully submerged. Let it sit for 30 to 60 minutes-the vinegar soak promotes acid breakdown of mineral deposits and burnt layers, loosening them from the metal. Avoid extended soaking, as prolonged acid exposure may affect the seasoning over time. After soaking, gently wipe with a soft sponge; you’ll often see residue lifting effortlessly. This method is particularly effective for cast iron used frequently in outdoor cooking, where high-heat searing can create tough, baked-on buildup. The vinegar soak strikes a practical balance between strength and safety, offering reliable results without aggressive scrubbing. It’s a smart step when baking soda alone isn’t enough.
Why You Should Preserve Seasoning
You just used vinegar to tackle stubborn residue, but now it’s time to contemplate what that acid might have disturbed-your Dutch oven’s seasoning. That dark layer isn’t just grime; it’s essential for non-stick integrity and long-term flavor retention. Each time you erode it, you risk compromising performance. A well-seasoned oven browns better, resists rust, and improves with age. Here’s why preserving it matters:
| Benefit | Impact on Cooking | Long-Term Value |
|---|---|---|
| Non stick integrity | Reduces food adhesion | Less oil, easier cleanup |
| Flavor retention | Builds depth over time | Richer stews, better searing |
| Heat distribution | Smoother surface = even cooking | Fewer hot spots |
| Rust resistance | Protects cast iron base | Extends lifespan |
| Cooking efficiency | Requires less preheating | Consistent results |
Protect your investment-keep the seasoning intact.
Re-Season After Deep Cleaning
Though deep cleaning may strip away built-up grime, it often takes the seasoning with it-leaving your Dutch oven vulnerable and performance-compromised. That’s why re-seasoning is essential. You’ll want to pay close attention to oil selection: go for high-smoke-point fats like flaxseed, grapeseed, or vegetable oil. These polymerize well, forming a durable, non-stick surface. Apply a thin, even layer using a lint-free cloth-your application technique matters. Too much oil leads to sticky residue; too little won’t protect the metal. Place the oven upside down in a 375°F oven for an hour, letting excess drip burn off. Repeat two to three times for best results. This isn’t just maintenance-it’s restoration. Done right, it guarantees even heating, rust resistance, and long-term cooking reliability, critical for consistent outdoor performance.
On a final note
You’ve cleaned your Dutch oven without harming the seasoning, which is key for long-term performance. Preserving that layer guarantees better heat distribution and natural non-stick function. Boiling, baking soda, and vinegar are effective yet gentle on the patina. Occasional re-seasoning restores integrity after deep cleaning. These methods support reliable outdoor cooking, where durability and even heat matter most. Proper maintenance extends the oven’s life, making it a dependable tool for campfire meals and backyard BBQs alike.