Slow-Braising Short Ribs Overnight in a Covered Dutch Oven Buried in Embers
You’ll need a heavy cast-iron Dutch oven-enameled or raw-for its superior heat retention during slow ember braising. Build a 2–3 inch bed of glowing embers, not flames, to surround the pot evenly. Sear seasoned short ribs well first to lock in flavor through Maillard browning. Bury the pot completely, lid sealed tight, letting steam and steady heat work overnight. Resist checking-consistent thermal mass guarantees tender, smoky results by morning, especially when you know the right coals to use.
Notable Insights
- Use a heavy cast-iron Dutch oven with a tight-fitting lid for even heat retention during overnight ember braising.
- Build a 2–3 inch bed of glowing embers, avoiding flames, to provide consistent low heat for slow cooking.
- Season short ribs generously and sear thoroughly on all sides to develop flavor via the Maillard reaction.
- Bury the Dutch oven completely in embers on all sides and top, ensuring even heat distribution and insulation.
- Cook undisturbed overnight to tenderize meat, preserving steam and flavor without opening the lid.
Choose the Right Dutch Oven for Ember Braising
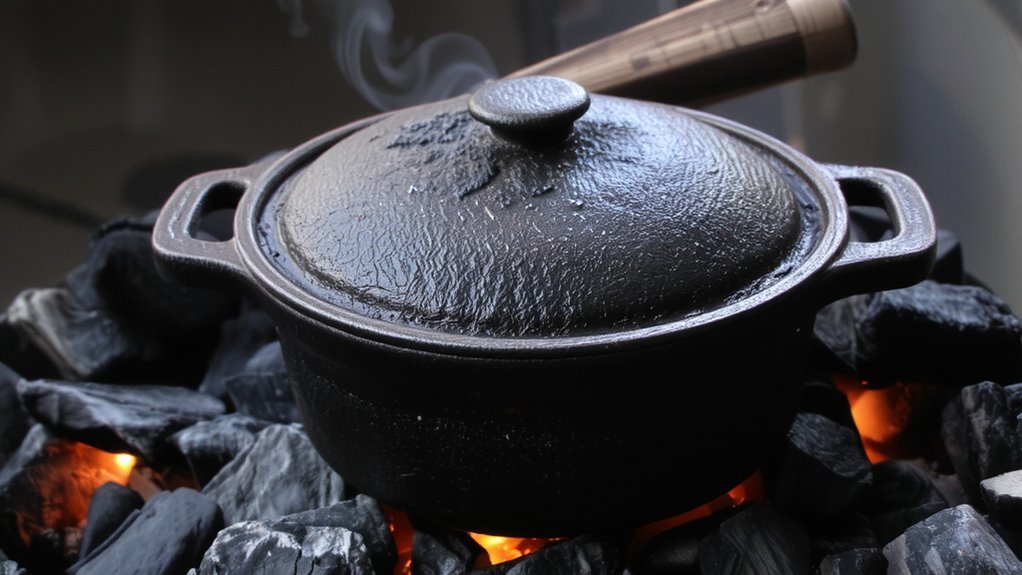
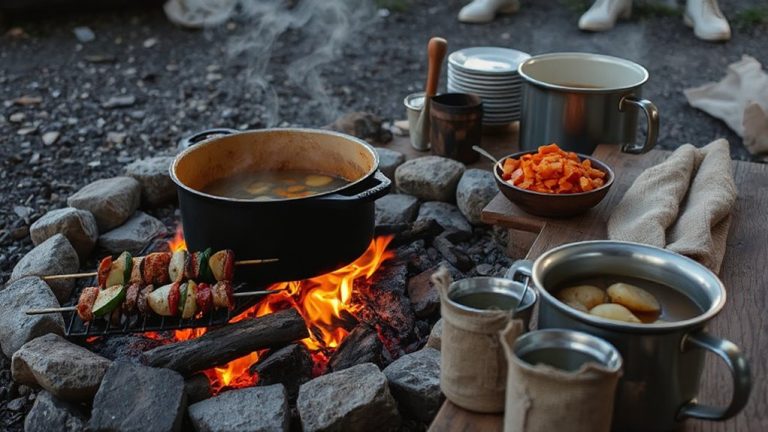
A cast-iron Dutch oven isn’t just cookware-it’s your anchor in ember braising, holding steady heat when the fire settles into glowing coals. You need one that’s built to last, and that means prioritizing material durability above all. Enameled or raw, cast iron handles constant thermal cycling without warping, cracking, or wearing thin. Cheaper alternatives often fail under prolonged ember exposure. More importantly, superior heat retention guarantees your short ribs cook evenly through the night, minimizing hot spots and preventing cooling dips. You’ll notice fewer adjustments and more consistent results when the oven absorbs and radiates heat steadily. A heavy lid seals in moisture, while thick walls buffer temperature swings. Look for evenly proportioned weight and tight-fitting lids-details that matter when nestled in coals. With proper seasoning and post-cook cleaning, your Dutch oven becomes a long-term partner in low-and-slow success.
Build a Cooling Bed of Coals for Overnight Heat
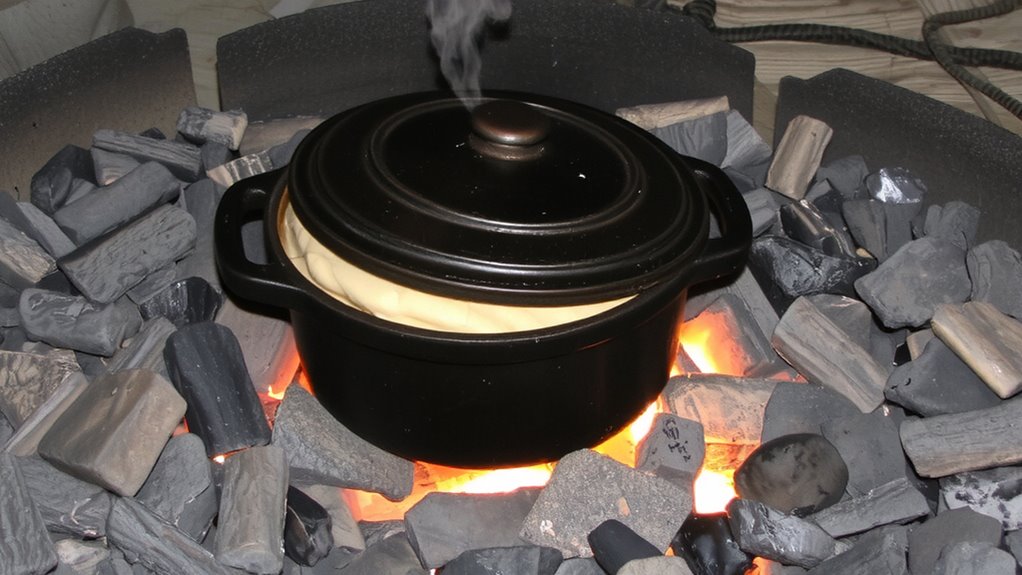
Once your fire has burned down to a deep bed of glowing embers, you’re in the sweet spot for slow-braising short ribs overnight, because those coals deliver the steady, radiant heat this method demands. Good ember management guarantees consistent heat regulation over many hours. You want a wide, even layer about 2–3 inches deep-enough to surround your Dutch oven without smothering it. Position the coals so they’re cooling slightly before burial; fresh, blazing coals will overcook, while dead ash won’t sustain. Using a well-ventilated open fire grill ensures optimal airflow for maintaining consistent ember temperature throughout the night.
| Ember Stage | Use Case |
|---|---|
| Bright orange glow | Top and side heat source |
| Ash-dusted coals | Base layer for insulation |
| Faint red | Backup for late-night drop |
| Full gray ash | Discontinue use, no output |
This setup gives slow, conductive warmth ideal for tender ribs.
Season and Sear Your Short Ribs for Depth
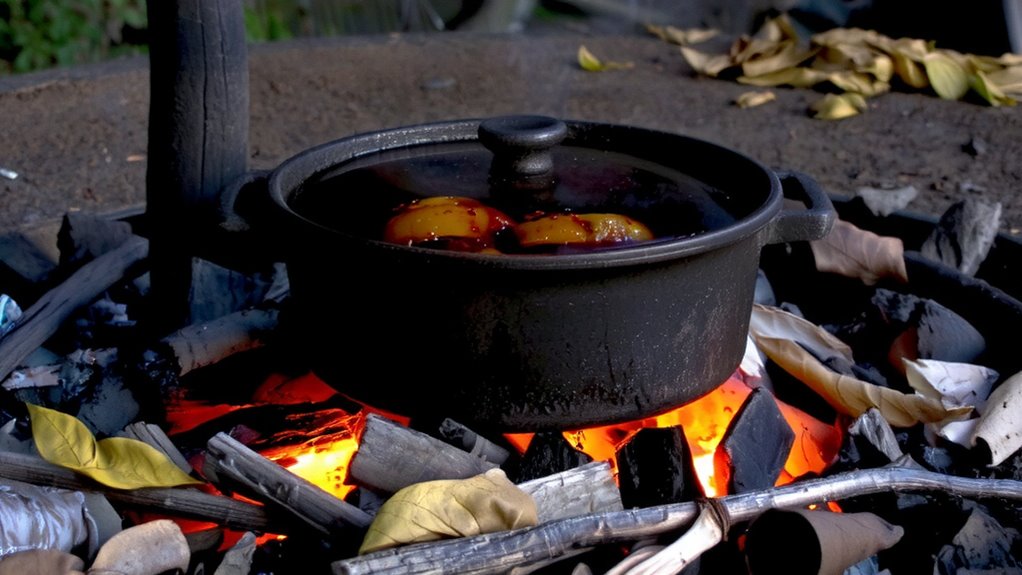
That first sizzle when the short ribs hit the hot pan isn’t just satisfying-it’s the foundation of flavor you can’t skip. You need high, dry heat to trigger proper Maillard reaction, and that’s where your seasoned cast-iron or heavy-bottomed Dutch oven shines. Generously season the ribs with salt and pepper-this isn’t just seasoning, it’s a catalyst for flavor development. Searing locks in juices while promoting crust formation, essential for complex taste layers later. Don’t rush it; let each side caramelize fully before flipping. Crowding the pan kills temperature and hampers browning, undermining marbling retention. Those fat veins melt slowly during the long braise, but searing first guarantees they render effectively without leaching out early. Done right, the crust resists breakdown during hours in the embers, preserving texture contrast. This step isn’t traditional in all slow-cook methods, but for outdoor overnight braising, it’s non-negotiable.
Bury and Seal the Dutch Oven in the Embers
Now the real test of outdoor technique begins-your seared short ribs, crusted and rich with developed flavor, are ready for the slow, steady surrender to heat and time. You’ll need a bed of glowing embers beneath and around your Dutch oven, then carefully bury it. Proper ember insulation is essential: layer warm coals evenly on the lid and sides to maintain consistent heat retention. Cast iron excels here-it holds and distributes heat efficiently, but only if insulated well with embers, not flames. Avoid hot spots by sealing gaps; use additional coals or ash to lock in warmth. The tight-fitting lid traps moisture and heat, mimicking an oven’s ambient environment. Success hinges on thermal stability-ember insulation prevents temperature swings that could toughen meat. Done right, the combination of heavy cookware and controlled underground heat retention transforms tough cuts overnight. This method isn’t flashy, but it’s deeply effective-nature’s slow cooker, grounded in physics and patience.
Let It Cook Overnight: No Touching
While the fire settles into a steady glow, resist the urge to lift the lid-your work is done for tonight. Letting the Dutch oven remain buried guarantees a slow, even braise that modern ovens can’t quite replicate. The embers radiate consistent low heat, breaking down connective tissues without drying the meat. This method demands rested patience; any peeking disrupts the thermal equilibrium essential for tender results. You’re not just cooking-you’re cultivating undisturbed flavor, letting spices, smoke, and marrow-rich juices meld in darkness. The sealed cast iron traps steam, preventing evaporation and concentrating taste. Unlike quicker techniques, this overnight process prioritizes depth over speed, favoring collagen melt and bark development. It’s not negligence-it’s intentional neglect, trusting time and insulation. No stirring, no adjusting. Just silence and heat doing their job. You’ll wake to ribs that fall away cleanly, infused with a smokiness factory ovens can’t fake.
Uncover and Serve Your Smoky Morning Braise
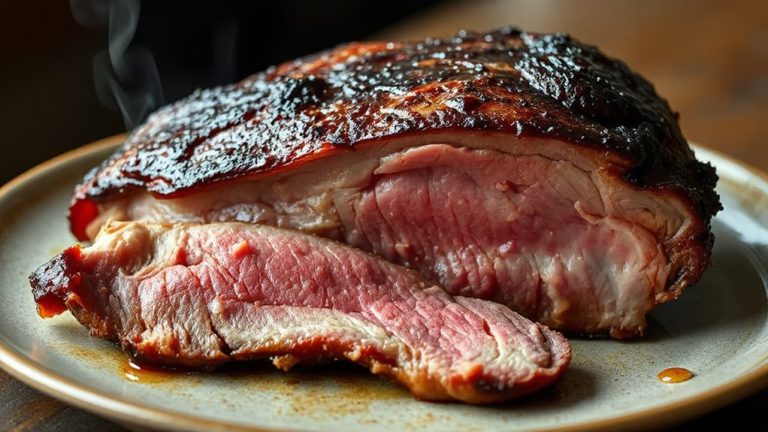
Morning light brings the moment you’ve waited for-gently lift the heavy lid of the Dutch oven to release a plume of aromatic steam, carrying the deep, earthy scent of slow-smoked beef and roasted marrow. The morning aroma is rich and layered, proof of hours of unattended thermal transfer between coals and cast iron. You’ll notice the meat’s surface has darkened into a savory bark, while the collagen has broken down into gelatin, yielding fork-tender ribs. This method outperforms standard oven braising, achieving deeper flavor through wood-fired convection. For serving suggestions, pair the ribs with creamy polenta or roasted root vegetables to balance the smoke and fat. Garnish with flaky salt and fresh herbs to brighten the plate. Leftovers reheat well and deepen in flavor. This technique showcases the Dutch oven’s versatility in outdoor cooking-consistent, efficient, and exceptionally effective for low-and-slow applications.
On a final note
You’ve transformed tough short ribs into meltingly tender, smoky perfection by leveraging radiant ember heat and precise insulation. Slow-conducted thermal energy from the Dutch oven’s thick walls guarantees even breakdown without scorching. This method outperforms stovetop braising in flavor depth, though it demands careful coal management. For hands-off, wood-kissed results, ember-braising is unmatched-practical for camp cooking and deeply effective when technique meets patience.