DIY Rocket Stove: Coffee Can & Tin Pipe Build Guide
You’ll need a clean steel coffee can and straight galvanized tin pipe to build a durable, efficient rocket stove. Cut a fuel door near the base, insulate the burn chamber with ceramic fiber or sand, and secure the pipe as a central chimney. Drill evenly spaced ventilation holes just above the door for ideal airflow-this boosts combustion and reduces smoke. Use dry hardwood sticks about pencil-thick, feeding them every few minutes. For best results, pair with a stable pot stand and operate on non-flammable surfaces. With proper care, this stove delivers fast boil times and reliable performance in the field-there’s more to fine-tuning your setup than meets the eye.
Notable Insights
- Use a clean steel coffee can and straight galvanized tin pipe for durable, efficient heat conduction.
- Cut a fuel door near the can’s base and insulate the burn chamber with ceramic fiber or sand.
- Position the tin pipe vertically in the can to create a strong chimney draft for better combustion.
- Drill 8–12 evenly spaced 1/4-inch ventilation holes above the fuel door for optimal airflow.
- Use dry hardwood sticks or Japanese charcoal, feeding every 3–5 minutes for steady, clean burning.
Build Your Coffee Can Rocket Stove: Tools and Materials
A reliable fire means dependable heat, and when you’re cooking outdoors, having a portable rocket stove built from a coffee can and tin pipe makes a real difference. Your success starts with smart material selection-choose a clean, sturdy steel coffee can and a straight galvanized tin pipe, each resist warping and conduct heat efficiently. Avoid flimsy containers or rusted metal, as they compromise safety and performance. For tool preparation, gather tin snips, a drill with metal bits, gloves, and a marker; precision matters when cutting air vents and fitting the pipe snugly. Well-prepared tools reduce errors and guarantee clean joins that boost airflow and combustion. This design burns hotter and cleaner than open fires, ideal for backpacking or emergency use. Quality materials and careful prep don’t just simplify assembly-they enhance cooking control, fuel efficiency, and long-term durability in rugged conditions.
How to Make the Burn Chamber and Stove Frame
Once you’ve gathered your materials, start by transforming the coffee can into the stove’s burn chamber, which forms the heart of the rocket stove’s efficient combustion. Cut a door near the base for fuel insertion and airflow, guaranteeing clean, straight edges for better control. Line the inside with a thin layer of ceramic fiber or sand for burn chamber insulation-this reduces heat loss and protects the outer can. Then, position the tin pipe upright inside the coffee can to create a central chimney draft. Secure it with wire or metal brackets to guarantee frame stability, so the structure won’t wobble during cooking. A stable frame prevents tipping, especially on uneven terrain. The insulating layer also helps maintain high internal temperatures, essential for fast boiling and efficient wood burning. This design balances simplicity and performance, making it ideal for backpackers and outdoor cooks who value reliability and compact build.
Maximize Heat and Minimize Smoke With Airflow Holes
Because efficient combustion depends on precise airflow, drilling small ventilation holes just above the fuel door guarantees your stove burns hotter and cleaner. These holes are essential to your stove’s airflow design, feeding oxygen directly into the burn chamber where it’s needed most. Proper placement and spacing boost combustion efficiency, reducing smoke and unburned particles. You’ll notice less soot on pots and faster boil times-clear signs of effective combustion. For best results, use a 1/4-inch drill bit and space holes evenly around the can.
| Hole Size | Number of Holes | Spacing (inches) |
|---|---|---|
| 1/4″ | 8 | 1.5 |
| 3/8″ | 6 | 2.0 |
| 1/4″ | 12 | 1.0 |
Smaller, well-distributed holes typically offer superior performance.
Best Wood and Feeding Tips for Steady Cooking
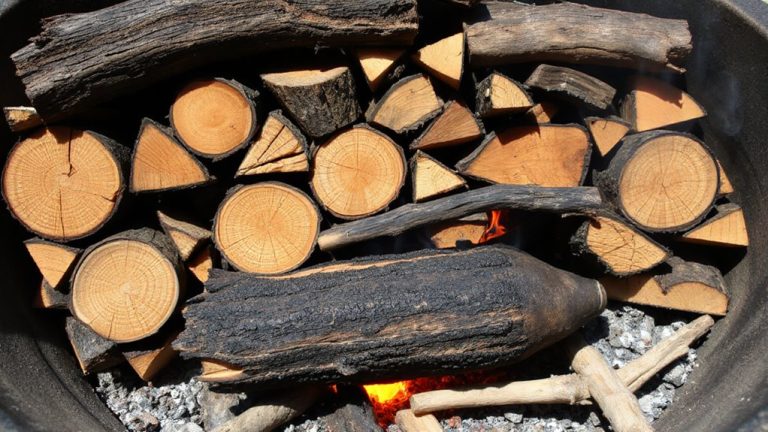
Fuel choice makes all the difference when keeping your coffee can rocket stove running efficiently. Wood selection directly affects heat output and burn time-opt for dry hardwoods like oak or maple, as they ignite easily and produce consistent heat. Softwoods may burn faster and create more smoke, reducing control. Use small, uniform sticks about the thickness of a pencil to fit the pipe and guarantee proper airflow. Moist or green wood hampers performance, so always prioritize seasoned fuel. Establishing a steady feeding rhythm is key to maintaining stable temperatures. Add wood every 3–5 minutes, depending on flame strength, to avoid overheating or stalling. Push new pieces through gently, letting them catch gradually. This rhythm keeps combustion efficient without smothering the flame. With the right wood and timing, your stove delivers even, reliable heat ideal for boiling water or cooking meals on the trail. For longer-lasting, high-heat cooking, consider using Japanese charcoal as an alternative fuel source.
Keep It Safe: Burning, Cooking, and Transport Rules
While building and fueling your coffee can rocket stove matters, how you handle it during use and transport determines both performance and safety. Always place the stove on a non-flammable surface, well away from tents, dry grass, or overhanging branches-fire safety isn’t optional. Never leave the stove unattended while burning; even small flames can escalate quickly in windy conditions. Use heat-resistant gloves when adjusting pots, and keep a bucket of water or sand nearby for emergencies. When you’re done cooking, let the stove cool completely before handling. For transport precautions, guarantee all ashes are fully extinguished and cold. Store the stove in a metal container or heatproof bag to prevent accidental ignition. Though compact, this DIY stove demands respect-treat it like any open flame system. Following these steps keeps your cookouts efficient, predictable, and safe. For extended outdoor use, consider upgrading to a portable propane fire pit for more consistent heat and easier flame control.
Smart Upgrades for Your DIY Coffee Can Stove
What if you could boost your coffee can rocket stove’s efficiency without sacrificing its simplicity? You can-by focusing on heat retention and material durability. Line the inner walls with firebricks or ceramic fiber blanket; it traps heat better and reduces fuel use. Swap thin tin pipe for thicker steel tubing-it withstands repeated heating cycles longer, improving material durability. Add a small air gap between the fuel chamber and outer can to insulate and promote convective airflow, boosting heat retention. A detachable pot stand made from rebar lets you adjust cooking height, improving performance across different pots. Use high-temp paint to protect against rust and extend lifespan. These smart upgrades don’t complicate your build-they refine it. They enhance combustion efficiency, stabilize flame output, and make your stove more reliable over time. With thoughtful tweaks, your DIY rocket stove becomes not just portable, but dependable.
On a final note
You’ve built a functional, efficient rocket stove using simple materials. This design delivers high heat with minimal fuel, ideal for backpacking or emergency kits. Proper airflow through the intake holes guarantees clean combustion, reducing smoke. Use dry twigs and small split wood for best results. It’s lightweight and safe when handled correctly. With minor upgrades-like a heat reflector or grate-it performs on par with commercial models, proving effective outdoor cooking doesn’t require expensive gear.