Techniques for Maintaining Consistent Heat on Portable Camping Grills
You’ll get better heat control by choosing the right fuel-propane for quick, steady heat or charcoal for smoky depth. Set up with your back to the wind to avoid temperature swings, and use a heat diffuser to spread warmth evenly. Adjust intake and exhaust vents to fine-tune airflow and combustion. Always preheat for 10–15 minutes and rely on a thermometer, not guesswork. A two-zone setup gives you more cooking flexibility. There’s more to mastering your flame than meets the eye.
Notable Insights
- Use a heat diffuser to spread flames evenly and reduce hot spots on portable grills.
- Position the grill with its back to the wind to maintain stable cooking temperatures.
- Adjust intake and exhaust vents to regulate airflow and sustain consistent heat.
- Preheat the grill for 10–15 minutes to ensure even heat distribution before cooking.
- Choose fuel based on control needs-propane for instant heat, charcoal for smoky flavor.
Pick the Best Fuel for Your Camping Grill
While charcoal, propane, and wood each bring distinct advantages to the table, choosing the right fuel for your camping grill ultimately depends on how you prioritize heat control, convenience, and flavor. You’ll find that fuel types vary greatly in performance and handling. Propane offers instant ignition and precise temperature adjustments-ideal when convenience matters most. Charcoal demands more effort with its slower ignition methods, yet delivers a rich, smoky taste many BBQ enthusiasts prefer. Wood, while delivering unmatched aroma, requires skill to maintain steady heat. Each fuel type interacts differently with your grill’s design, affecting not just start-up time but also consistency during cooking. Though propane wins for speed and cleanup, charcoal and wood grant deeper flavor complexity. Your choice should align with your cooking style-whether that’s quick weeknight meals or slow weekend grilling. For charcoal users, selecting the right best charcoal grills can significantly improve heat retention and overall cooking performance.
Set up Your Grill Away From the Wind
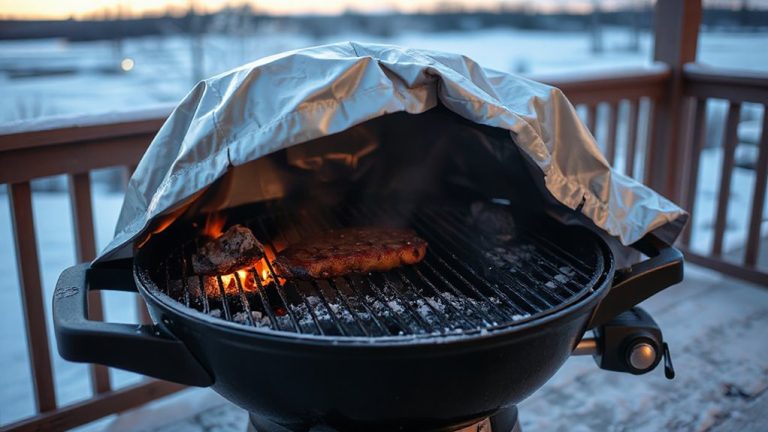
To get the most out of your camping grill, positioning matters just as much as fuel choice-set it up with your back to the wind whenever possible, since wind exposure can drastically reduce heat efficiency and create uneven cooking conditions. You’ll want to assess wind direction before igniting the grill; even a light breeze can cool the cooking surface and extend prep time. Positioning yourself and the grill so the wind hits your back helps maintain stable temperatures. Good shelter placement, like using natural barriers such as trees or rocks-or even your tent’s windbreak-improves performance by blocking gusts. Avoid open clearings when windy, and never place the grill where side winds can sneak in and disrupt the flame. Smart setup based on wind direction doesn’t just protect your meal-it also conserves fuel and maximizes your grill’s output where it counts. Choosing the right best portable grill can further enhance heat retention and overall cooking control in windy conditions.
Use a Heat Diffuser for Even Cooking
You’ve already shielded your grill from the wind, but even with perfect placement, hot spots can still ruin your cookout. That’s where a heat diffuser comes in. Placed between the flame and the cooking surface, it improves heat distribution by spreading intense direct heat into a more even, controlled warmth. Most diffusers-made from cast iron or stamped steel-absorb and radiate heat steadily, reducing flare-ups and preventing food from charring. On portable camping grills, where burners are small and uneven, this makes a big difference in performance. You’ll notice better searing, fewer cold zones, and more consistent results, especially with delicate items like fish or veggies. A diffuser also protects the cooking surface from grease drips, minimizing corrosion over time. While not all camp grills come with one, adding an aftermarket diffuser is a smart upgrade. It’s a small part that markedly boosts cooking precision and long-term grill maintenance.
Control Vents to Adjust Heat
Since camp grills often lack precise temperature controls, learning to manage the vents becomes your best tool for heat regulation. You control airflow management directly by adjusting the intake and exhaust vents-open them wide to increase oxygen flow and boost combustion, or close them partially to restrict air and lower the temperature. Proper airflow management guarantees stable heat without sudden spikes. It also influences fuel distribution, especially in charcoal grills, where uneven airflow can create hot spots or dead zones. You’ll notice consistent results when you balance the vents to match your cooking method-searing needs full airflow, while slow cooking works with restricted flow. Adjusting vents gradually gives you fine-tuned control few portable grills offer natively. Mastering this technique improves heat retention and efficiency, making your fuel last longer and your meals more predictable. It’s a simple skill, but fundamental for reliable outdoor cooking.
Preheat Your Grill Fully
Getting the vents right sets the stage, but skipping a proper preheat undermines even the best airflow setup. You need to let your grill reach a stable grill temperature before cooking-usually 10 to 15 minutes, depending on fuel type and model. A full preheat guarantees even heat distribution across the cooking surface, reducing hot spots and flare-ups. It also burns off residue, giving you cleaner contact with food. Ignition time varies, especially in cool or windy conditions, so account for that delay. Charcoal grills often require longer preheats than propane, but both demand patience. Without this step, searing fails and cooking times become unpredictable. Preheating isn’t just about warmth-it’s about thermal readiness. Consistent results start here, not when the first steak hits the grates. For optimal performance, consider using a camping stove with adjustable heat controls designed for precise temperature management.
Use a Thermometer to Track Heat
While your grill may feel hot to the touch, heat perception isn’t the same as accurate temperature control-especially when searing steaks or slow-cooking delicate items. Using a thermometer gives you real-time feedback, so you’re not guessing. For best results, guarantee your thermometer has solid calibration accuracy-test it in boiling water or an ice bath occasionally. Cheap models can skew readings by 20°F or more, which impacts cooking performance. Probe placement matters just as much: position the sensor near the food, not near the edge or directly above flames. Avoid resting it on cold metal or in drafty spots, as airflow disturbs readings. High-quality digital thermometers with remote alerts offer convenience, though they require battery checks. Ultimately, consistent monitoring leads to consistent results. Whether you’re grilling chicken or veggies, temperature tracking reduces guesswork and improves outcomes every time.
Create Two-Zone Heat for Better Control
Heat management separates a decent campfire meal from a great one, and a two-zone setup is your best tool for mastering it. You achieve this by dividing your grill into hot and cool areas-direct heat on one side, indirect grilling on the other. This strategy simplifies heat balancing, especially when cooking varied ingredients at once.
| Zone Type | Placement | Best For |
|---|---|---|
| Direct | One side | Searing meats |
| Indirect | Opposite side | Slow-cooking veggies |
| Buffer | Middle gap | Preventing flare-ups |
You’ll maintain steady temps and avoid charring food unintentionally. Indirect grilling preserves moisture, while the buffer zone aids in heat balancing. Whether you’re using charcoal or gas, this layout offers control, efficiency, and consistent results. It’s not just practical-it’s essential for refined outdoor cooking.
On a final note
You’ve got better control when you pick the right fuel and shield your grill from wind. A heat diffuser evens out hot spots, while vent adjustments fine-tune temperature. Preheating fully and monitoring with a thermometer guarantees consistency. Two-zone setups give you flexibility for searing and indirect cooking. These techniques, grounded in heat management, transform portable grilling from erratic to reliable-critical for quality results outdoors.