Step-by-Step Guide to Oven-Seasoning a Large Cast Iron Pot at Home
Preheat your oven to 375°F and grab a high-smoke-point oil like flaxseed or grapeseed. Scrub your pot with steel wool to remove rust, then dry it thoroughly. Wipe on a thin oil layer inside and out, using a lint-free cloth, and bake it upside down for one hour. Let it cool in the oven to avoid cracking, then store with a light oil coat. You’ll see how this method builds a resilient, non-stick surface perfect for outdoor cooking-especially under high, uneven heat. Proper seasoning means fewer sticking issues and better flavor control over time, and there’s more to get right once you understand the science behind the bond.
Notable Insights
- Use high-smoke-point oil like grapeseed or flaxseed to ensure effective polymerization during seasoning.
- Clean the pot thoroughly with steel wool to remove rust and debris, then dry completely.
- Apply a thin, even oil layer with a lint-free cloth, wiping off excess to prevent stickiness.
- Bake the pot upside down at 375°F for one hour to cure the seasoning and avoid oil pooling.
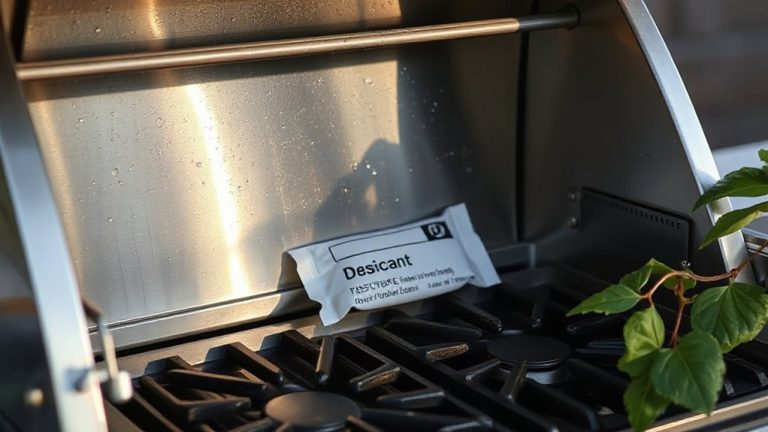
- Let the pot cool in the oven, then store with a light oil coat and silica gel in humid conditions.
Gather Your Seasoning Supplies
While you might be keen to fire up your cast iron pot right away, taking the time to gather the right supplies first guarantees a more durable, effective seasoning layer that’ll stand up to the rigors of outdoor cooking. You’ll need a high-smoke-point oil-grapeseed, canola, or flaxseed-are top choices-since oil types directly impact polymerization, the chemical reaction that creates a slick, protective coating. Avoid olive oil or butter; their low smoke points lead to uneven seasoning. Tongs, a lint-free cloth, and heat-resistant gloves are essential for safe handling. Your oven must maintain stable heat levels, ideally between 375°F and 450°F, hot enough to bond the oil to the metal without producing excess smoke or degradation. Consistent temperature assures uniform curing, especially important if you plan to use the pot over open flames or camp stoves. Proper tools and materials set the foundation for reliable, long-term performance in real-world BBQ conditions. A well-seasoned pot performs best when paired with the right campfire grills for outdoor cooking setups.
Clean and Prep the Cast Iron Pot
Start by giving your cast iron pot a thorough cleaning to remove any residue, rust, or factory coatings that could interfere with proper seasoning. Use steel wool or a stiff brush for effective rust removal, especially if the pot’s been stored poorly or used outdoors. Any lingering rust will compromise the seasoning’s durability, so don’t skip this step. Once rust is gone, rinse and dry the pot completely-moisture leads to future corrosion. For surface smoothing, lightly sand any rough patches with fine-grit sandpaper to create an even base. This isn’t about perfection, but about function: a smooth surface bonds better with the oil layer during seasoning. Avoid soap if possible, but a small amount won’t hurt if needed. The goal is clean, bare iron ready for the next phase-this prep work directly impacts how well your pot performs over open flames or in the oven.
Apply Oil for Even Oven Seasoning
One thin, even coat of oil makes all the difference when it comes to building a durable, non-stick seasoning layer in your cast iron pot. You’ll want to use an oil type with a high smoke point, like flaxseed, grapeseed, or vegetable oil-these polymerize well under heat, creating a hard, protective surface. Apply the oil with a lint-free cloth, working it into every surface, inside and out. Then, wipe away any excess-this is essential, as too much oil leads to sticky residue, not seasoning. The right heat level for this stage isn’t about cooking; it’s about preparation. While baking will come later, understanding your oil type’s smoke point guarantees effective chemical bonding during heating. Don’t skip this precision step-it directly impacts your pot’s long-term performance, especially during high-heat outdoor cooking sessions. A well-oiled, properly prepped cast iron surface handles searing and simmering alike, proving essential for serious BBQ and open-flame cooking.
Bake the Pot for a Non-Stick Finish
Once you’ve wiped the oil to a barely-there sheen, it’s time to transform that thin layer into a resilient, non-stick surface by baking the pot-the critical step where chemistry meets performance. Place the pot upside down in the oven to prevent pooling, then heat it to 375°F, ensuring your oven racks are correctly positioned and the space well-ventilated. This temperature strikes the ideal balance for heat control, allowing the oil to polymerize without burning. Set a timer for one hour-timing accuracy is key, as even an extra 15 minutes can lead to excess carbonization or a brittle layer. You’ll notice a glossy, darkened surface forming, a sign the seasoning is bonding properly. Rotate the pot halfway through if your oven has hot spots. This precise baking process builds a foundation far superior to stovetop methods, yielding a slick, long-lasting finish that stands up to searing, simmering, and even light frying.
Cool and Store After Seasoning
While the oven cools, leave the pot inside to undergo a gradual cooldown-this slow temperature drop helps stabilize the newly formed polymerized layer, reducing the risk of micro-cracking from thermal shock. Don’t rush the cooling time; letting everything drop together prevents warping and guarantees a durable finish. Once the oven’s at room temperature, carefully remove the pot. Wipe a tiny bit of oil over the surface to preserve the seasoning before storing. For long-term care, follow these storage tips:
| Condition | Recommendation |
|---|---|
| Humid environment | Store with silica gel nearby |
| Long-term storage | Lightly oil and cover with cloth |
| Frequent use | Keep in dry cupboard, uncovered |
A well-stored pot retains its non-stick performance and resists rust, keeping it ready for your next outdoor cook.
Fix Common Oven Seasoning Mistakes
Why does your cast iron still rust or feel sticky after oven seasoning? You might’ve skipped thin oil layers or used too much fat, leaving residue that never fully polymerizes. Sticky spots often trace back to improper bake times or turning the oven off too soon. Uneven heating is a silent culprit-your oven might run hot in spots, especially if the rack’s too close to the element, causing inconsistent seasoning. Rotate the pot halfway through for better results. And don’t ignore smoke control: excessive smoking means excess oil burning off, which wastes oil and fills your kitchen with haze. Wipe the surface *thoroughly* before heating-any pooled oil will gum up. A well-ventilated kitchen helps, but preventing smoke at the source is smarter. These fixes aren’t just cosmetic-they build a durable, non-stick surface that lasts years with care.
Why Oven Seasoning Works Best for Large Pots
Most large cast iron pots benefit far more from oven seasoning than stovetop methods because the enclosed environment guarantees even, consistent heat circulation. You’re dealing with greater mass and surface area, so thermal dynamics become critical-uneven heating on a stovetop can cause blotchy seasoning or weak polymerization. Inside the oven, temperature remains stable, allowing the oil to bond uniformly across the entire surface. This steady heat also manages material expansion more predictably; the pot expands gradually and evenly, reducing stress on the metal and preventing warping. Unlike open flames, the oven’s radiant heat surrounds the pot, ensuring the underside and sides cure at the same rate. You’ll get a stronger, more durable layer that withstands heavy outdoor use, from slow-smoking to searing. For serious BBQ enthusiasts, this control makes oven seasoning not just convenient-it’s essential for long-term performance and protection.
On a final note
You’ve now seasoned your large cast iron pot properly, ensuring a durable, non-stick surface ideal for outdoor cooking and consistent heat retention. Oven seasoning offers even coverage and polymerization, essential for heavy-duty use like slow-cooked BBQ or campfire stews. Unlike stovetop methods, it minimizes hot spots and reduces rework. With proper care-dry storage, light oiling-your pot will improve over time, becoming a reliable, long-lasting asset for high-heat searing or simmering rich, smoky sauces.